 | ||
| Your browser is not supported. | ||
|
Please browse our site using any of the following options:
| ||
Ignite Your Creativity: How To Use Air Dry Clay

Air-dry clay is a fantastic medium for various crafts and projects. It's versatile and flexible to use, allowing you to mould into different shapes and create a variety of air dry clay projects. With no baking required, it's a great choice for beginners and experienced crafters alike. We'll take you through the necessities behind the preparation of and how to work with air dry clay, as well as our favourite air dry clay projects to spark your creativity.
Quick Links
- Preparing Your Clay and Your Workspace
- Crafting With Air Dry Clay
- Drying and Finishing
- Storage and Maintenance
- Common Issues You May Come Across
- Project Ideas To Try
Preparing Both Your Workspace And Air Dry Clay
Preparing Your Work Area
Before beginning your crafting session, it's important to prepare your work area to help limit any messes they may arise as well as protect your surfaces throughout your crafting. Cover your work surface with newspaper, a plastic sheet, or a craft mat to prevent sticking and make cleanup easier.
Condition the Clay
Before using the clay, you want to make it more pliable for ease of use. Kneading the clay makes it easy to bend and more flexible. If it's too dry, add a tiny bit of water and knead again. If it's too wet, let it air out for a bit or add a small amount of cornstarch.
Crafting With Air Dry Clay - Everything You Need to Know
Tools and Equipment for Air Dry Clay
You can use a number of tools and common household items to craft with air dry clay. For example, use rolling pins to flatten your clay and cookie cutters for cutting into shapes. A damp sponge or cloth may also be used to help smooth surfaces and blend the seams of your clay. Other specific sculpting tools should be used for finer tasks.
Shop Modelling Tools & Accessories
Building Techniques For Clay
Mastering techniques can make it easier to craft air dry clay projects. Our favourite building techniques include:
- Coiling: Roll out clay into long strips and coil them to build up shapes.
- Slab Building: Roll out clay into flat pieces and cut or shape them as needed. This is great for making bowls or boxes.
- Pinch Pots: Start with a ball of clay and use your thumb and fingers to pinch and shape into small pots or other forms.
Joining Pieces
Some air dry clay projects may require the joining of two or more separate pieces. In order to join pieces together you must first score the surfaces. This involves creating small scratch marks in each of the pieces that allow the pieces to seep into each other. Once scoring the clay, apply a bit of water to help them stick together. Press firmly and smooth the joint with your fingers or a tool to ensure they connect better.
Adding Texture And Detail
While the clay is soft, using texture mats, stamps or other household items like lace or fabric is one of many air dry clay ideas that adds patterns to your designs for a textural charm. You may also carve details with fine tools or even toothpicks to create designs of your choice. Draw small flowers or stars for an adorable finishing touch to your air dry clay.
Drying and Finishing Air Dry Clay
Drying Air Dry Clay
Allow your project to dry completely before painting or styling. This can take 24 to 72 hours depending on the thickness of the piece and environmental conditions. To prevent cracking, ensure the piece is drying evenly by occasionally turning it.
Preventing Cracks
When crafting with air dry clay, sometimes cracks may develop which can impact the final product. If cracks develop, you can fill them with a mixture of clay and water, however, be sure to not add too much water as this can result in further cracking as the clay dries. You may also use a clay repair kit to help mend these cracks. For larger cracks, consider reinforcing the piece with additional clay.
Sanding
Once the clay has dried, you may wish to sand the surface with a fine-grit sandpaper to smooth out any rough spots. When sanding, be gentle with the sandpaper to avoid breaking your creation. You may also decide on using a sanding sponge for a more delicate approach to sanding.
Painting and Sealing
Once the clay is completely dry, you can begin to paint your creation using acrylic paints. You may need to apply a primer first for better paint adhesion, allowing the paint to stick to the clay. Seal your project with a clear acrylic sealer to protect the paint and add a glossy finish. For a matte finish, use a matte sealer.
Storage and Maintenance For Air Dry Clay
- Storing Unused Clay: Keep unused clay sealed in an airtight container or wrapped in plastic. You can add a few drops of water to the clay before wrapping for additional moisture to prevent it from drying out.
- Handling Finished Pieces: Air-dry clay is not waterproof, so keep finished items away from water and high humidity. If exposed to moisture, it can weaken or deteriorate, causing your creation to misshapen.
Troubleshooting
- Crumbly Clay: If your clay becomes crumbly, it may be too dry. Add a bit of water and knead thoroughly.
- Sticky Clay: If the clay is too sticky, it may be too wet. Let it dry out a bit or dust your work surface with cornstarch.
- Uneven Drying: If parts of your project are drying faster than others, cover the piece loosely with plastic to slow down the drying process and help it dry more evenly.
Air Dry Clay Projects To Try
Air Dry Clay Miniature Vases

Create miniature vases for smaller flowers or decorative ornaments. Or, display these vases by themselves as standalone decor pieces for the perfect finishing touch to your bedside table or bookshelf. To recreate these vases, shape the clay into small vase forms. Using sculpting tools you may wish to etch smaller patterns into the clay. Once the clay has dried, paint and seal the vases if desired, or leave unpainted for a charming rustic touch.
Air Dry Clay Decorative Coasters

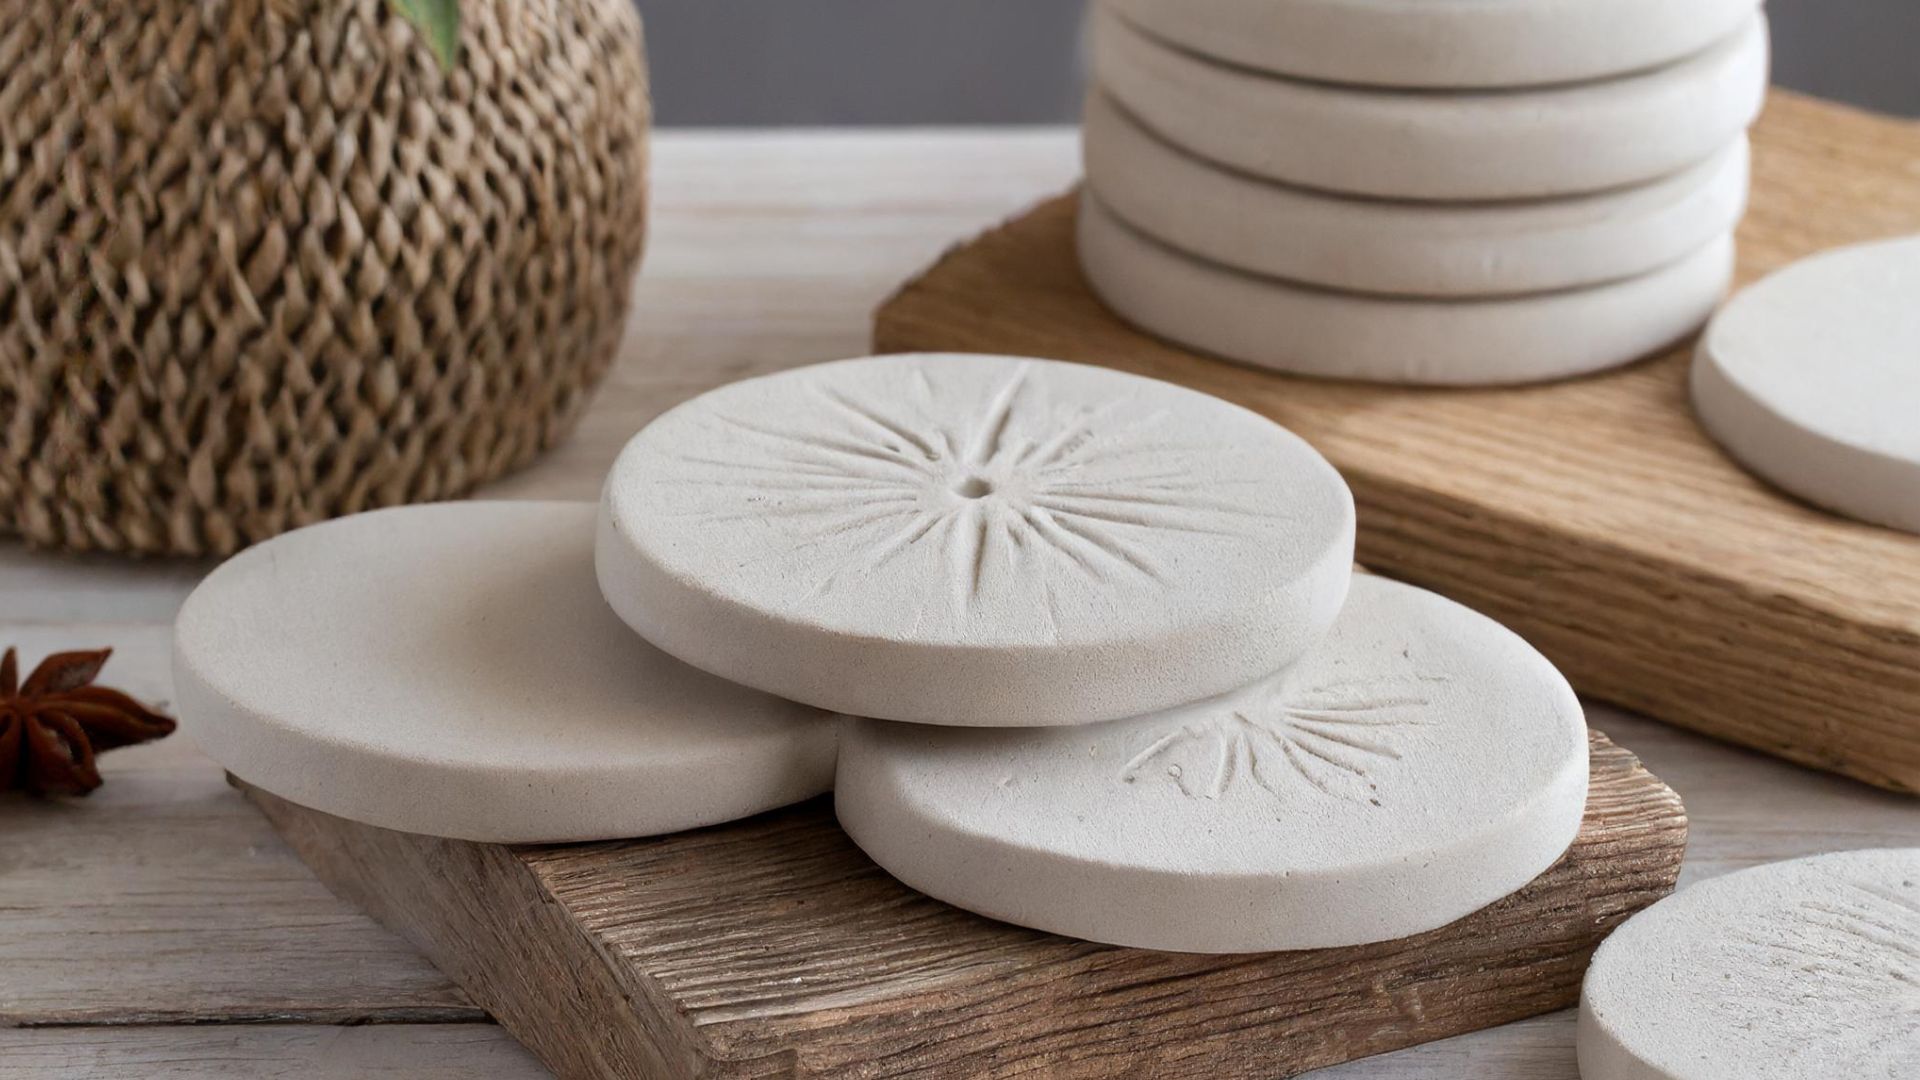
Create unique coasters that protect your dining and coffee tables from marks often left behind by drinkware while bringing style to your space. Roll out your air dry clay and cut it into the shape of your choice. Using sculpting tools you can create your own designs on the surface of your coasters, or may opt to leave them plain for a minimalistic look.
Cactus Jewellery Tray
Perfect as a finishing touch to your bedside table or a housewarming gift to a friend, this air dry clay tray holds jewellery while offering an eye-catching decor piece. The cactus design is both whimsical and functional, providing a place to hang bracelets to prevent them from tangling. Roll out the clay, press it into a dish shape using a small mould or your hands, and decorate the edges. Sculpt the cactus shape and combine it with the base tray. Once dry, paint and seal.
Mini Planters

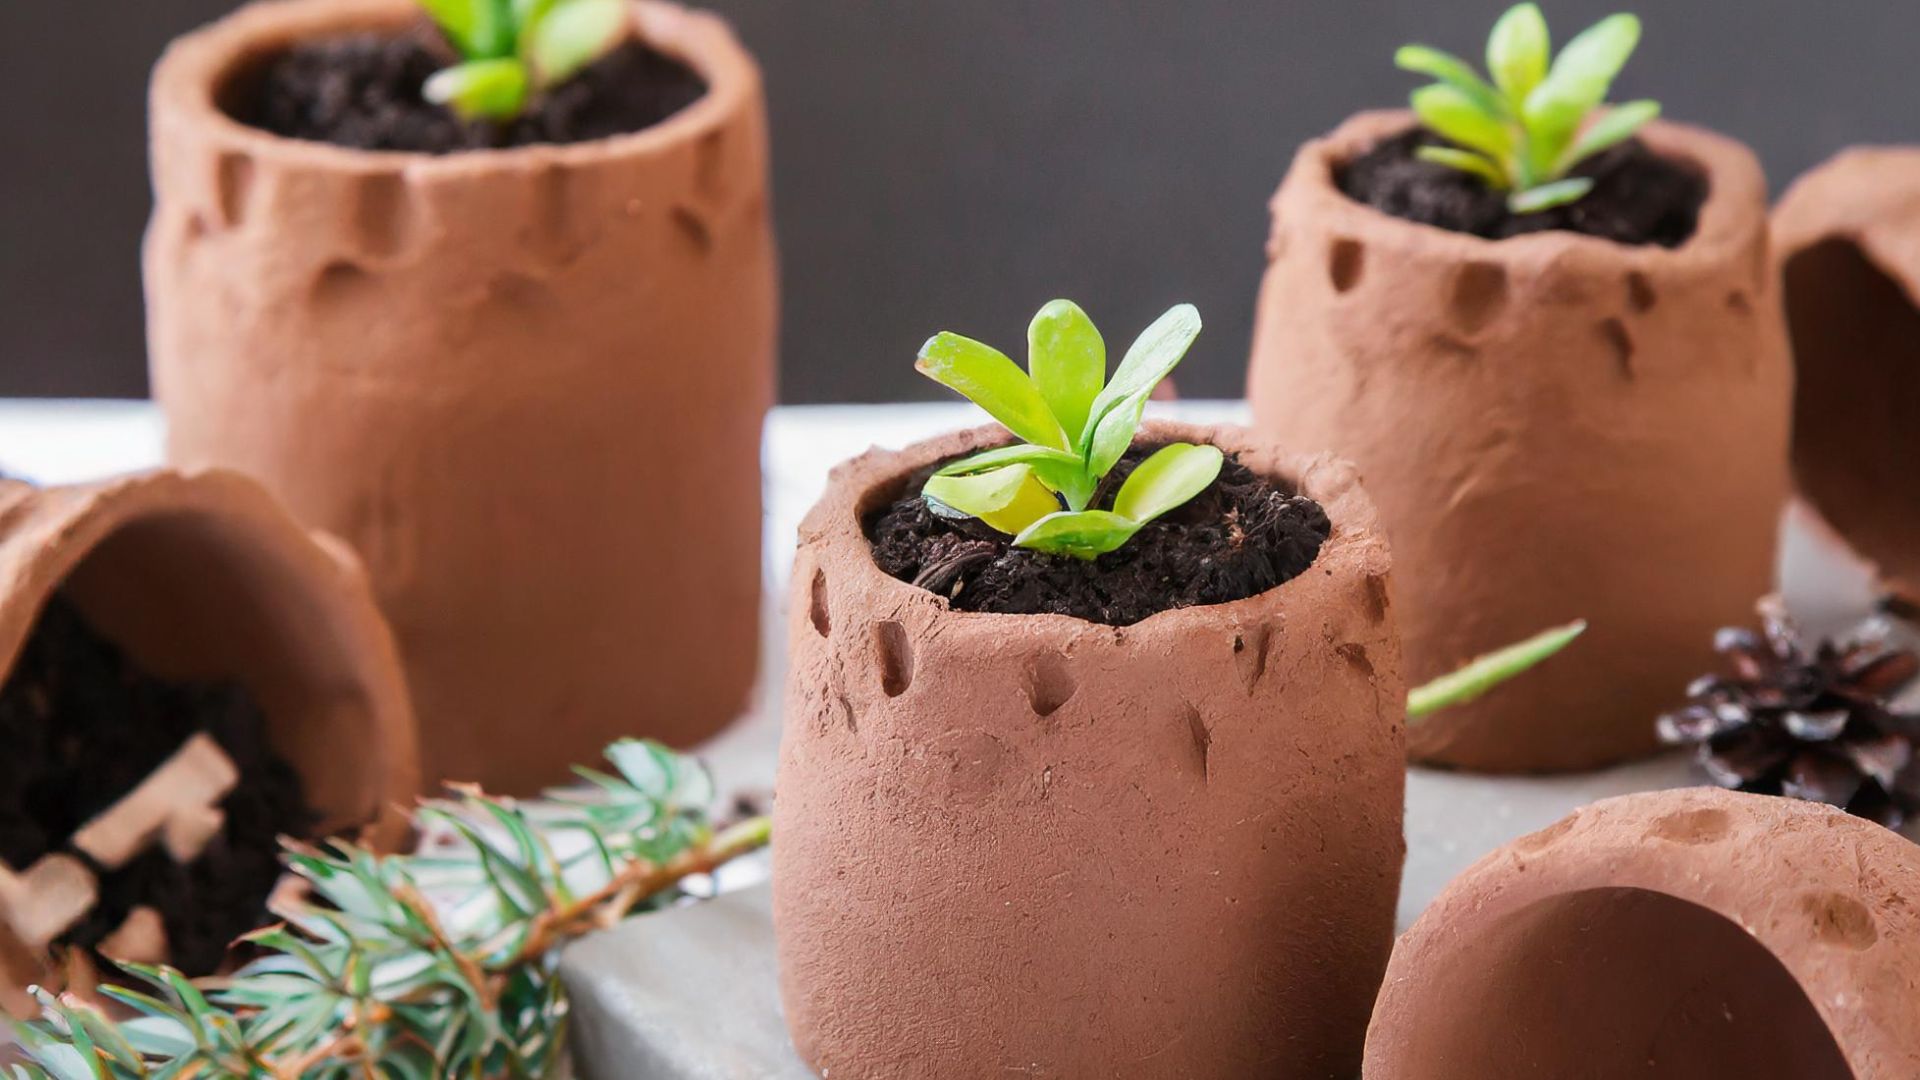
Create mini planters to house succulents or tiny plants, bringing a touch of greenery to your home study, bedroom or living room. To recreate shape clay into small pots or containers. Add drainage holes if needed and decorate with textures or patterns. Once dry, paint with acrylic paint and seal.
Experiment With Air Dry Clay From Spotlight
With a range of great air dry clay ideas that will have you crafting with the flexible clay with ease, you'll be sure to master the skills needed to recreate our favourite air dry clay projects. You can find everything you need, including air dry clay, sculpting tools and acrylic paints, right here at Spotlight. Shop online or find your nearest Spotlight store to explore the full range. For more inspiration on how to express your imagination, be sure to check out the wide selection of arts and craft projects we have on offer.


