 | ||
| Your browser is not supported. | ||
|
Please browse our site using any of the following options:
| ||
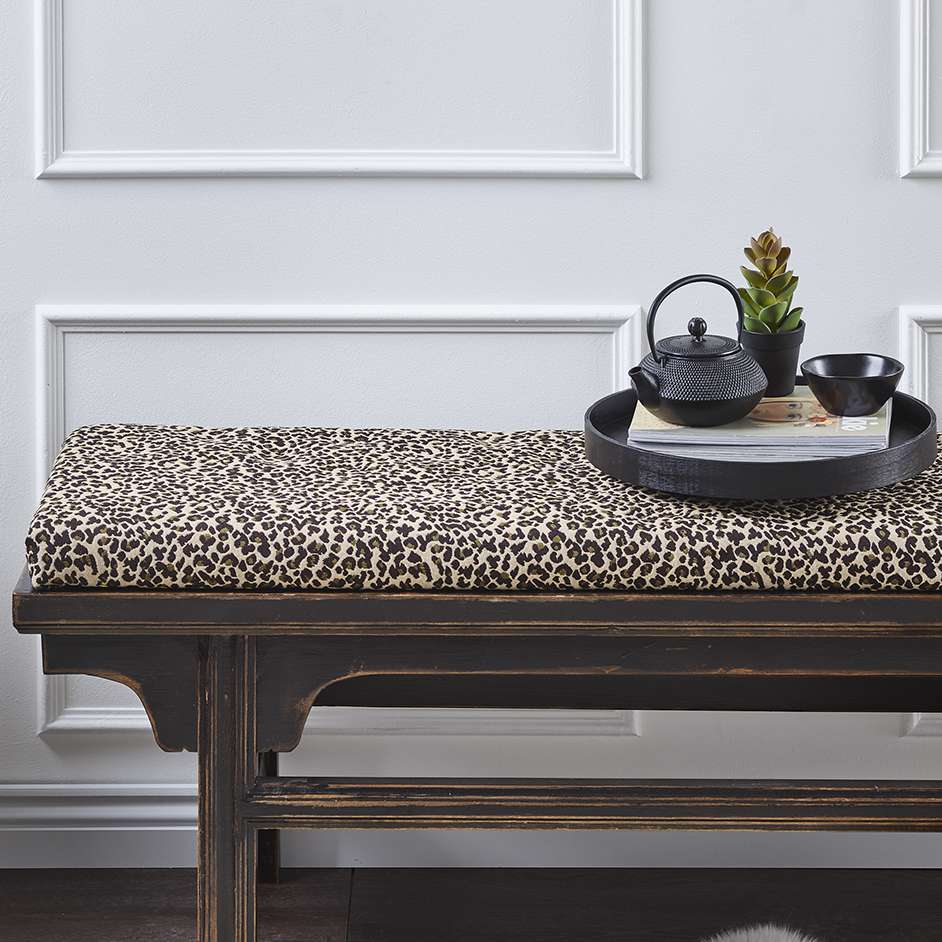
LEOPARD BENCH SEAT CUSHION

Level: Easy
WHAT YOU'LL NEED
- Leopard Tapestry Furnishing Fabric
- Long bladed scissors
- Measuring tape
- Ply wood (cut to size)
- Piece of foam
- Batting
- Ironing board & iron
- Staple gun & staples
- Strong adhesive glue
INSTRUCTIONS
Step 1 - Measure the top of the bench seat to determine what size piece of ply wood you will need.
Step 2 - Visit your local hardware store, and have a piece of ply wood cut to this size. Note - Ply wood varies in thickness. For comfort, we recommend up to 12mm.
Step 3 - Cut your piece of foam to match the same measurements (as above).
Step 4 - Use a strong adhesive glue to affix the foam piece to the ply wood.
Step 5 - Once the glue has dried, and the foam piece is secured in place, cut a piece of craft wadding. Note - Allowing an extra 10cm border around each side.
Step 6 - Use a staple gun to attach the wadding to the board - stapling the excess wadding to the under-side. Note - Ensure you leave a flat and even surface to work with.
Step 7 - Iron the leopard print fabric to remove any creases, and then cut a piece to match the wadding (that you prepared in step 5).
Step 8 - Lay your fabric (face side down) on a flat surface, and then lay your cushion (wadding side down) on top of it.
Step 9 - Pulling the fabric taut, staple the leopard fabric to the board.
Step 10 - Fold the corners, so they overlap slightly. This will give the neatest finish.
Step 11 - To finish the seat cushion, you can adhere the cushion to the seat permanently with glue, or alternatively, purchase some 'grip' fabric - which will keep the cushion in place.
Your bench seat is now ready to use!


