 | ||
| Your browser is not supported. | ||
|
Please browse our site using any of the following options:
| ||
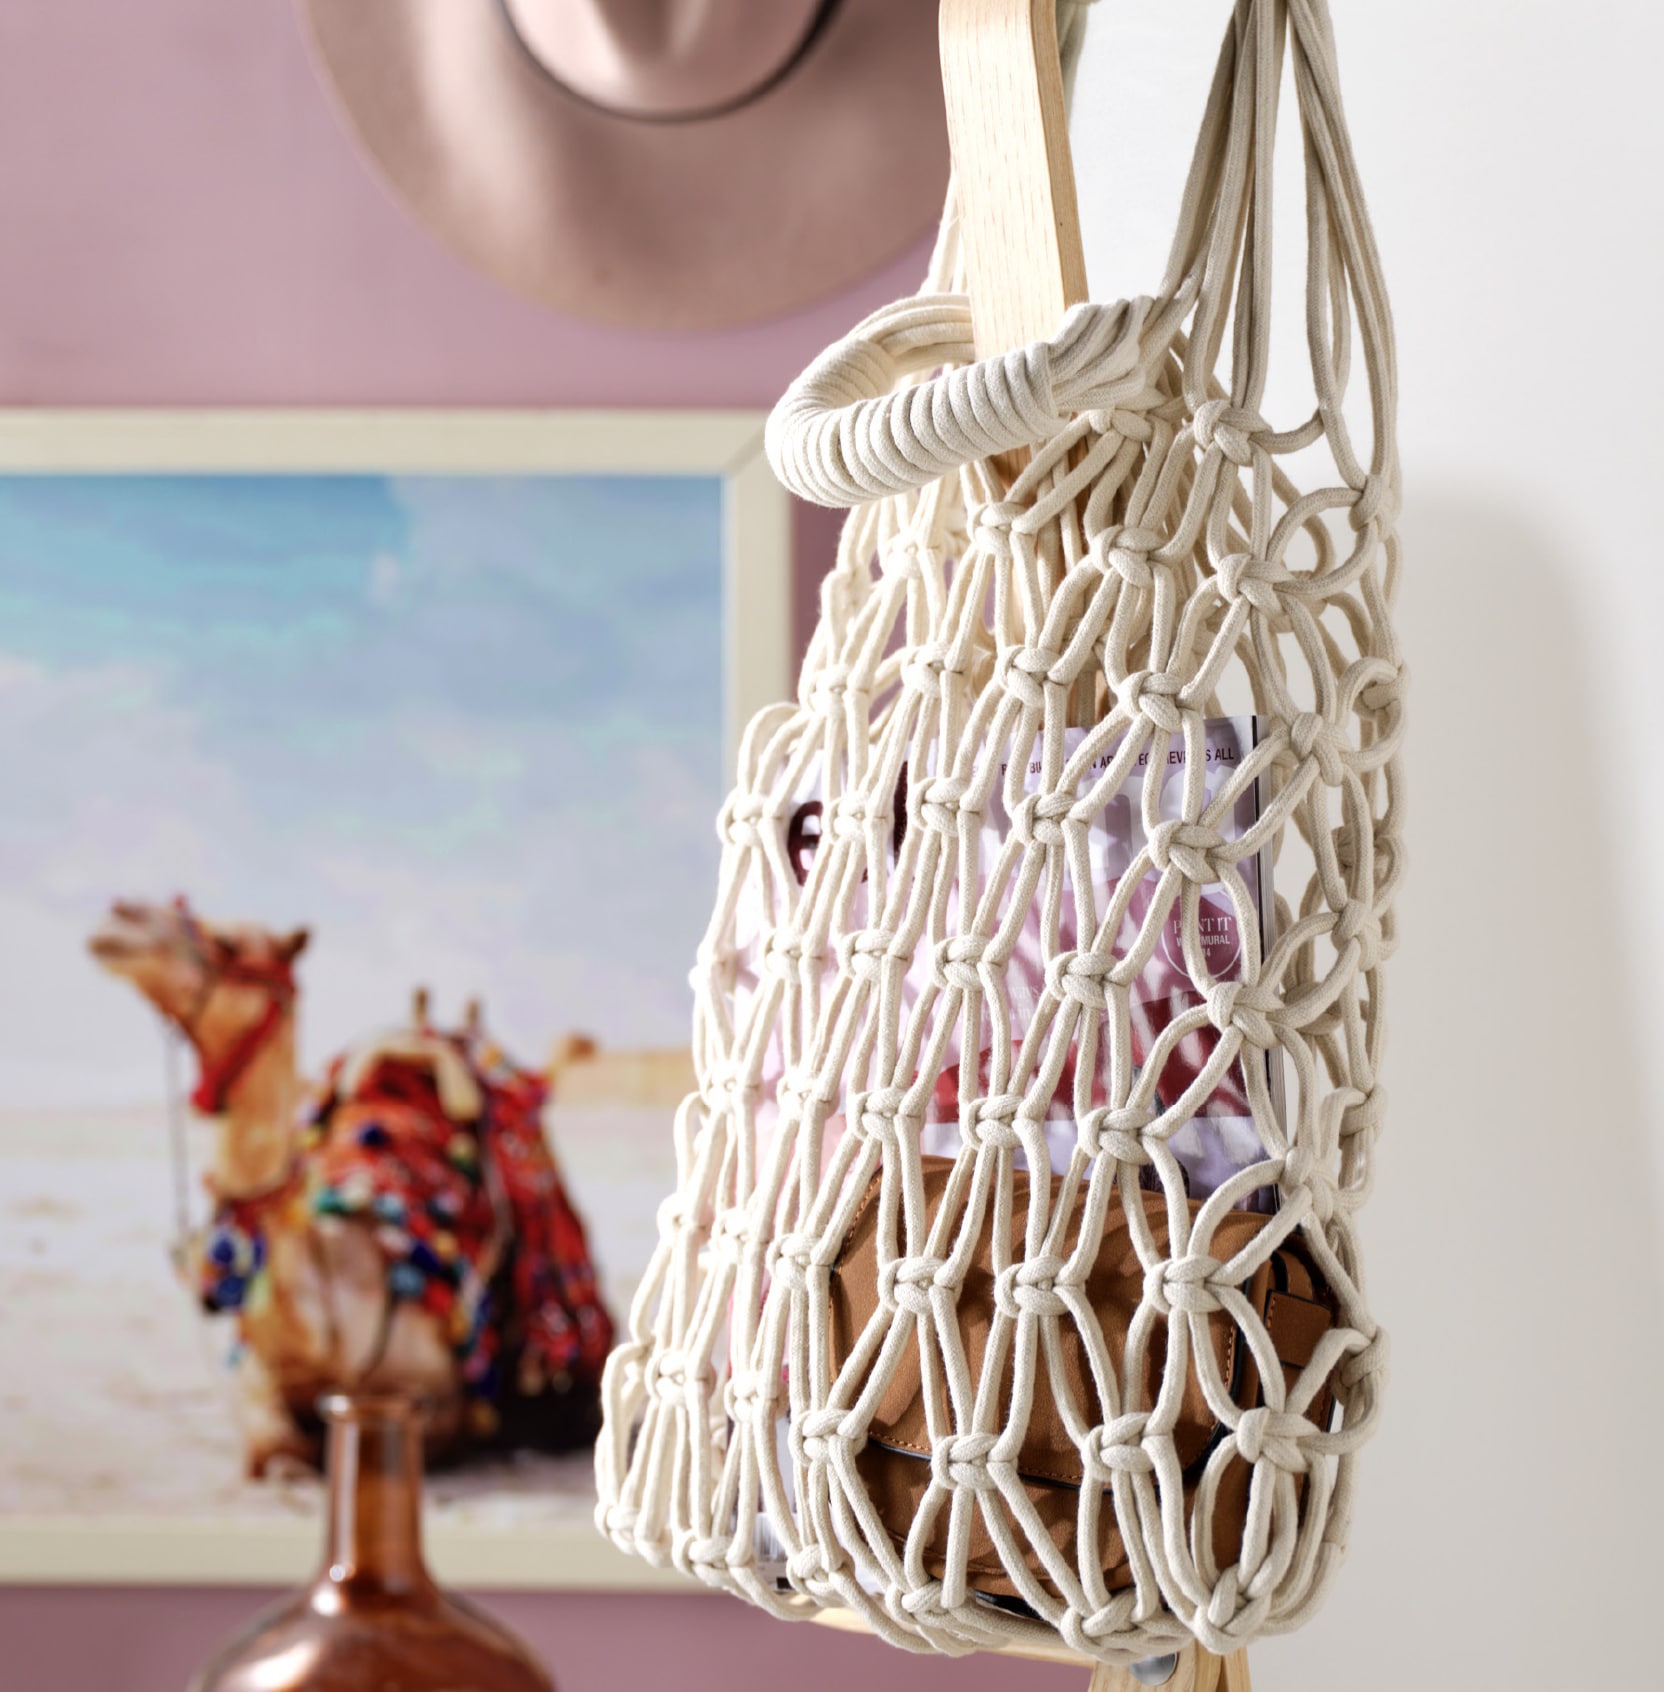
MACRAME BAG

Level: Intermediate
What you'll need:
- 1 x 50m Crafters Choice macrame cord 6mm - Off White (50 metres needed)
- Hot Glue sticks
- Tape Measure
- Scissors
- Hot Glue gun
- Optional - 40cms board - refer to tips
Instructions:
Finished size: 36cms wide x 54(including handles)
Knots used (with Abbreviations): Half Knot and Square Knot (HK & SK), Alternating rows of Square Knots (Refer to the downloadable project sheet for stitch diagrams)
Additional abbreviations:
WC- Working Cords, term given to cords to make knots.
FC- Filler Cords, term given to cords that knots are made around.
Tip: A Macrame Board or just Plywood around 30 x 40cms if a great base to work your macrame on. This can be turned around to work both sides. If you do not have a board the bag can be made flat, just place some paper in between to make it easier to use the correct cords.
Step 1- Cut WC - 24 x 1.90 metres. Plus cut 2 x 2.00 metres for the handle.
Step 2- Group 4 cords together and find the centre point. This is the base. Work a SK. In the centre, then manipulate the knot and the filler cords to ensure all cords are centred once the knot is worked. This will ensure there is optimal, and an even amount of cord left for the handle.
Step 3- Lay the knot on the edge of the board, with 4 cords hanging over the back and 4 hanging to the front. then repeat 5 more times. 6 SKs in total.
Step 4- Working on the front side of the board, measure 4cms from the first knot, skip first 2 cords work 5 SKs, last 2 cords left unworked.
Step 5- Turn the board and repeat with the cords on the back of the board, measure 4cms from the first knot, skip first 2 cords work 5 SKs, last 2 cords left unworked.
Step 6- Turn the work on the side measure down 4cms and work a SK. with 2 cords from the back and 2 from the front. Repeat on the other edge.
Step 7- Starting on the front left-hand side, measure down 4cms and work 6 SK. with all cords on the front. Turn the board around and work 6 SK. on the back cords. The Alternating rows of Square Knots are established now.
Step 8- Repeat Steps 4-7, 3 more times. 8 rounds in total, plus the base row of square knots.
Handle:
Step 1- Lay your work flat and pull the board (paper) out enough to keep the front and back cords divided to help with the handle making. Divide the cords into 4 groups of 6 cords. 2 sets at the front and 2 sets at the back.
Step 2- Working on the front side first, group the cords together, and form the handle making about a 48cms arc from the last row of knots, overlap the ends to achieve this. At this point the cords will vary in length on each side so in most cases there will not be extra thickness. Feel the join and if there are any areas that are lumpy, some cord can be trimmed. It is important though to ensure that there are some cords overlapping from the right side and some from the left side, this maintains the strength of the handle.
Step 3- Using the hot glue sparingly, place some glue in lines inside the grouped cords to ensure the cords are together enough for the next step of wrapping the cord.
Step 4- Find the halfway mark of one length of 2 metres. Working from the centre of the handle, wrap the cord around the glued cords. Additional hot glue can be added for extra security, use sparingly so not to squeeze through to the outside. Continue to wrap on both sides of the centre to the end.
Step 5- Thread the ends on the inside of the handle, trim and use hot glue under the ends to secure the last wrap at each end.
Step 6- Repeat for the back handle.


