 | ||
| Your browser is not supported. | ||
|
Please browse our site using any of the following options:
| ||
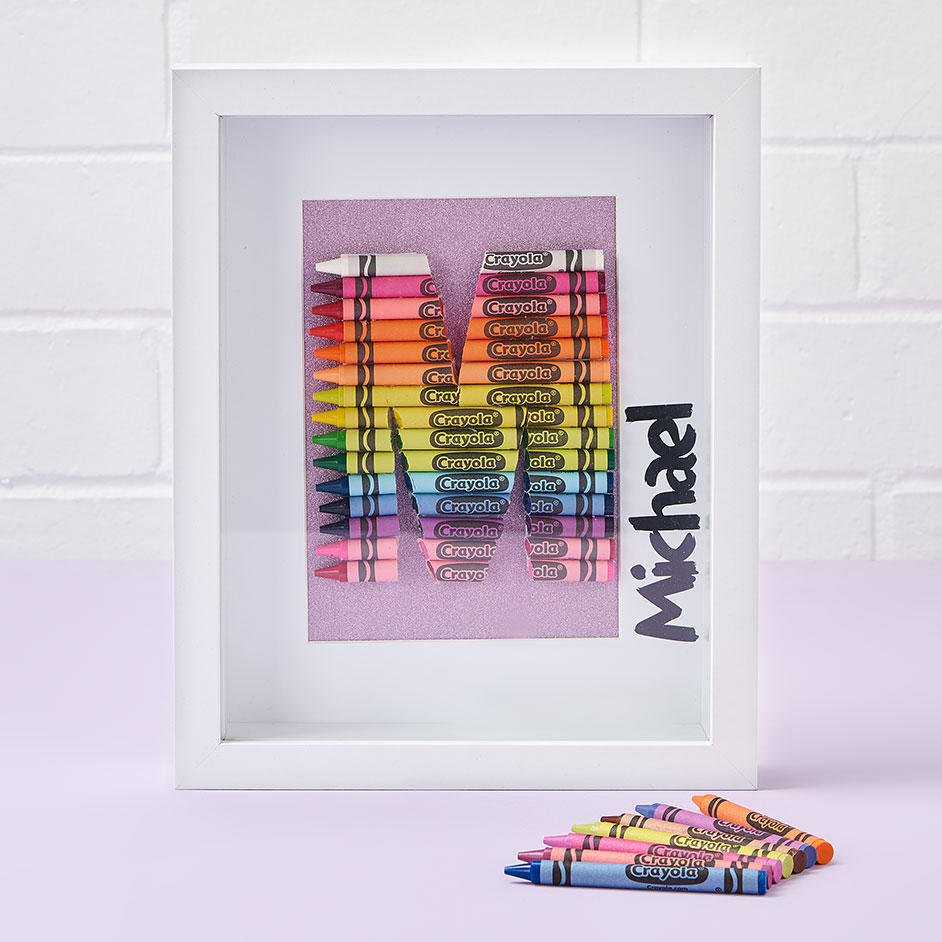
SHADOW BOX CRAYON LETTER

LEVEL: EASY
WHAT YOU'LL NEED:
- Scissors
- Glue gun and glue sticks
- Cricut machine
- Cricut black vinyl
- 13 x 18cm Shadow box frame
- Knife
- Cutting mat
- Ruler
- Pencil
- A4 white paper
- Glitter paper
- Crayola crayons box 24pk x 2
INSTRUCTIONS
Make a stencil
Step 1 - Create a stencil by choosing a font you like and printing or tracing it onto an A4 piece of paper.
Step 2 - Cut the letter out with scissors.
Glitter paper backing
Step 1 - Cut the glitter paper to the size of the frame.
Step 2 - Glue the stencil letter in the centre of the glitter paper.
Arrange crayons
Step 1 - Arrange crayons over the letter stencil selecting the colours you like.
Step 2 - Cut the crayons so they cover your template. First mark them with your pencil, then cut them with your knife. Choose a sharp knife and use it with a cutting mat to ensure your ends are neat and clean.
Step 3 - Once crayons are all cut to size, hot glue them in place.
Create your Cricut name
Step 1 - Use the Cricut design space app to choose a font you would like for your name.
Step 2 - Use the Cricut machine to cut your name on adhesive vinyl.
Step 3 - Once the name is cut, weed your design out and apply it to the cardboard frame inside the shadow box.
Assembling the frame
Step 1 - Put the cardboard frame with the name on it back into the shadow box.
Step 2 - Then put the crayon art into the shadow box.
Step 3 - Place the backing onto the frame and secure it with the clips.


