 | ||
| Your browser is not supported. | ||
|
Please browse our site using any of the following options:
| ||

14 Fun DIY Book Week Costume Projects to Try
To inspire you this Book Week, we've put together a few of our favourite homemade Book Week costume ideas that you can create with your child and help them celebrate Book Week in style!

How to Use Fondant - A Guide For Beginners
We'll take you through all the different ways you can use fondant, including covering cakes, creating fondant shapes, as well as using fondant moulds as the perfect foundation for creating intricate shapes.

Wrap With Love: Help Create Wraps For Those In Need
Wrap With Love relies on donations of crafted goods, cash, craft and packaging supplies, transport and other services, so keep reading to find out how you can help!

How To Make A Pom Pom: All the Ways You Can Create These Fluffy Works of Art
Pom pom DIY is a soothing and easy craft, and you'll find making multiple pom poms for your craft projects to be so much fun!

10 Fun Kids' Craft Ideas For Birthday Parties
We have heaps of craft ideas and kids' craft kits for kids up our sleeves that are great fun for parties - read on to find the best crafting activities for birthdays, including what you need and clear instructions.

Tips & Tricks By Manu Featuring The New Culinary Co By Manu Range!
With the incredible Culinary Co by Manu range you can cook like our favourite professional chef in the comfort of your home kitchen!

Everything You Need To Know To Make A Half Square Triangle Quilt
If you've ever wondered how to make a quilt using HSTs, read on to find out how to make yourself a gorgeous patchwork quilt!

Make, Bake and Decorate: Trending Cake Decorating Ideas & Baking Products to Try
We've put together a variety of our favourite cake decorating ideas for a whole range of baking skill levels.

Master These Quilting Techniques And You'll Be Ready For Any Project
We've put together a few of our favourite types of quilting techniques, including patchwork quilting, that you can practice to get the best out of your next project!

Easy & Delicious Recipes to Try With the Culinary Co By Manu Kitchen and Dining Range
We've put together a few of our favourite recipes you can cook with the Culinary Co By Manu collection of cookware, kitchenware and dining essentials, exclusive to Spotlight!

Quilting for Beginners: Everything You Need to Know About Quilting
We ll take you through everything you need to know about quilting, as well as four beginner quilting projects that are perfect for even the most amateur of quilters.

Our Favourite Quilting Projects to Try This Quilt Expo
We've compiled a selection of our favourite quilting projects right here for you to check out!

Homemade Window Coverings: How to DIY Ombre Curtains & Dip Dye Curtains
These are two of our favourite curtain making projects that are easy for any beginner crafter to recreate!

Get Inspired by the Met Gala With Sewing Projects & Ideas From Spotlight
Get inspired by the Met Gala this year and spark your imagination by creating your very own DIY met gala outfit.

12 Easy Mother's Day Craft Ideas: The Ultimate DIY Gift Guide
Mother's Day is a time to celebrate the mother figure in your life. Why not use this celebration as an opportunity to put your crafting skills to the test?

Fleece vs Flannelette: 5 Crafty Ideas To Test Your Sewing Skills
With so many patterns and colours to choose from, we ll take you through what exactly these two materials are, plus some of our favourite projects you can create with them!

Tips And Tricks For Sewing Fleece And Flannelette
Fleece and Flannelette are beloved for their soft and cosy feel that keeps you warm in winter, and can be used to make pyjamas, bedsheets, scarves and cuddly throws and blankets.

Easter Bonnet Ideas - How to Make an Easter Hat
We've put together a few of our favourite easter bonnet hat ideas that both kids and adults can enjoy this Easter.

Creative and Crafty DIY Easter Decoration Ideas Any Crafter Will Love
Our favourite Easter decor projects offer the perfect opportunity for you to flaunt your crafting skills and enjoy valuable time with loved ones.

Our Favourite Easter Craft Ideas For Kids To Make This Holiday Special
We've gathered some of our favourite Easter craft ideas for kids to suit just about every type of celebration.

Update Your Home Styling With These 5 Furnishing Fabrics And Easy DIY Upholstery Projects
We've put together five of our favourite beginner-friendly furnishing fabrics projects that both newbie crafters and experienced DIY-ers will enjoy.

Artist Spotlight: Meet The Makers And Their Spectacular Creations: Make it March at Spotlight
Meet the artists behind some incredible art brands established through their love of all things art and craft!

Make It March: Celebrate Creativity With Party, Home and Craft Projects + Must Have Supplies
There's no better time than the present to expand and challenge your creative skills. Creativity is expressed in so many different forms so you're sure to find a way to think creatively that works for you.

Celebrate the Next Generation of Cricut Machines: Spotlight is Excited to Introduce the Cricut Maker 4 And the Cricut Explore 4
Calling all crafters and Cricut fans - Spotlight is thrilled to announce that the beloved crafting brand has now launched two new additions to the Cricut family.

DIY Wedding Ideas For Your Special Day
In this guide we'll go through some of the best wedding decor you can handmake, including step-by-step instructions you can follow and tweak to suit the overall theme of your wedding.

Calling All Crafters: Must Have Best Craft & Sewing Machines For Your Next Project
Whether you’re an experienced seamstress or wanting to pick up a new hobby, Spotlight is your one stop shop for everything you need to bring your creation to life.

Challenge Your Sewing Skills With These Intermediate & Experienced DIY Sewing Projects
Read on and discover our 11 favourite DIY sewing projects for intermediate and advanced sewists!

Playful Projects: Quick Sewing Projects For Beginners
Grab your sewing machine—or even just a needle and thread—and let’s dive into these beginner-friendly ideas that will leave you feeling accomplished and inspired!

The Beginner’s Guide To Polymer Modelling Clay For Beginners
Read on to discover everything you need to know about using polymer clays, including how to use and tools you may need.

New Year New Projects: 4 Ways To Introduce Change In Your Life This Year
Four of our favourite ways to promote change in our lives include taking on new projects and refreshing our home in organising craft space, kitchen and upgrading our baking tools while enhancing our home decor in our bedroom spaces.

Get Crafting This School Break With Our Favourite School Holiday Activities For Kids
From kids' activity kits to arts and craft supplies to help complete a range of projects, we’ll take you through our favourite kids' school holiday activities to keep both you and your child entertained on their school break.

Get Back To School Ready With Spotlight: Personalise School Stationery With Our Favourite Projects
Personalising kids stationery can be a fun activity to entertain children during school holidays while allowing them to decorate their school supplies.

Shadow Boxes: How To Make A Shadow Box To Display Your Cherished Memorabilia
We'll go through everything you need to know about shadow boxes, including what exactly they are, how to make them, what you can use them for and fun ways to decorate them!

Personalise Your Footwear With DIY Shoe Charms From Spotlight
Do you have a passion for fashion? Or, are you simply wanting to infuse your fashion pieces with your own personal flair? DIY Shoe charms are the perfect choice for you. These adorable kits come in a variety of different themes to help you express your…

Top 10 Spooktacular Halloween DIY Crafts & Projects To Try This Season
Perfect for Halloween parties, celebrating at home or even in the classroom, our 10 favourite Halloween craft ideas and Halloween baking inspiration have you covered when it comes to having fun with your spooky holiday celebrations. We love everything…

Decadent Desserts: How To Use A Piping Bag To Decorate Baked Treats
From timeless designs to intricate floral shapes, a piping bag is a valuable tool in creating these incredible decorations.

Ignite Your Creativity: How To Use Air Dry Clay
We’ll take you through the necessities behind the preparation of and how to work with air dry clay, as well as our favourite air dry clay projects to spark your creativity.
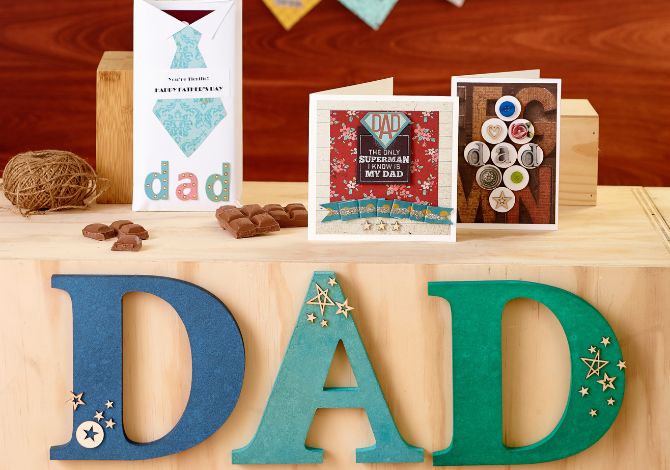
Create For Dad This Father's Day: Our Favourite DIY Father’s Day Projects
There's no better way to convey your love than with a homemade Father's Day gift. From cosy jumpers to accessories, read on to discover our top DIY Father's Day gifts you can make at home.

How To Sew A Tote Bag
Whether you're a beginner or a seasoned crafter, this fun tote bag project promises to enhance your sewing skills. Let's dive in and unleash your creativity through the art of handmade fashion!
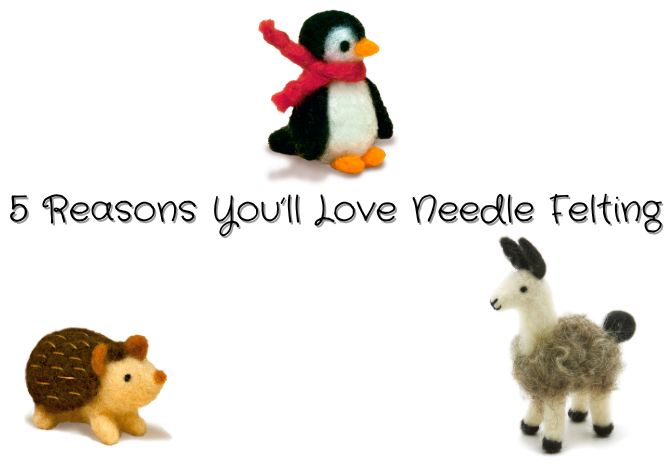
5 Reasons To Start Needle Felting
In this blog we’ll aim to answer some of the most commonly asked questions about needle felting, as well as showcasing five reasons we think you’ll love this amazing needle art craft and a few fun ideas for you to try!
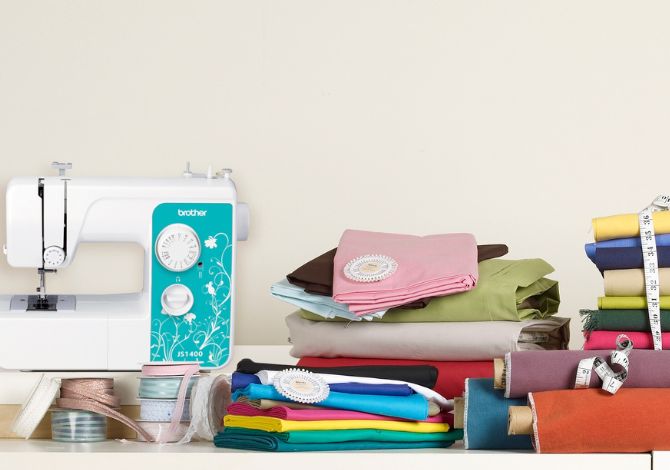
Your Guide To The Best Fabric Types For Making Clothes
This blog will walk you through some of the different fabric types we have available, whether they’re best used for creating clothing for warm or cool weather, plus how suitable they are for beginners.
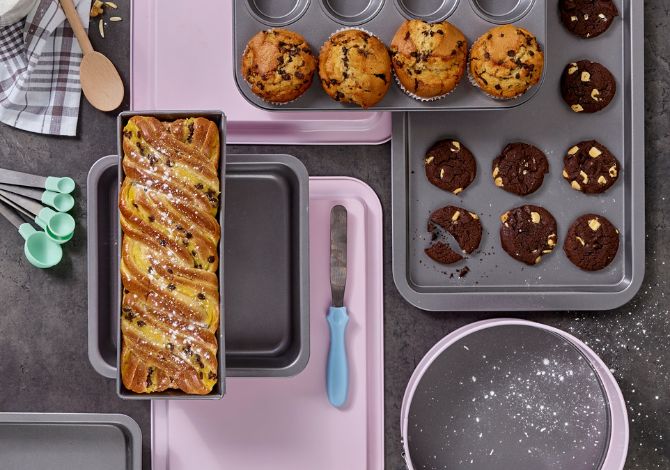
Seven Baking Essentials You Need To Know About
This blog aims to demystify some of the most confusing ingredients in baking - we’ll go through what each is and how they are used, plus a quick summary of what essential baking equipment you should have in your kitchen if you love baking…
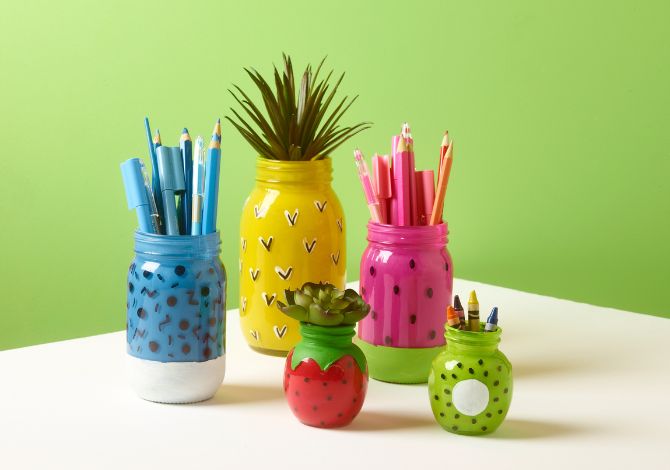
How To Paint On Glass
Because of its smooth texture and transparency, glass is a fabulous surface to paint on! You can paint on all sorts of glass surfaces including windows, tumblers, vases and jars, making it a great way to customise all sorts of homewares to your liking.
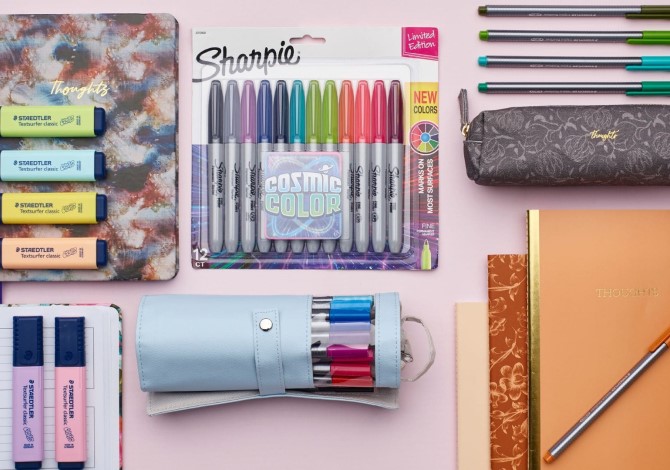
Get School Ready With These 5 Fun School Supplies
We’re going to take you through five of the best, brightest and most fun school supplies you can find at Spotlight, and don’t forget to check out our other creative blogs for more fun ideas!
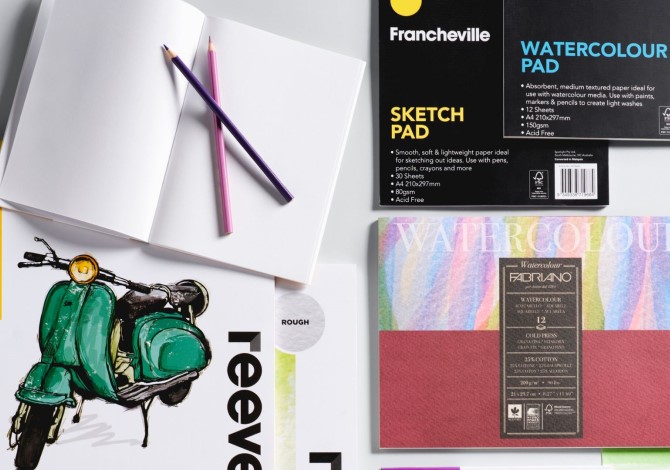
6 Things You Need In Your School Art Supply Kit
At Spotlight you can find a huge variety of art supplies online and in-store, but we’ve chosen six you definitely need to have eyes on for the new school year!
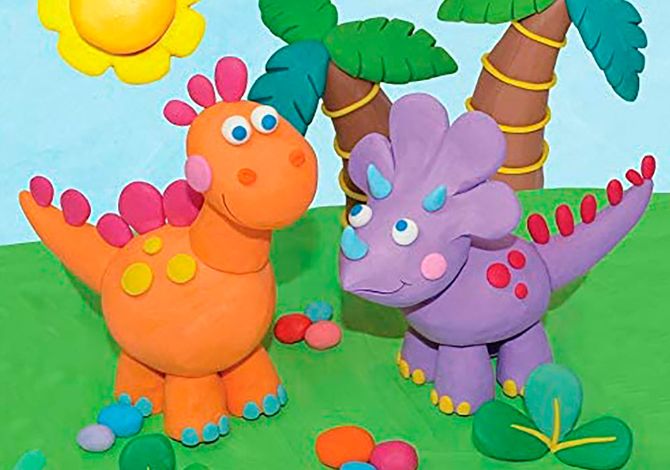
Claymation Techniques And Stop Motion Tips
Are you interested in claymation? We’ll go through everything you need to know about this stop motion art, identifying what you need, handy techniques and how to make a simple claymation video.
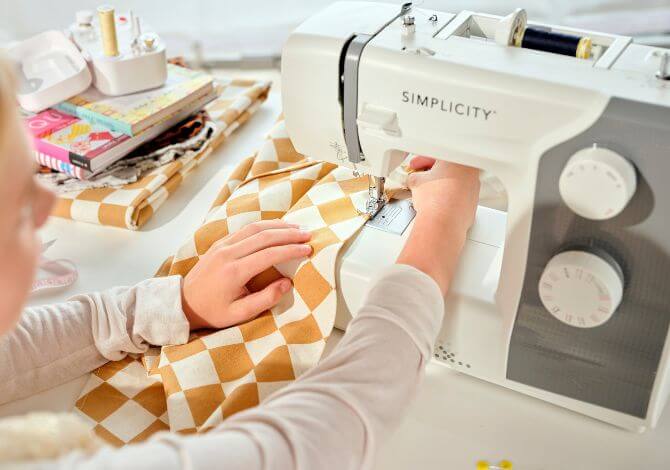
5 Common Sewing Machine Problems & How To Fix Them At Home
Using a sewing machine makes sewing a lot quicker and easier, but with this comes a whole new range of problems we never had to deal with when we sewed using only our hands. Whether you’re new to using a sewing machine or you've been using one...
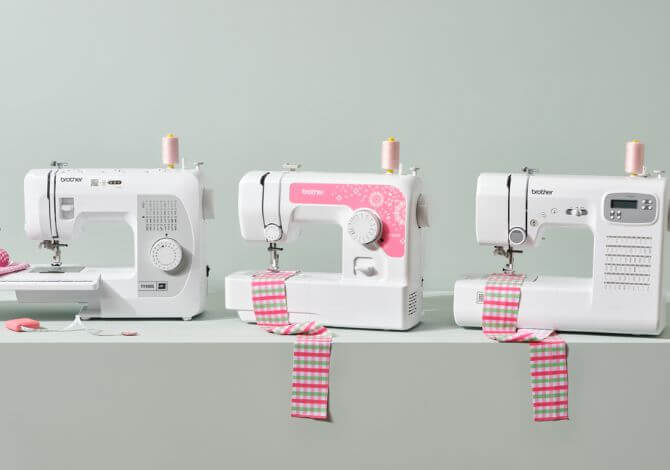
Manual Vs Computerised Sewing Machines - Which Is Best For You?
If you ever want to do more than sew a button or fix a small tear, you’ll need to use a sewing machine. Sewing machines have revolutionised the world of sewing, making the process faster, easier and more accessible for beginners to learn. When it comes…
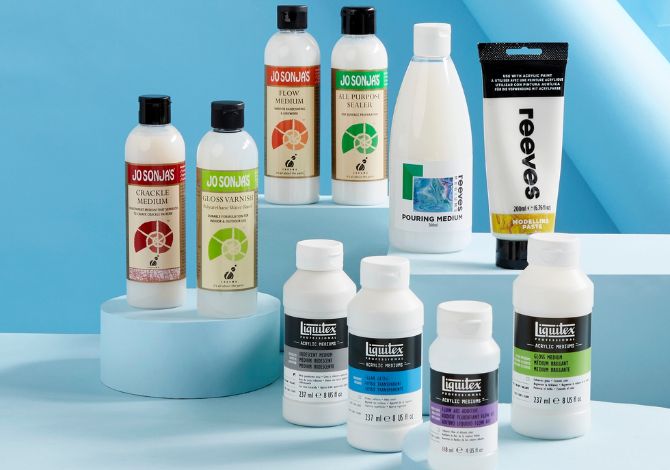
6 Acrylic Paint Mediums You Need To Know About
To help you make sense of it all, this blog will go through some of the most popular types of acrylic paint mediums, including how they work and what kinds of things you can do with them. Let’s dive into the types of mediums in art...
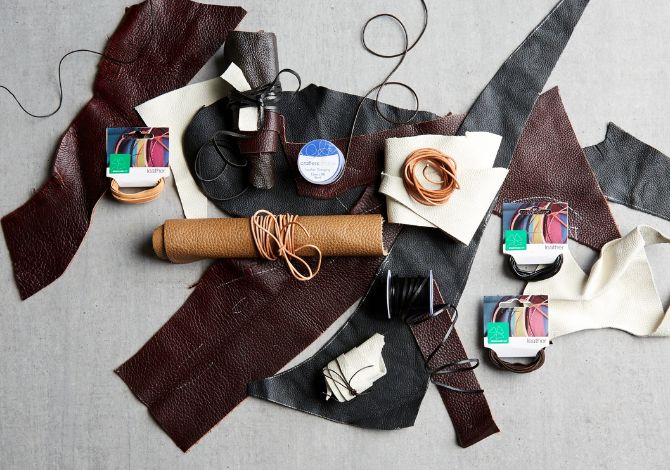
Everything You Need To Know About Leather Craft For Beginners
This leather crafting guide will go through everything a beginner needs to know about working with leather, from how leather is made to how you can sew, dye, paint and fix leather at home - plus we’ll touch on how faux leather differs from natural…
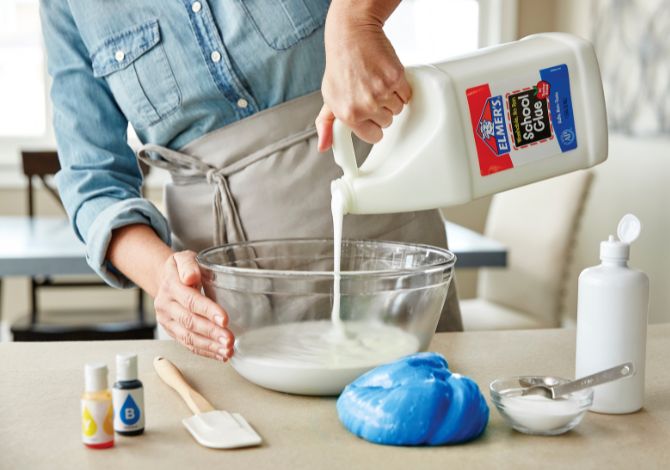
How To Make Slime And Playdough For Your Kids
Kids of all ages love to play with slime and playdough, but rather than spending your money on the premade stuff, why not make your own?
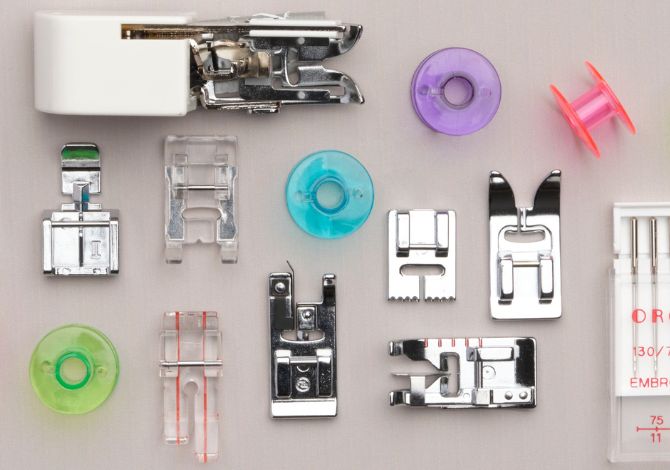
5 Types Of Sewing Machine Foot Explained
There are a lot of types of sewing machine foots out there, but how many of them do you actually need? At Spotlight we’re delighted to offer you a huge range of sewing machine foot types, (as well as other sewing machine accessories)...
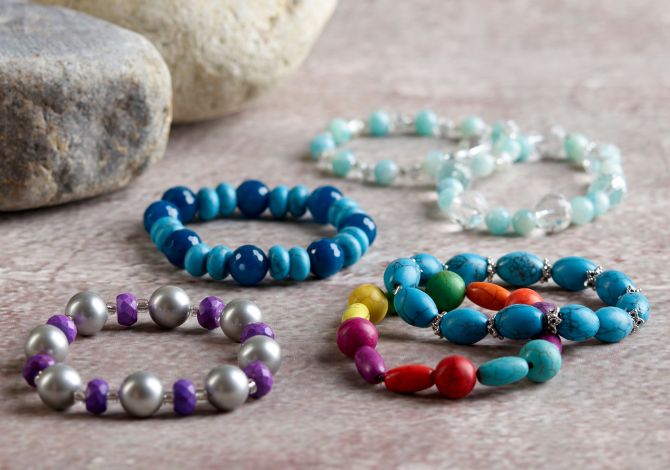
How To Make Friendship Bracelets With Beads + Ideas!
Whether you’re making DIY friendship bracelets for your buddies or creating your own unique beaded jewellery, learning how to do beading is a great skill for anyone to have.
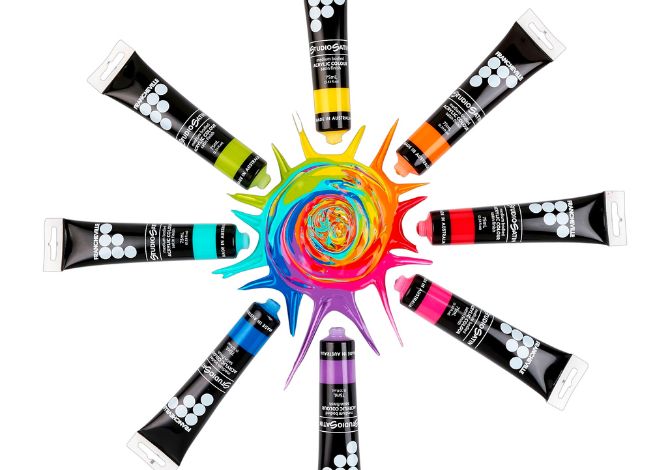
How To Mix Paint Colours
If you love to paint, you’ll know the pain of wishing you had the perfect shade or colour when you don’t have it on hand, or you can’t find it at your local art store. While the range of paint supplies at Spotlight is vast, having the ability to make...
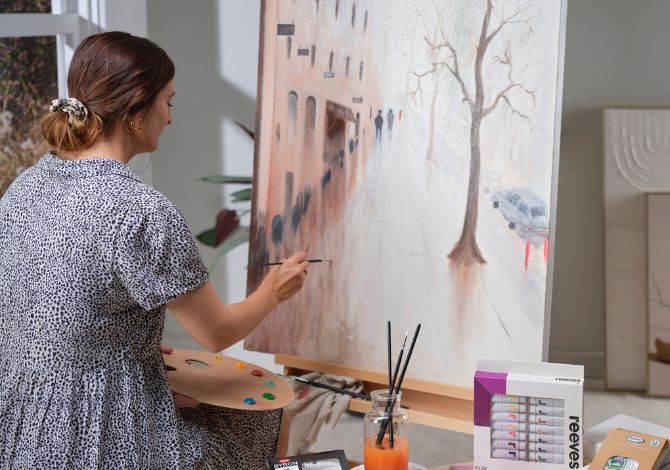
The Guide To Painting Shadows For Beginners
Adding shadows and highlights to your artwork may seem like an afterthought, but it’s crucial to get them right if you want your artwork to have realistic depth and layers… know how to paint shadows, you can take your painting game to the next level!
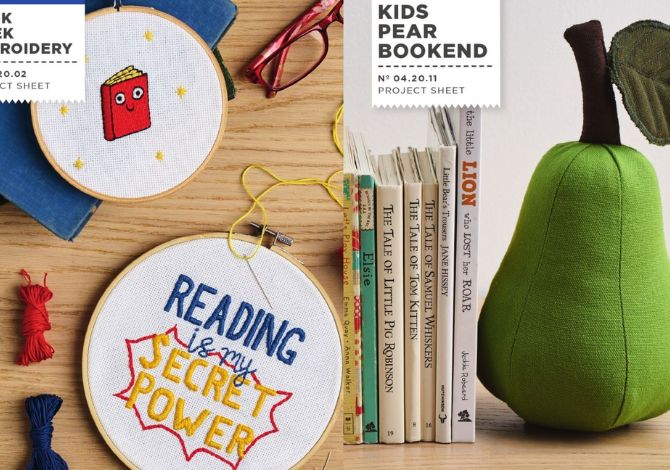
Crafty Ideas To Help You Celebrate Book Week
For many teachers and students Book Week is one of the most exciting times of the year, where everyone’s favourite books and characters are celebrated in style. Decorating the classroom, playing games and dressing up as popular characters are all...

The Benefits Of Finger Painting - For All Ages!
With its range of benefits and simple execution, finger painting is the perfect way to fill time and have fun while you’re at it! Traditionally the domain of very young children, finger painting can actually benefit adults as well - so let Spotlight…

What Is Gouache Paint, And How To Paint With It
While we all know the main three types of paint, acrylic, oil and watercolour, there is a fourth that both beginner painters and professional artists love to use… gouache paint! Gouache paint is easy to use, comes in all your favourite colours…
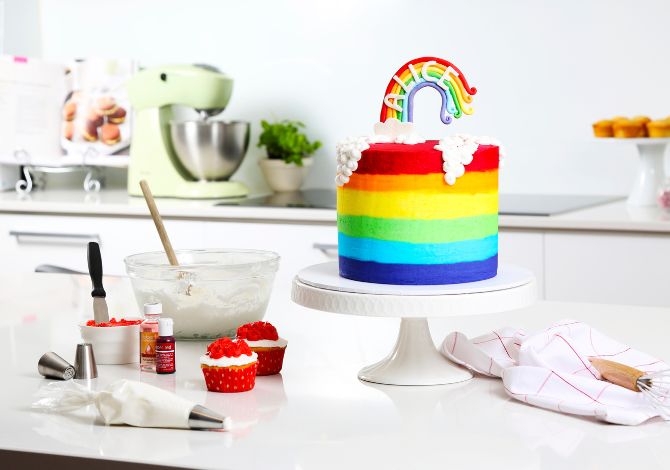
5 Essential Skills To Make You An Icing Pro
You’ve done the hard part - you’ve baked a delicious cake, a tray of cupcakes or a pan of brownies. But now you need to dress them up - after all, we eat with our eyes before our mouths, and a decorated dessert will set mouths watering!
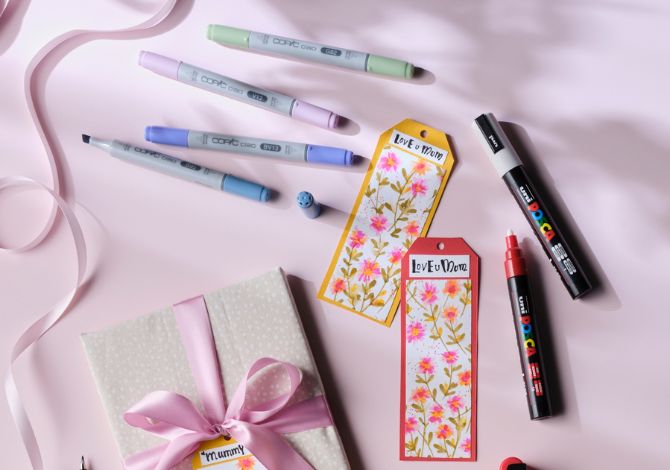
How to Master Drawing With Markers - The Ultimate Guide
Markers are the artistic choice for many of us children, due to their bright colours and mess-free use. But no longer are markers confined to the pencil cases of school kids! Professional artists embrace drawing with markers for a number of reasons…
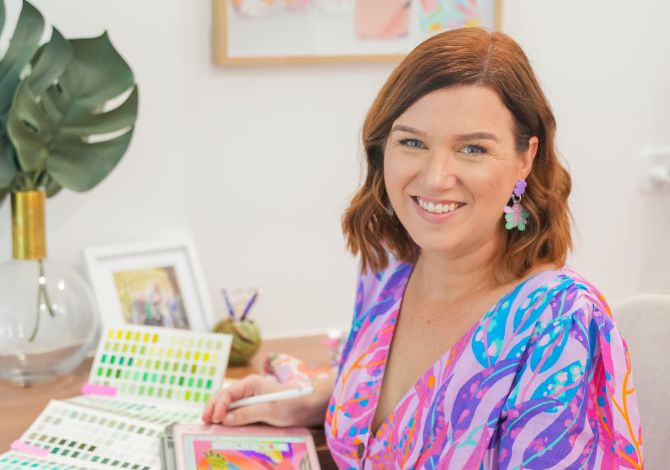
Meet Retro Textile Designer Ellie Whittaker
I design bright and bold, Aussie fabrics that I like to think of as ‘new nostalgia’. Each of my designs is imbued with the colour and whimsy of my 80s childhood. I also like to weave stories through each design: unexpected elements and truly Aussie…
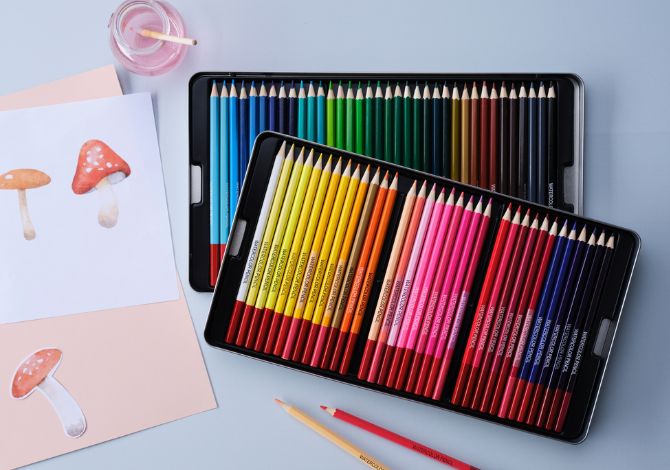
How To Use Watercolour Pencils
What do you get when you combine the ease of use and level of detail available using a pencil with the glowing colours and blendability of watercolour paints? The answer is the watercolour pencil, an amazing art tool that is much loved by both…
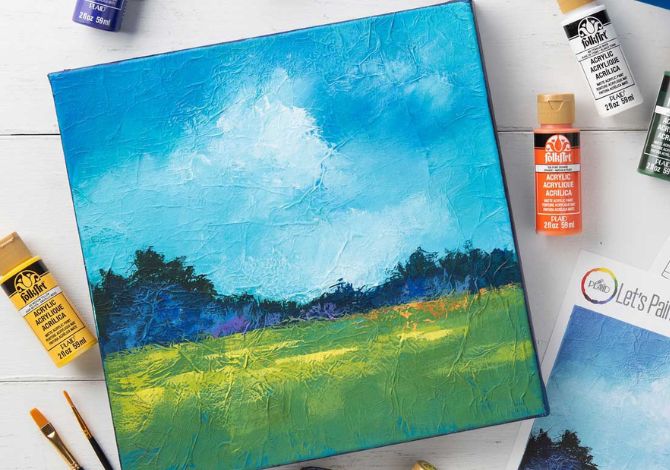
Acrylic Painting Techniques
Acrylic paint is beloved for its quick dry time, bright colours and flexibility, plus it cleans up easily from clothes and most surfaces. Out of all common paint types it has the most kinds of mediums, meaning you can modify your acrylic paint in…

Discover Cosplay Fabrics At Spotlight
When making your own cosplay costume, finding the right cosplay fabrics and materials can be one of the hardest parts of putting your costume together. Finding fabric for cosplay that has the texture and colour you need can have you…
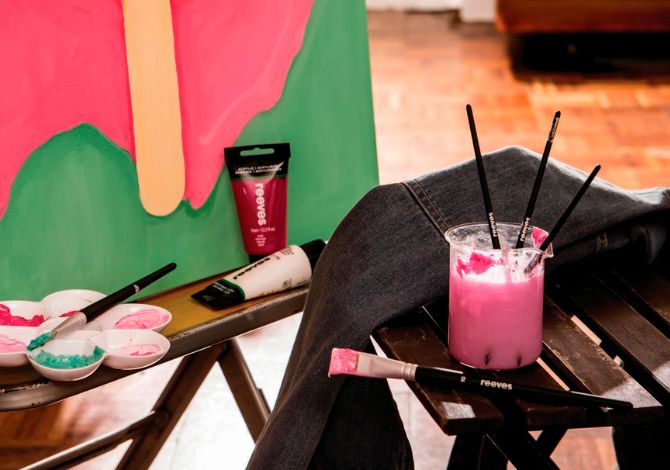
Types Of Paint Brushes & How To Choose One
Finding the right paintbrush can sometimes feel like searching for a needle in a haystack - there are so many sizes, materials and shapes to choose from, the choice can quickly become overwhelming! We have many paint brush types for you to choose…
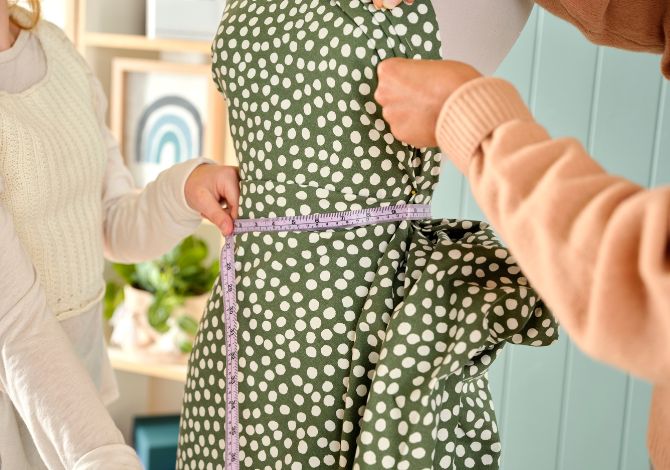
Five Sewing Projects For Beginners To Improve Your Sewing Skills
Are you new to sewing and need to better your basic sewing skills? Being able to sew straight, attach zippers and create darts are just some of the basic skills that will turn your rough projects into wearable pieces, and once you've got the basics…

How to sew - a guide to sewing for beginners
Want to learn how to sew? Spotlight’s guide to sewing for beginners will help you learn to use a sewing machine and basic sewing techniques - read how here!
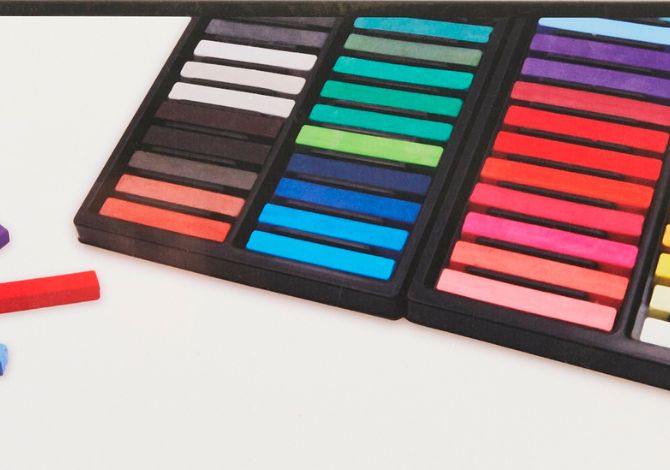
Your Guide to Soft Pastels
Looking for a medium that is colourful, fun and easy to use? Pastels may bring to mind a child drawing at school, but soft, hard and oil pastels are the tools of the trade for many professional artists, and can be used to create absolutely stunning...
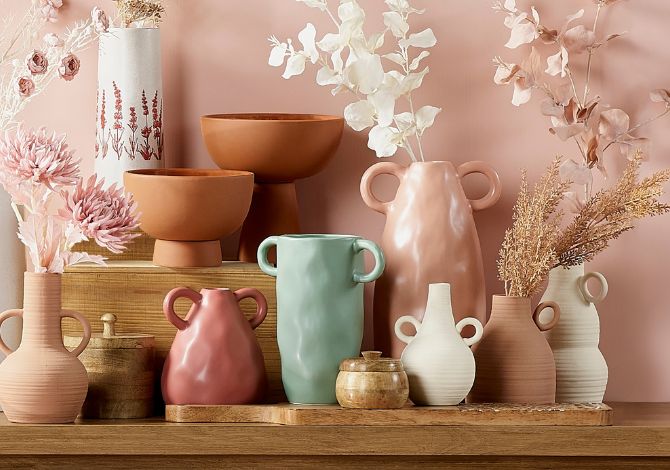
Making Pottery For Beginners
For a hobby that is relaxing, hands-on and ends with the creation of useful homewares and decor, look no further than the age-old art of pottery making! You can make bowls, cups, plates, jewellery and more out of clay, and when fired correctly…
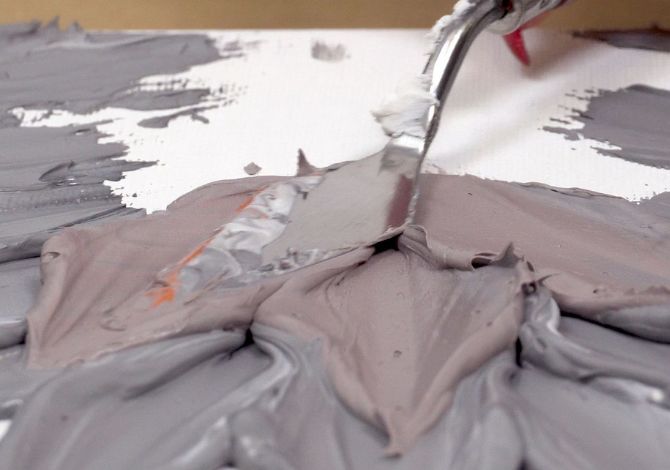
How to make textured canvas art and the impasto technique
Practiced by the masters and still incredibly popular today, impasto painting involves creating a textured painting with paint that rises off the page in peaks and waves. It allows the artist to create an incredibly detailed painting that is also...
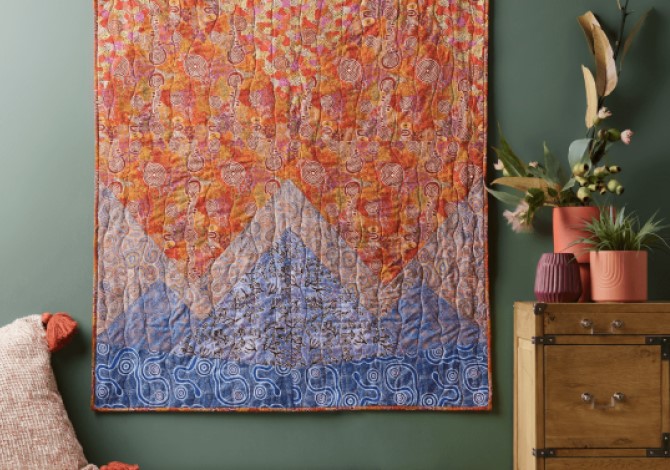
Celebrating Australian and New Zealand Designer Fabrics at Spotlight
At Spotlight, we are proud to have partnered with talented artists from all across Australia and New Zealand to create a series of stunning fabrics you can use in all your home projects. Each of these creators brings their own unique vision and style…
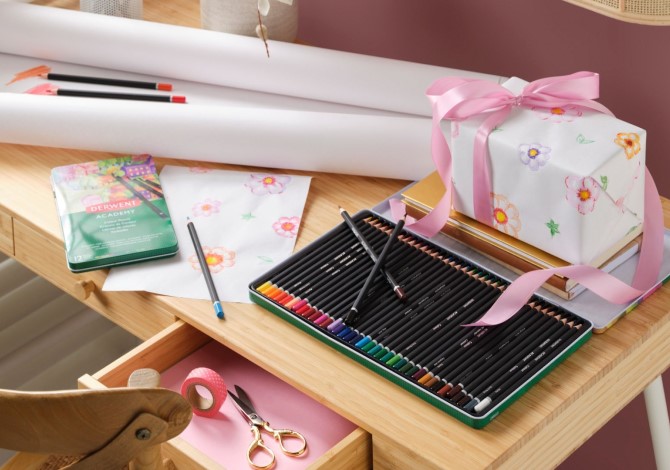
Back To School DIY Ideas & Essentials
At Spotlight we have heaps of great school supplies you can choose from, as well as many amazing art and craft supplies you can use to customise things like pencil cases and bookmarks.
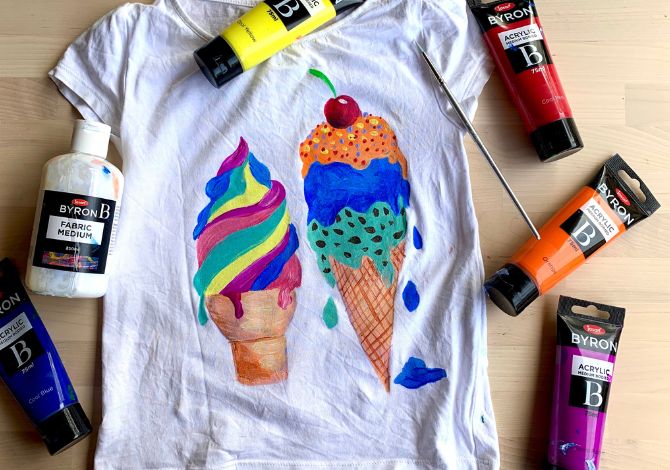
How to paint on fabric
Cotton canvas and art paper are the two most popular materials for painting on, but have you ever considered painting on fabric? Mastering fabric painting gives you the ability to paint straight onto canvas bags, shoes and your clothing, allowing you...
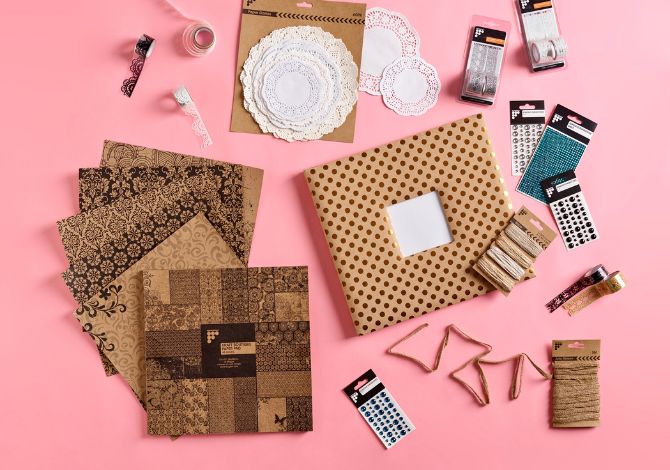
How to create a holiday scrapbook
Have you just returned from an amazing holiday? Many people like to post their snaps on social media, or maybe even create a special photo album filled with printed pictures from their holiday. If you love to craft, or are just looking for a more...

Cosplay ideas, tips and tricks
Are you thinking of making your first cosplay costume, or are you an experienced cosplayer looking for some tips to make your next costume your best one yet? At Spotlight our range of fabrics, haberdashery, costume accessories and crafts contains…
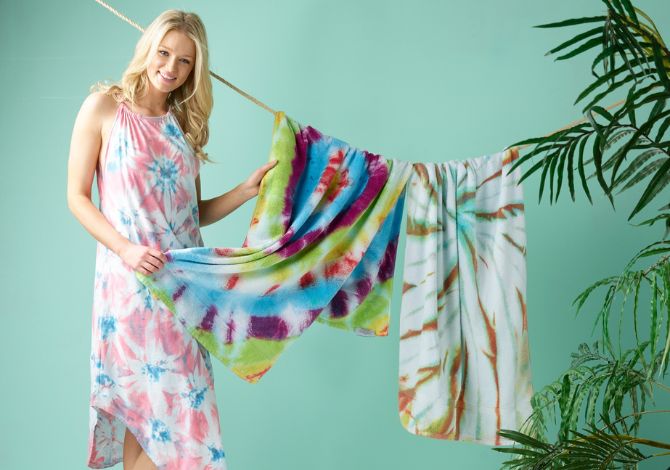
How to tie dye & popular tie dye techniques
Whether you’re a beginner wondering how to do tie dye or an experienced dyer looking for helpful tips, this article has got you covered. Read on to find out everything you need to know about how to tie dye, including pattern inspiration, colour setting…
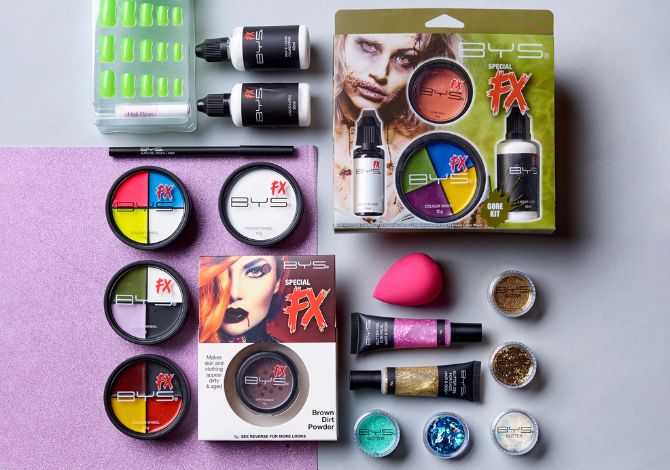
Four easy Halloween face paint ideas
Face paint can be the cherry on top of an already horrifying Halloween costume - take your scary outfit to the next level with any of these face paint tutorials!

Creating timeless custom pieces with one hand and handy sewing tutorials with the other - how Hannah does it!
Welcome to The Creative Files, where we speak to some of the biggest crafters, makers and designers, gaining insights into their creative processes, inspiration and their advice for newcomers. It was an absolute pleasure to chat with Hannah this week…
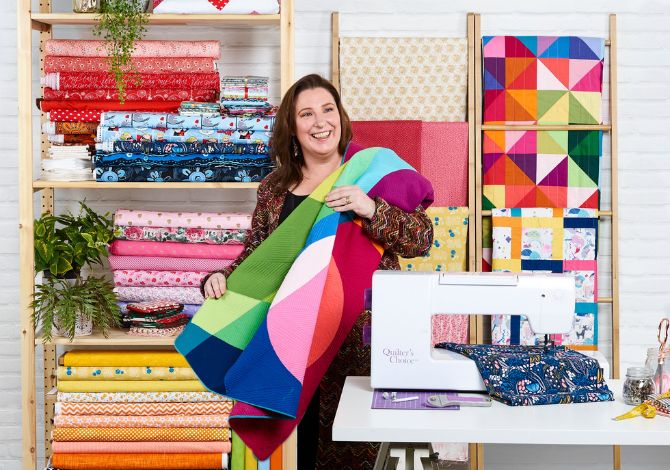
Three Quilting Projects To Get Creative With This Quilt Expo
It’s the most wonderful time of the year… if you’re a quilter, of course! Quilt Expo, Spotlight’s yearly love letter to everything quilting, is upon us, which means it’s time to grab your rulers, rotary cutters and sewing needles and start quilting!
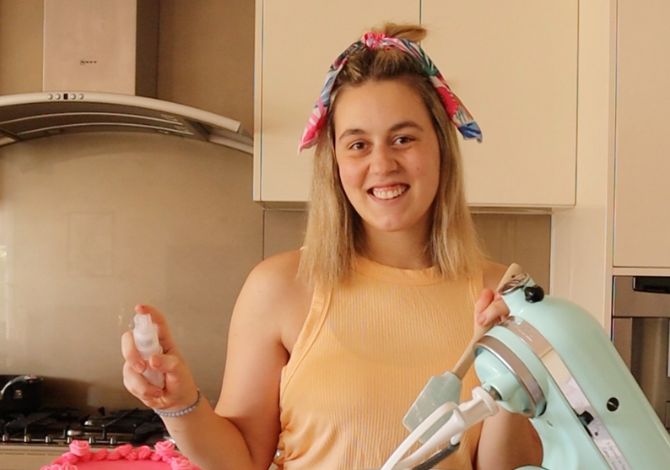
How Bridget powered through Covid to create her incredible biscuit and cake business
Welcome to The Creative Files, where we speak to some of the biggest crafters, makers and designers, gaining insights into their creative processes, inspiration and their advice for newcomers. It was a pleasure to chat with Bridget this week, the…

How Bec Arnold keeps herself busy by learning, making and playing with crafts
Welcome to The Creative Files, where we speak to some of the biggest crafters, makers and designers, gaining insights into their creative processes, inspiration and their advice for newcomers. We had an absolute blast this week chatting with Bec Arnold…
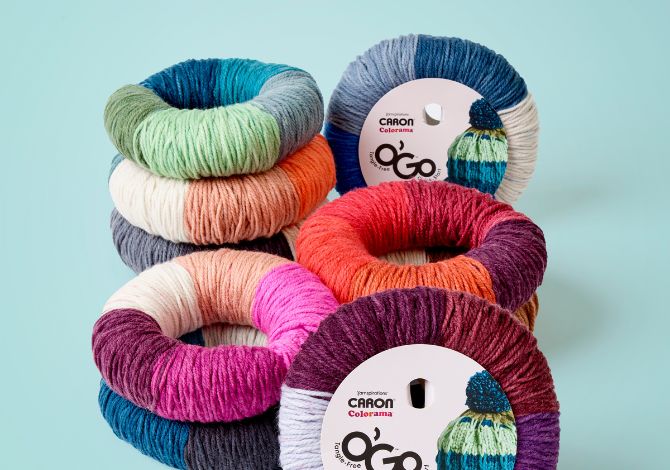
Introducing the Caron Ogo Yarn Range
The next innovation in yarn has arrived. Caron Colorama Ogo yarn features the gorgeous colours and hue transitions made famous by the Caron Cakes, but in a new format that avid knitters are going to love. Find Caron Ogo yarn online at Spotlight and…
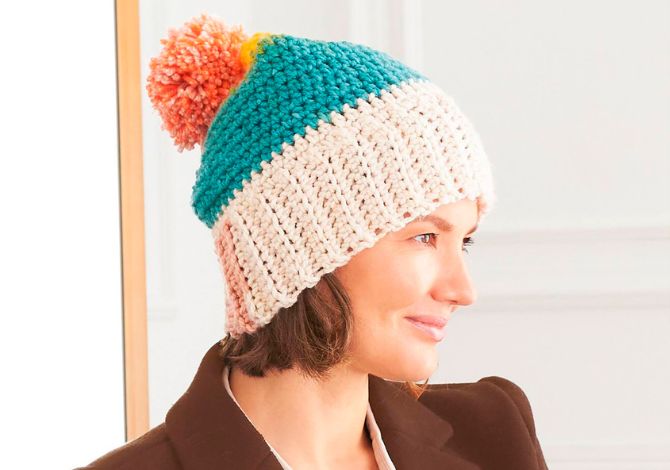
Our favourite Caron Ogo yarn patterns and projects
With its anti-tangle design and beautiful transitory colours, Caron Ogo yarn is a dream to use for all your knitting and crochet projects. Got your hands on some of this yarn but are not sure how to proceed? We at Spotlight have collected our three…
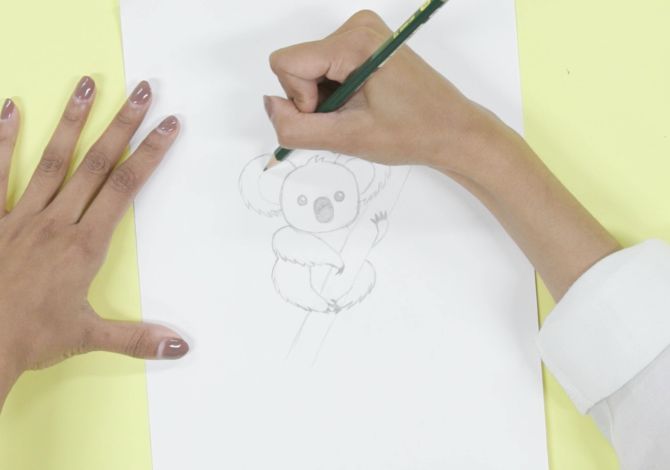
How to draw a koala
Learn how to draw a koala with pencil, plus how to protect and frame your koala drawing with Spotlight. Video & images included. Read the full article here!
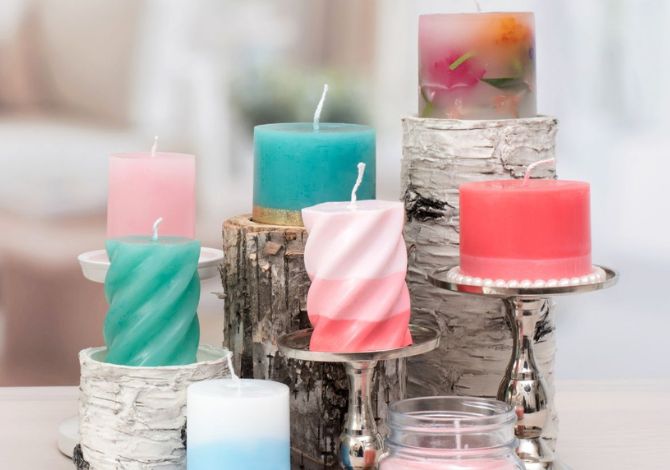
Everything A Beginner Needs To Know On How To Make Candles At Home
Candle making is an art that has been around since the times of the ancient Greeks, and while the exact process and candle making materials have been greatly refined over time, it remains a popular creative hobby to this day! Candles provide light…
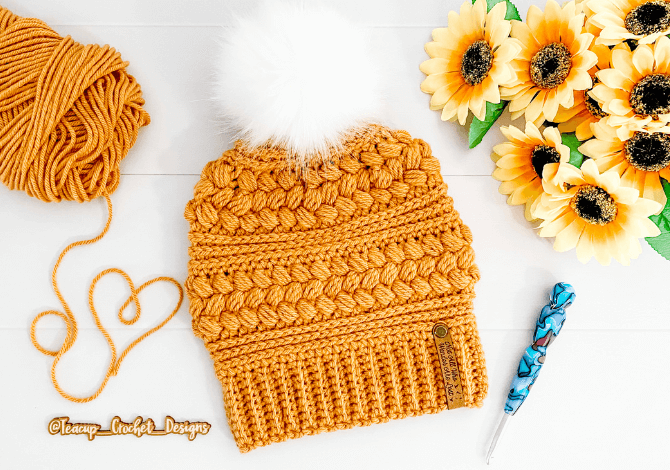
How Fallon from Teacup Crochet Designs conquered crochet
Welcome to The Creative Files, where we speak to some of the biggest crafters, makers and designers, gaining insights into their creative processes, inspiration and their advice for newcomers. This week we chatted with Fallon, the talented creator of…

How growing up in his grandparent's art and craft shop shaped Mr Macramé's creative journey
Welcome to The Creative Files, where we speak to some of the biggest crafters, makers and designers, gaining insights into their creative processes, inspiration and their advice for newcomers. We are thrilled to have been able to chat with Mr Macramé…

The ultimate guide to epoxy resin art
Resin art is taking the creative world by storm, and for good reason! Any art projects created with resin are hard, durable and glossy, with options for coating old paintings, creating artwork with coloured resin and even suspending objects in 3D resin…
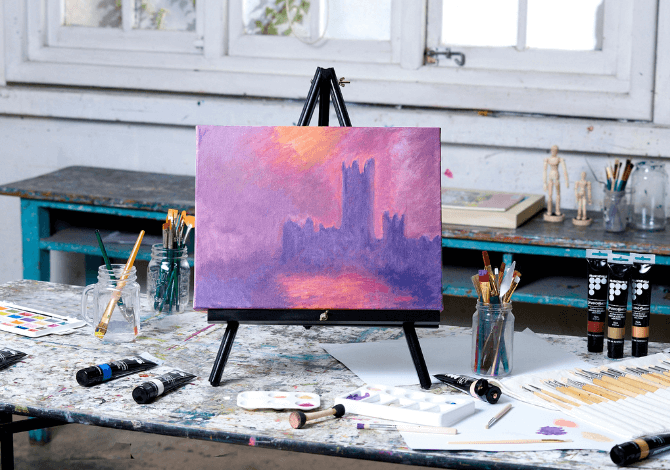
How to choose & paint on canvas
If you are confident in painting on paper, then creating your next work of art on a canvas is a challenging but exciting step. Painting on canvas can be quite different to painting on paper, but don’t worry - this guide will help you learn all about…
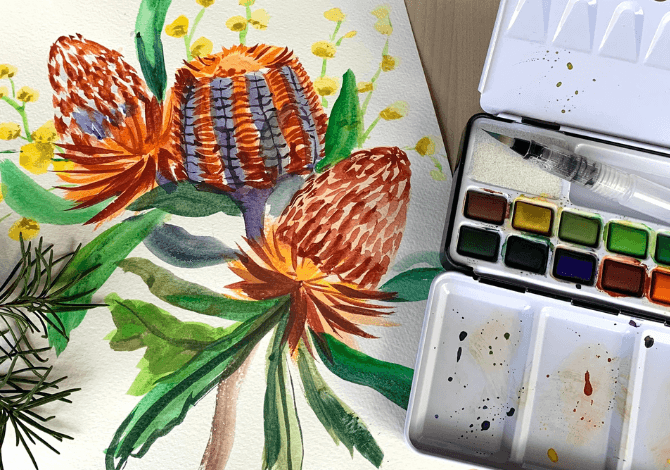
The complete guide to watercolour painting for beginners
Watercolour painting is very different from its acrylic and oil painting cousins. Whether you are a new artist looking to learn how to paint or an experienced acrylic painter wanting to switch mediums, this guide will help you learn watercolour…
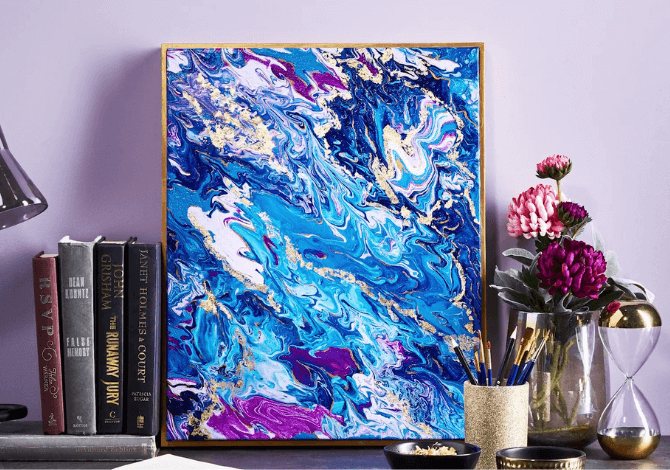
The Complete Guide to Flow Painting & Pouring Techniques
Looking for a fun, easy and effective way to create beautiful pieces of art? Fluid art, also known as flow art or flow painting, involves pouring prepared colours onto canvas and then letting the paint do the rest of the work for you - resulting in a…
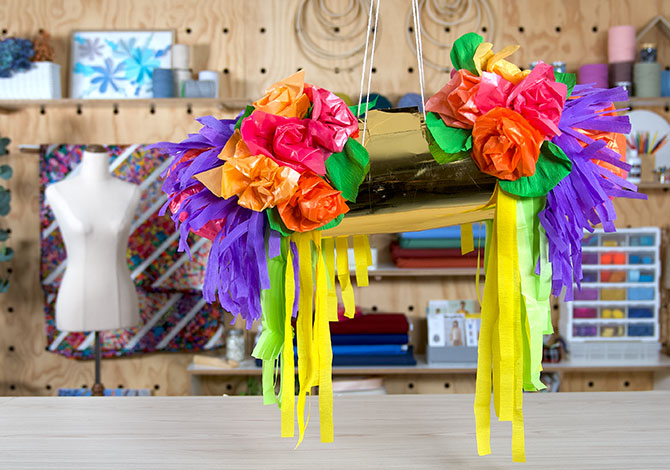
How To Make A Pinata In Two Ways
One of the best birthday activities for kids is the breaking of a pinata and the release of the treats within! You can buy birthday pinatas and accessories from Spotlight, but did you know that making your own pinata isn’t as hard as it looks?
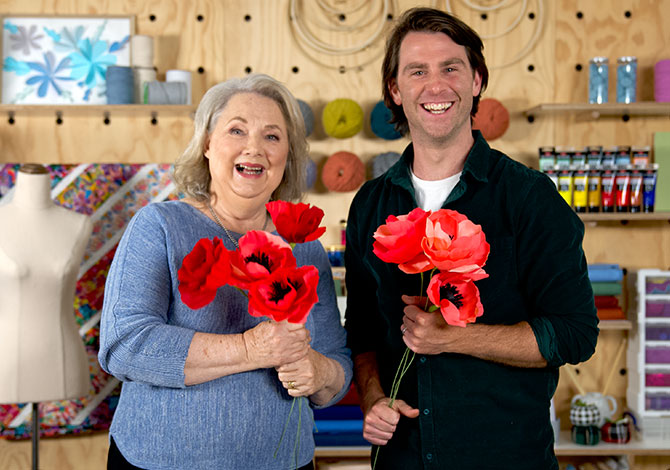
How to make paper poppies with Tonia Todman and Jimmy Rees
Throughout Make It March, we’ll be celebrating everything arts and crafts and sharing fun art projects to inspire your creative side! In this instalment, learn how to make these paper poppies with our special guests Tonia Todman and Jimmy Rees.

How to make an engagement party dress with Katie Parrott
Katie Parrott has partnered with Spotlight to create her own stunning engagement party dress using our great range of quality fabrics. Discover her tips for 'pattern hacking' and how she was able to design and make this absolutely beautiful dress!
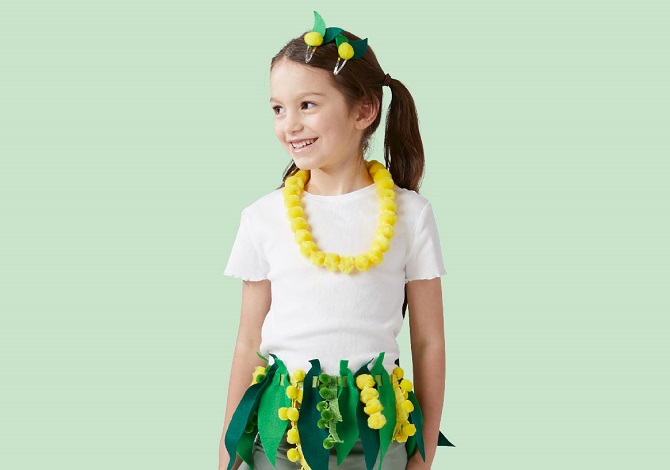
DIY Book Week Costume: How to make a kids' Gumnut Baby costume
It’s nearly time for CBCA Book Week. If you’ve got kids in primary school, you'll know what that means: time for some literary-themed kids' Book Week costumes. (And plenty of reading, of course!) One book that never goes out of style is Snugglepot and...
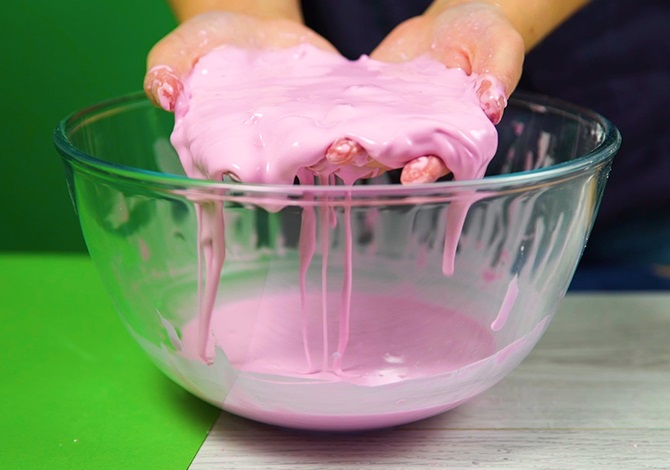
National Science Week: 3 easy science experiments for kids
Who says science experiments for kids can’t be fun? And messy? And cute? And a bit gross? Just in time for National Science Week, we’ve concocted three easy hands-on projects that little ones will love. Because sometimes the best science experiments...

How to Season and Clean For Cast Iron Cookware
We have a simple guide on how to make the most of your cast iron cookware, including helpful step by step instructions on how to season your cast iron and how to clean and care for it after use.

Your Guide To S-Fold Curtains And How To Style Them
This helpful guide will take you through everything you need to know about S-Fold curtains and our range of these stylish window dressings.

Best Noise Reduction Curtains & Blinds To Create A Peaceful Sanctuary
We'll take you through all the best noise reduction curtains and blinds to help transform the ambience of your home and muffle any unwanted noise from beyond your home.

How To Set Up A Balloon Garland - DIY Guide
Whether you're planning a birthday bash, a wedding or a festive gathering, our step-by-step guide will help you craft a beautiful balloon garland that will wow your guests.

Make Your Space Cosy By Finding the Best Curtains for Winter
Through rain, hail or even snow, you can rely on Spotlight's range of ready-made curtains to help you maintain a comfortable temperature in your home!

Discover the Best Blinds For Winter to Help Insulate Your Home and Keep Your Space Feeling Cosy
Stylish and practical, blinds act as a barrier between your room and your windows, helping you to regulate the temperature of your home and trap your heating inside.

The Best Flannelette Sheets and Quilt Covers - Benefits of Flannelette Bed Linen
With flannelette sheets and flannelette quilt covers, you can create an entire cosy bedding arrangement that will instantly transform your sleep. Check out all the benefits of flannelette for your bed linen.

How to Wash & Care For Flannelette Sheets
In this blog we'll take you through the best ways to care for your flannelette sheets so you can keep them soft and cosy for as long as possible and enjoy being toasty warm in winter every night!

Winter Bedding Essentials: Snuggle Up With The Best And Warmest Quilts For Winter
With the end of summer comes the time to prepare your bedding for winter. The climate and weather conditions play a key role in our sleep, so it is important to alter our bedding to target specific weather temperatures.

Have A Hoppy Easter With These Easter Table Setting Ideas & Easter Home Decorations
With so many ways to celebrate Easter, we have you covered on all thing's regarding decorations and table settings.

Pastel Bedroom Ideas: How to Style A Dreamy Look
A pastel colour palette evokes an effortless dreamy aura that will instantly have you feeling at peace as soon as you enter your bedroom.

Six Earthy Home Decor Ideas To Style Your Home For An Autumn Charm
From the colour palettes to the materials of the decor you shop for, we ll take you through six of our favourite earthy decor ideas to refresh your space with for that autumn charm!

Bedding Rejuvenation: How To Refresh Your Mattress with a Mattress Topper
We ll take you through the role mattress protectors and toppers play in your wider bedding arrangement as well as how these bedding items act to protect and safeguard your mattress.

How To Care For And Wash A Quilt Cover To Feel Fresh And Well Rested
Whether you've just moved out of home or taking on a new chore, we'll help you learn how to wash a quilt cover to leave your bedding looking cosy and comfortable.

5 Luxe Autumn Bedding Styling Ideas & Tips
At Spotlight, our fabulous range of bedding has something for everyone - Let us inspire you here with these gorgeous autumn bedroom ideas!

Create The Perfect Retreat: The Best Rugs For Your Bedroom
We’ll take you through our favourite materials for rugs and how certain materials can accommodate your insulation needs.

Get Picnic Ready This Summer With Spotlight: What To Bring To A Picnic For The Perfect Outdoor Gathering
Stuck on what to bring to a picnic? Spotlight has everything you need to throw a fun-filled outdoor dining experience.

10 Easy Summer Home Decor Ideas To Brighten Your Home
From functional pieces to more decorative summer home decor ornaments and details, there are a number of summer home decor ideas you can take advantage of to brighten your home with ease.

A Space To Rest, Relax And Unwind: How To Decorate And Style Your Sunroom
From furniture pieces to more subtle ornaments, we’ll take you through all the ways you can elevate your sunroom.

The Best Cooling Mattress Toppers For a Comfortable Sleep
Sleep is incredibly important in how we live our day to day lives. A good night’s sleep is key to feeling well-rested and rejuvenated the following day so that you are prepared to tackle any task that comes your wa

What Are The Best Outdoor Rugs? Everything You Need To Style Outdoor Rugs In Your Home
We’ll take you through everything you need to know about outdoor rugs to help you choose the best one for your home.

What Are Machine Washable Rugs? A Combination Of Style And Convenience
Busy households call for home decor pieces that are able to withstand whatever life throws at them. Whether that be stains, crumbs or footprints, you want to make sure your furnishings are durable enough to complement your everyday life.

How To Decorate With Jute Rugs & Why You'll Love Them
Rugs are exceptional home decor pieces that not only contribute to your overall decorative style, but also offer a layer of insulation in your space. They are available in a range of designs to complement a variety of aesthetics.

We’ve Got Your Windows Covered: What are the Best Summer Blinds For Your Home?
With many types of blinds for summer available, we’ve got your windows covered!

Benefits of Bamboo Cotton Sheets & Why You'll Love Them
Have a read through this article and discover the range of advantages you can enjoy when incorporating bamboo cotton bed sheets into your selection of bed linen.

How To Style Sheer Curtains For Summer and Create a Breezy Summer Look
There are many ways to style sheer curtains in your home in summer - let us walk you through some of our favourites, as well as why sheer curtains can suit any room!

The Best Blockout Curtains For Summer and Why You Need Them
Read more about the best block out curtains for summer and their benefits.

Transform Your Bedroom: How to Style Washed Linen
In understanding how to style washed linen bedding, you may first be thinking what is washed linen? Have no fear, we’re here to help.
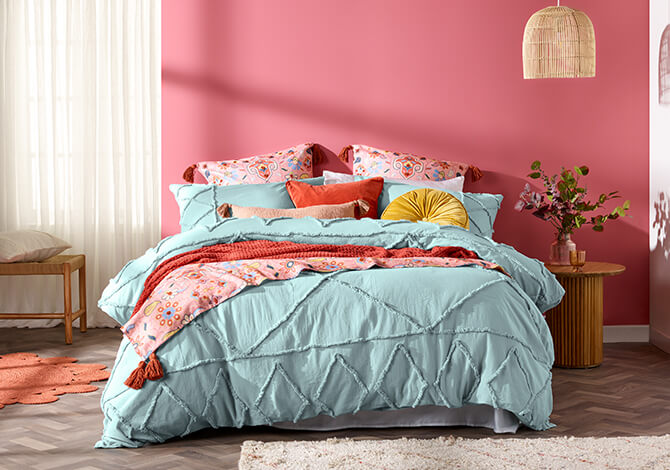
10 Spring Home Decor Ideas To Refresh Your Space
If you're pining for a blossoming floristry touch in your home, here are some spring home decor ideas to pop on your home redecoration to-do list.
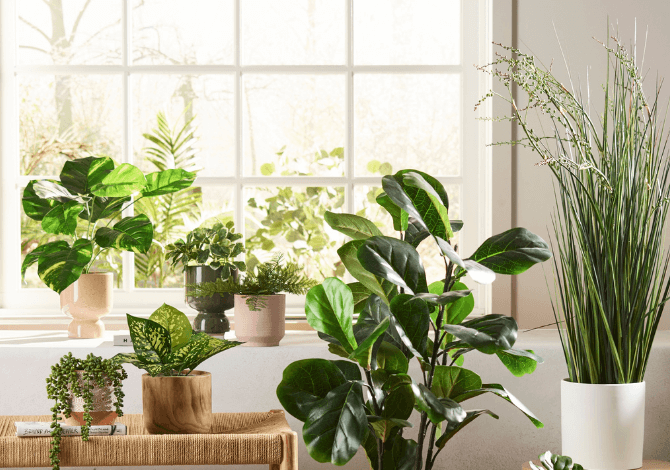
How to Style Artificial Plants & Greenery in Your Home
Worried about the constant upkeep? Then artificial plants and flowers may be the right choice for you!

7 Ways To Style Lamps In Your Home
Whether you want to bring more lighting to your space or looking for stylish lamp decor, this blog will go through everything you need to know about how to style lamps in your home.

5 Curtain Trends To Transform Your Home
In this blog, we aim to highlight the best curtain trends and ideas to transform your home and complement your interior styling for years to come.

Discover the Sophisticated Warwick Home Range at Spotlight
Offering a premium range of home decorating essentials, the Warwick Home collection boasts a refreshing colour palette of neutral hues and soft pops of colour to breathe new life into any living area in your home.

How To Make A Small Room Look Bigger
For those wanting to learn how to make a small room look bigger, in this blog we have compiled a range of options to help you understand how to make a room look bigger.
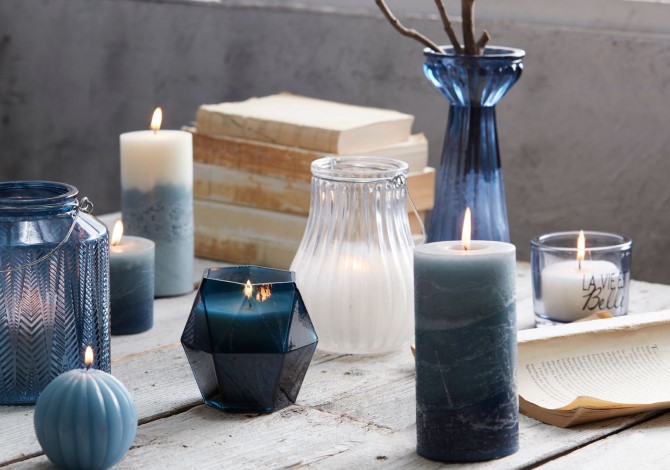
5 Easy Ways to Style Candles In Your Home
Let's go through five of the most distinct ways to style these candles, and what kinds of home decor styles they suit!
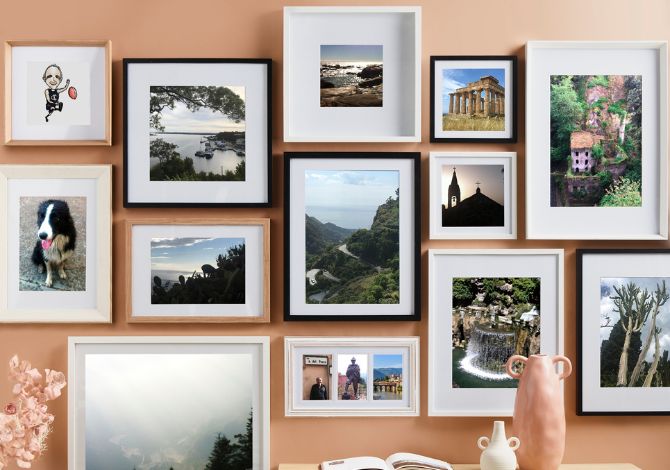
How To Do Your Own Art Framing
Whether you need to do some art framing on a budget or just love everything DIY, this blog will go through everything you need to know about how to frame a picture at home!
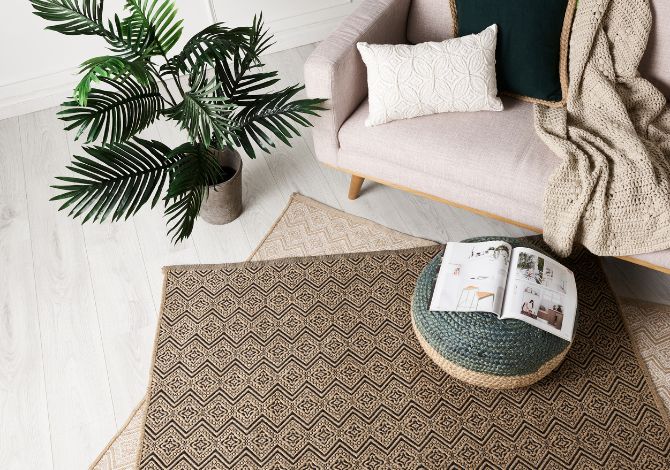
How To Layer Rugs + Other Rug Laying Ideas
If you’re new to rug layering then this is the blog for you - we’ll go through where in your home you should layer rugs, a few different rug combination ideas and some helpful tips on how to layer rugs in interesting ways.
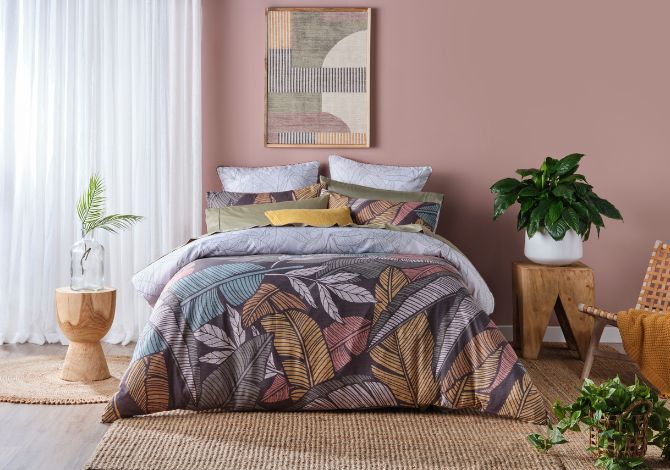
8 Nature Inspired Bedroom & Home Decor Ideas to Try
At Spotlight we offer an extensive range of decorative pieces to transform any room in your home into an environment that exudes a natural charm. Discover our extensive home décor range to elevate your home styling here!
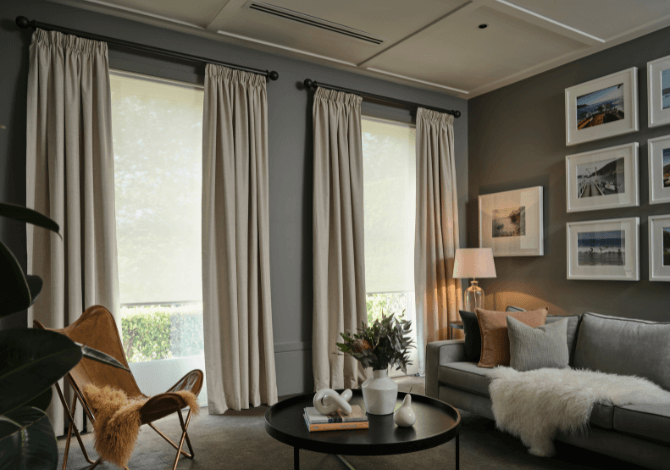
6 Mistakes To Avoid When Hanging Curtains
Hanging curtains yourself is a great way to save money, but it’s not as easy as the professionals make it look - check out the six most common mistakes made when hanging curtains, and how you can avoid making these curtain mistakes at home.
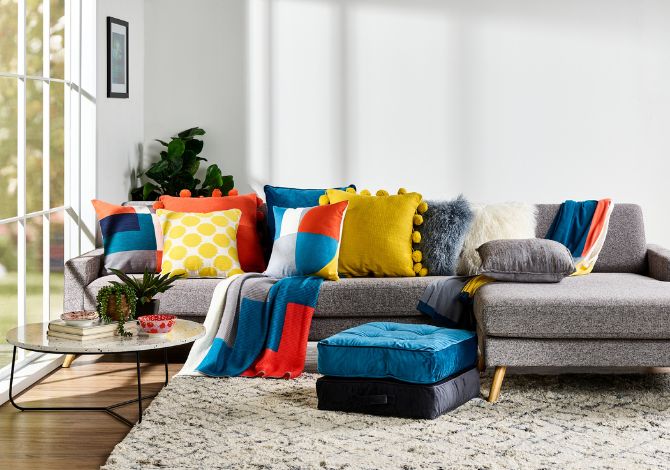
How to Wash & Clean Cushions at Home
In this blog we’re going to discuss all the different ways you can clean your cushions, from a quick spot clean to a deep clean in your washing machine - read on and make sure you know everything you need to keep all your cushions pristine!
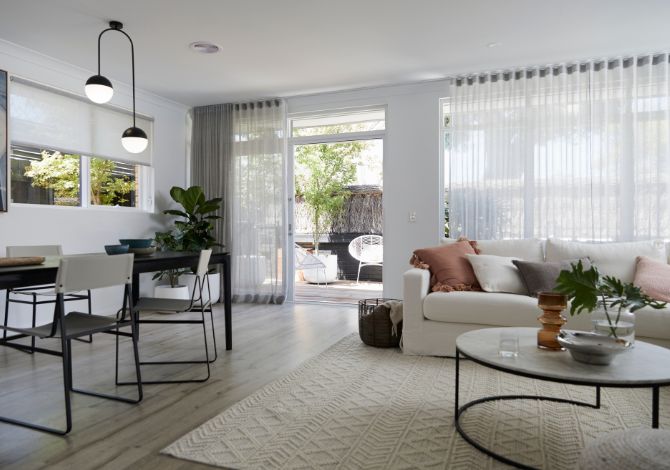
The Best Ways to Set up Curtains and Blinds on a Budget
We’ve got some handy tips and tricks that will make installing professional-looking curtains and blinds on a budget easy - read on to discover our favourite hints for installing blinds and curtains on a budget.
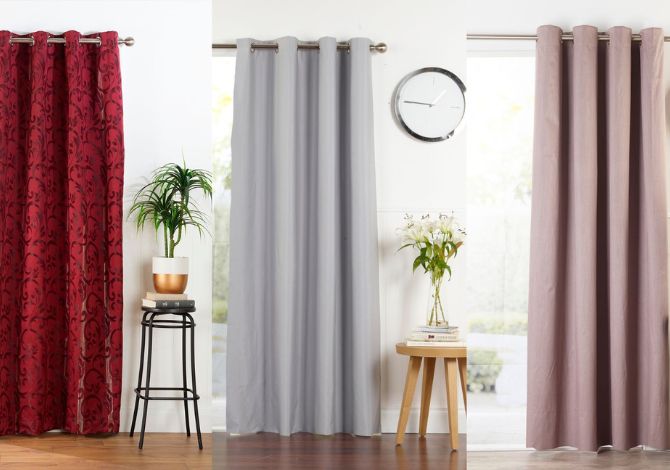
Your Guide To Common Curtain Fabric Types
Let’s go through the most popular curtain fabric types you can find and which curtain material is best for your home.
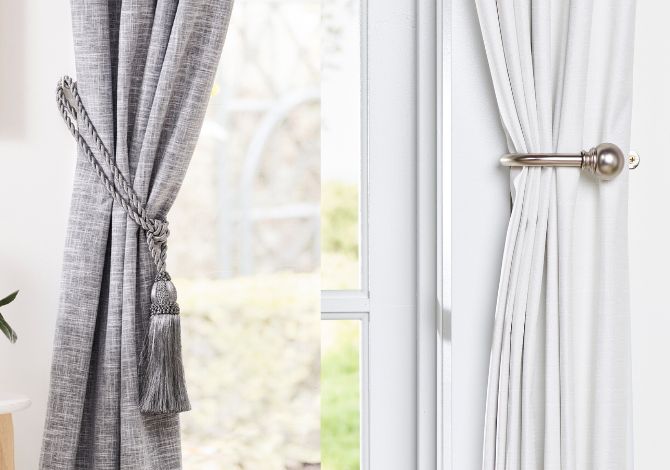
5 Stylish Curtain Holdback & Tie Back Ideas
Let’s go through five of the most distinct variations you’ll find here, and what kinds of home decor styles they suit!
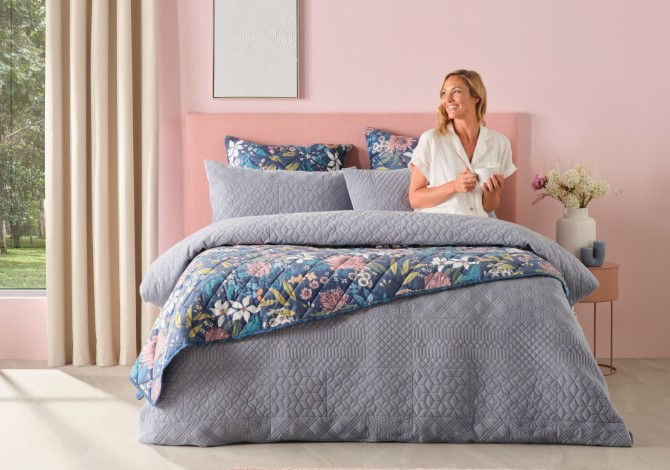
Refreshing Coastal Bedroom & Home Decor Ideas
Transform your home into an oceanic paradise using any of our dreamy coastal bedroom and home decor ideas!

How To Choose And Style Bedroom Curtains
This blog will delve deep into what kinds of curtains are best depending on a variety of factors, such as bedroom size and outdoor factors that can affect your sleep - plus a few style tips to ensure your bedroom curtains are always looking amazing!
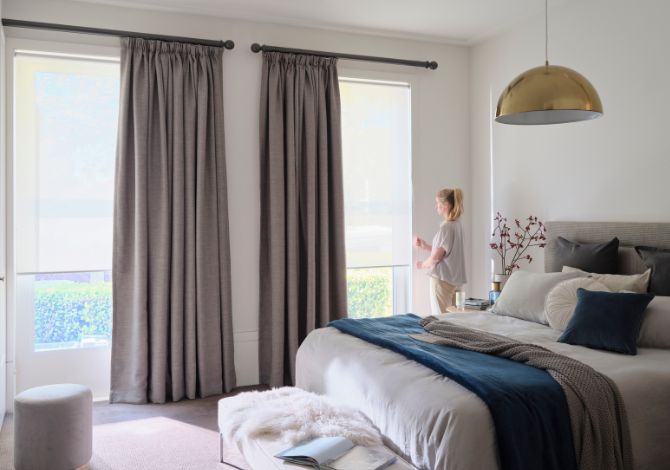
How To Layer Curtains And Blinds On Your Window Like A Pro
We know a thing or two about how to layer curtains with blinds, other curtains and accessories like pelmets and valences. Read on to discover our favourite tips and tricks for window styling with curtains, blinds and everything in between!
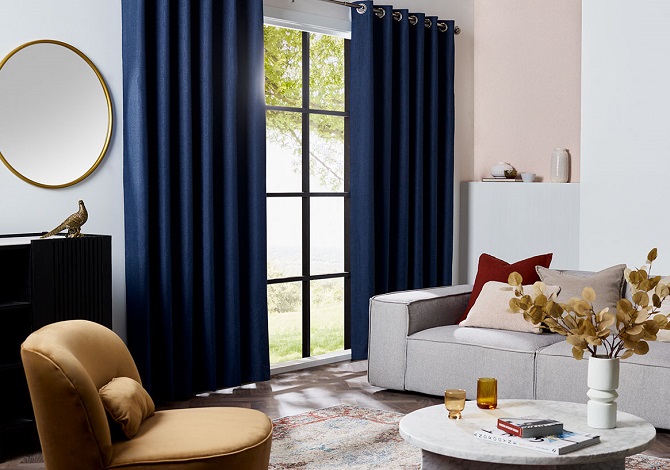
Baby, It's Cold Outside: 13 Ways For Keeping Warm At Home In Winter
When winter rolls in, you can either shake your fist at the sky and curse the cold, or take action to keep the weather outside. At Spotlight you can find everything you need to stay warm in winter - let these thirteen reasons show you how!
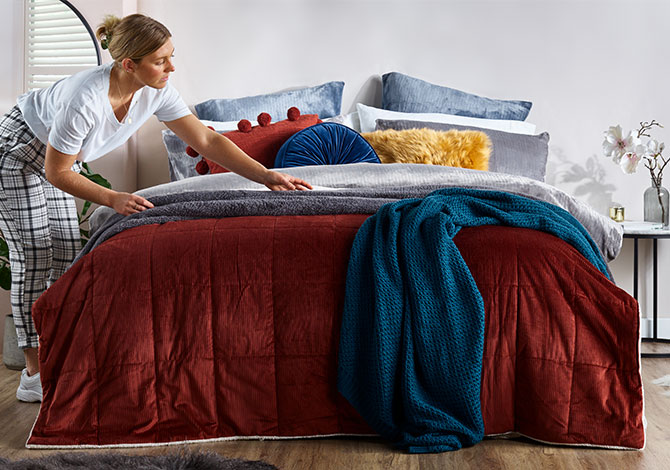
Winter Blankets: Create The Cosiest Bed Ever With These Layering Tips
Here's how to layer blankets for maximum warmth (and style) on the bed this winter. Sweet dreams!
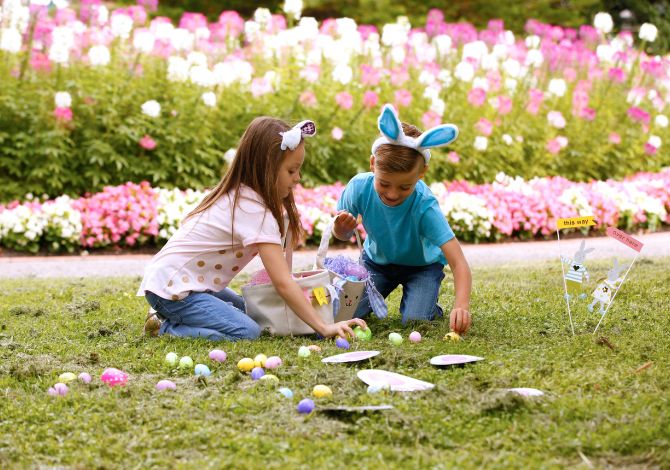
Everything You Need For An Easter Egg Hunt
Discover heaps of fun Easter egg hunt ideas, including hiding places and decorating ideas, for both outside and inside your home!
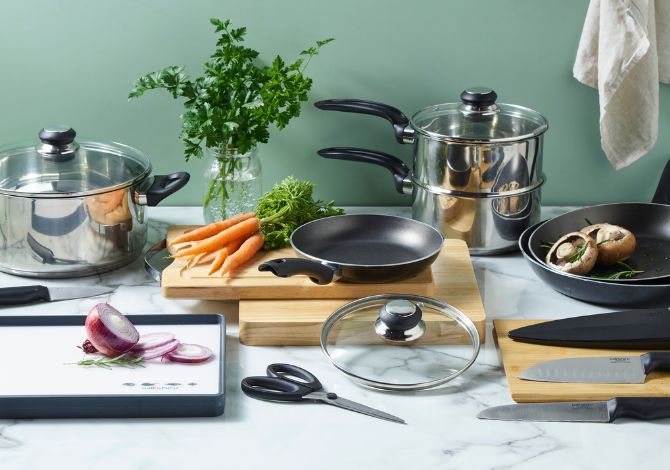
How To Clean A Chopping Board
In this guide we’ll detail the most common (and some of the rarer) types of chopping boards you can find, how to clean a chopping board properly depending on its material, and other care tips that will extend the life of your board…
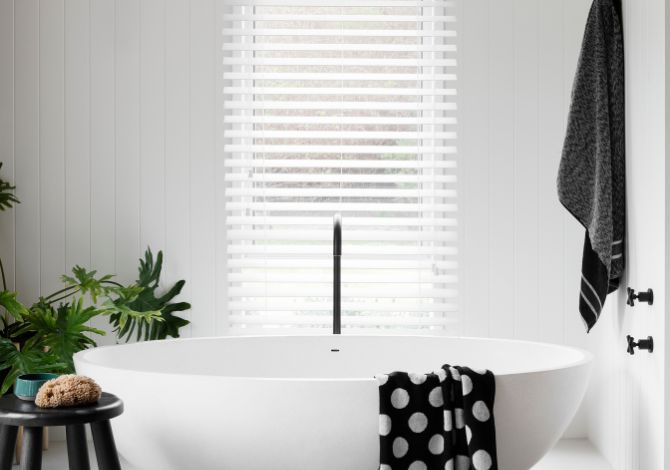
How To Choose The Best Bathroom Blinds
When it comes to covering your bathroom windows, specialised bathroom blinds are always your best option. The type of blinds and the materials you should use can vary, but this guide will walk you through all of it…
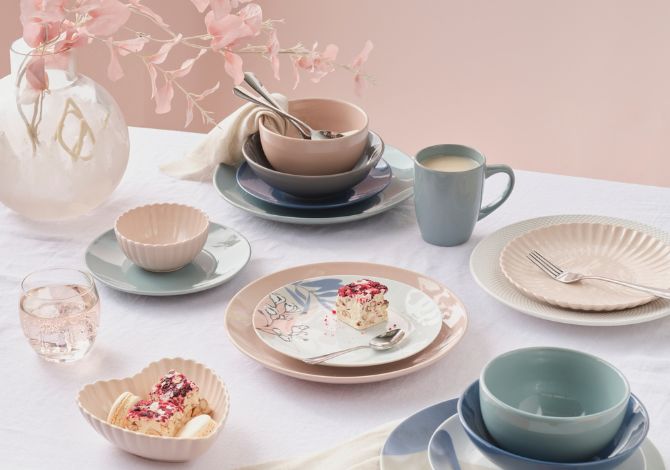
How To Create A Simple Valentine’s Day Table Setting At Home
Setting the table doesn’t need to be overly complicated or tricky - follow these simple steps to create your own beautiful Valentine’s table setting.
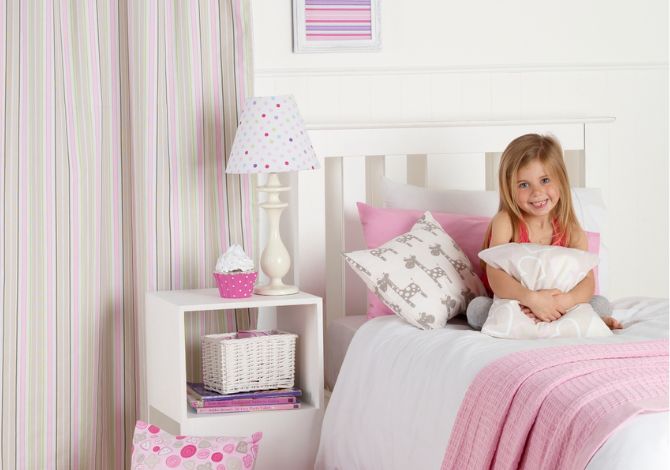
How To Prep Your Kid’s Bed For Summer
Spotlight’s range of kids’ summer bedding comes in many styles, sizes and colours, so there’s an option that every child will love - plus plenty of helpful extras that will make their bed super comfy!
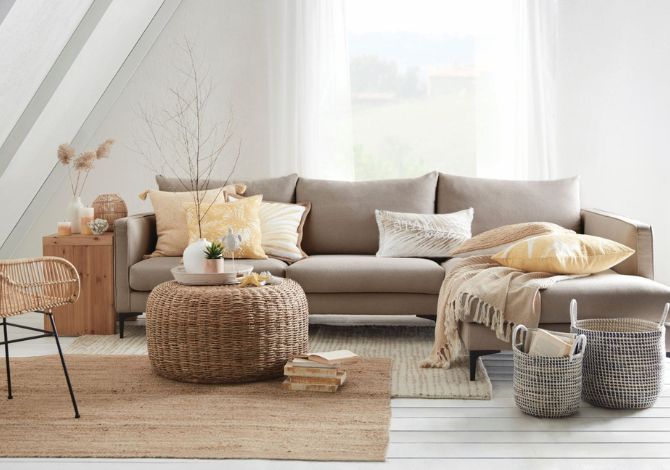
Refresh Your Space With These 5 Easy Living Room Decor Ideas
At Spotlight we love helping our customers create stylish homes on a budget, and when it comes to living room decor ideas we’ve got plenty you can implement without breaking the bank.
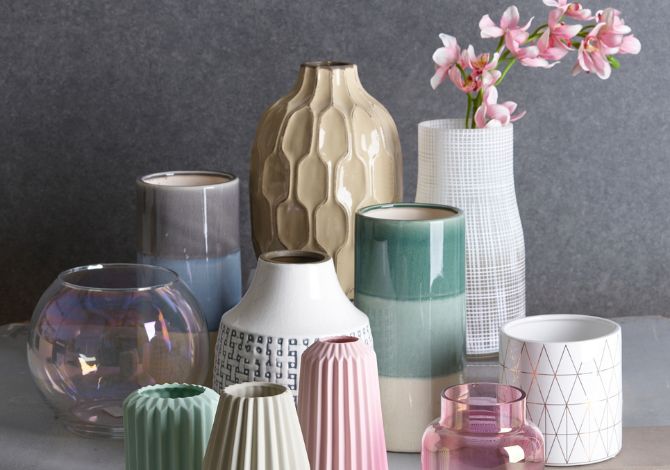
5 Creative Ways To Style Vases in Your Home
Whether you’re using them to hold flowers or just want to add some decor to an empty spot on your shelf, we’ve got five great vase decor and vase styling ideas you can try in your home today!
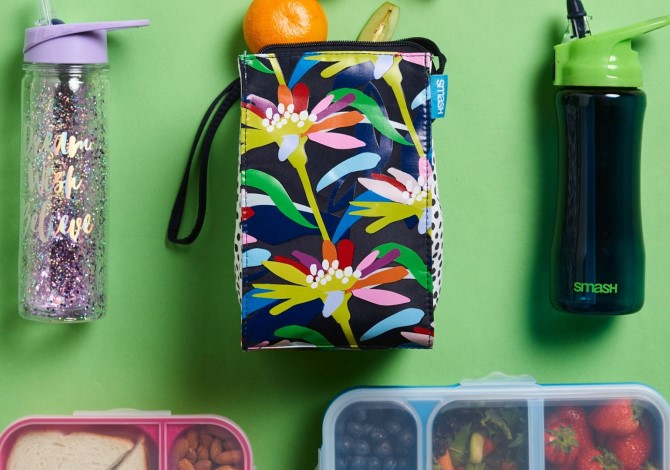
8 Food Storage Essentials For A Tasty School Lunch
Let’s go through eight of our food storage essentials we think you’ve got to check out this school year - each idea is great for both primary and high school lunch boxes!
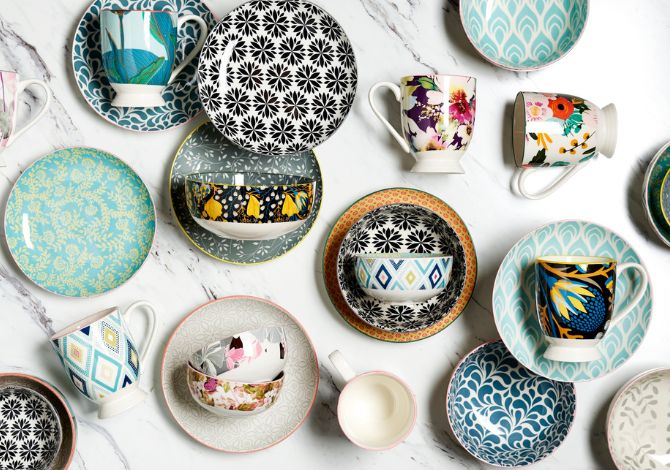
Ceramic Dinnerware Explained
To help you choose which kind of ceramic dinnerware is right for you, this guide will detail all the qualities of each, as well as how to best care for and maintain them. If you’ve ever asked ‘What is ceramic?’, then this is the guide for you!

15 Beautiful Pool Area Decorating Ideas To Try This Summer
At Spotlight we love a bit of home decorating, and this includes the outdoors too! If you’re lucky enough to have your own pool, then deciding how you will decorate your pool area is something we can help with.
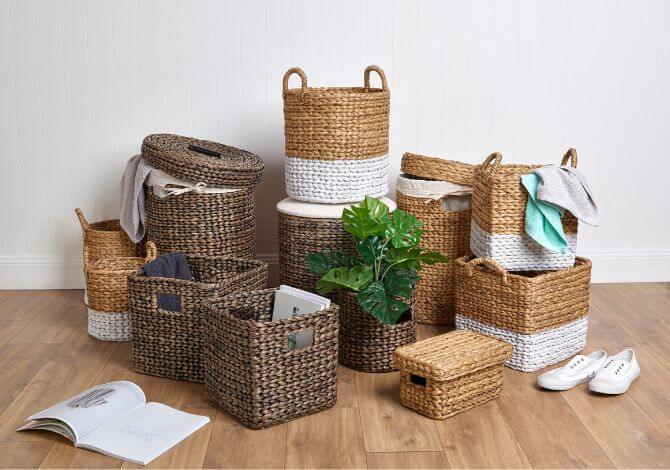
Home Storage Hacks For Every Room
Keeping your home tidy is never easy - whether your home has two or twelve people living in it, maintaining an organised home can be a challenge. Keeping every room clean can be tricky, but here at Spotlight we're pleased to offer you home storage…
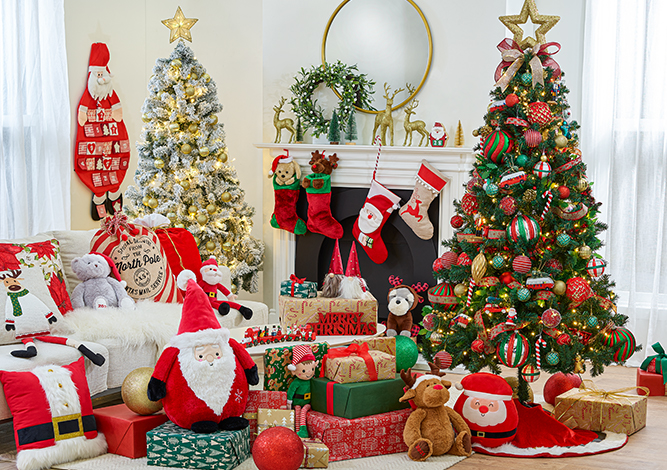
How to decorate a Christmas tree like a professional in 6 simple steps
There are so many different looks for styling Christmas trees these days - ones that go beyond the familiar fir or pine tree with red, green and gold decorations. But, there's nothing quite like having a traditional tree in the living room to really…
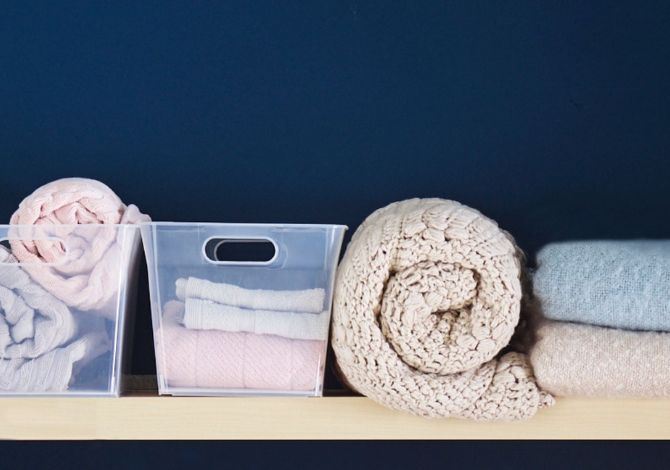
5 Linen Cupboard Storage Hacks
At Spotlight not only do we offer you a great range of quality bed linen and towels, but we know a thing or two about linen cupboard organisation as well! Let us share with you some of our best linen cupboard storage hacks…

The Washing Alternative: Keep Your Clothes Fresh With A Steamer!
At Spotlight we have a great range of garment steamers for you to choose from, but is this handy appliance the one for you, and is steaming really worth it in the end? We’ll answer these questions for you right here…

The Best Bedding For Your Style Of Sleeping
At Spotlight, you can find a huge range of soft and firm pillows made out of many amazing natural and synthetic materials. One of the most important factors you need to take into account when choosing a pillow is how you like to sleep at night…

Simple Guest Bedroom Ideas For Your Spare Room
Now more than ever, we can all really appreciate having friends and family stay with us in our homes, especially if they're visiting from interstate or somewhere overseas for the first time in what may seem like an eternity.
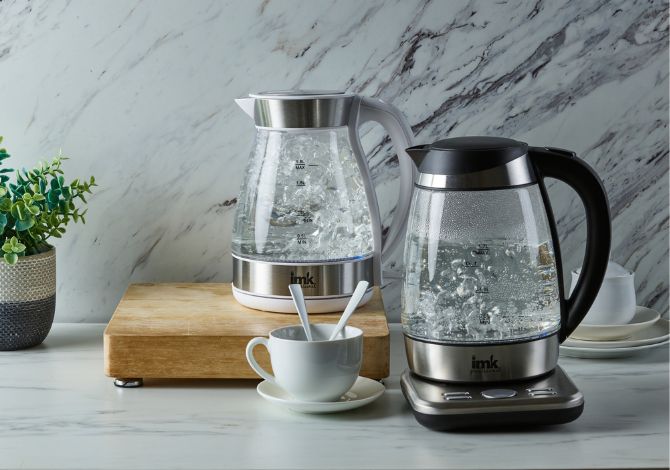
How To Clean Inside Of A Kettle In 3 Different Ways
Cleaning your kettle doesn't have to be hard, and you can do it with simple kitchen staples you'll probably have at home. At Spotlight we have a kettle to suit every home, but it's important to keep them in good condition so they perform at peak...
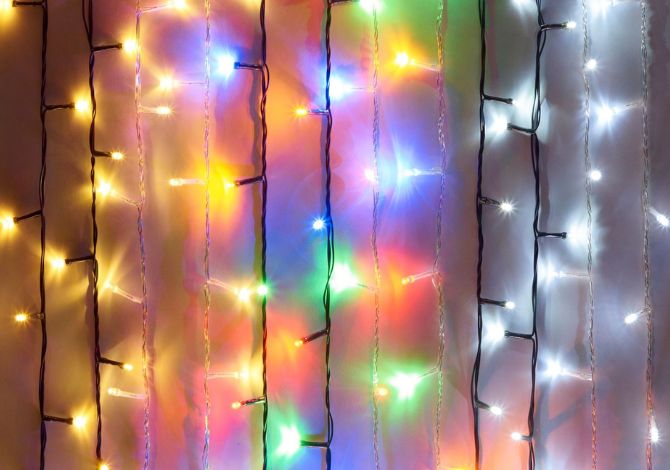
5 Stunning Ways To Use Fairy Lights At Home
Your fairy lights don’t need to be stuffed away for eleven out of the twelve months of the year anymore - these whimsical decorations can be admired all year round with the right styling. Fairy lights decor can be enjoyed outdoors or inside every room…
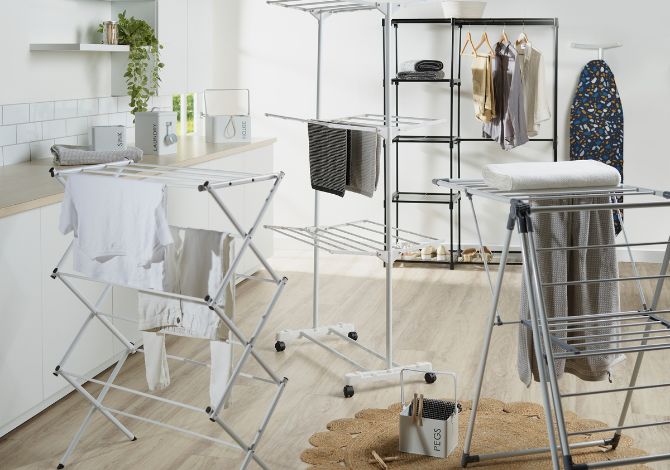
Best Ways To Dry Clothes Without A Dryer
Washing and drying clothes is one of the constant chores that comes with life, and it's one you can't put off if you want to have clean clothes to wear. Washing clothes is easy enough, but getting them to dry can be hard depending on your living...
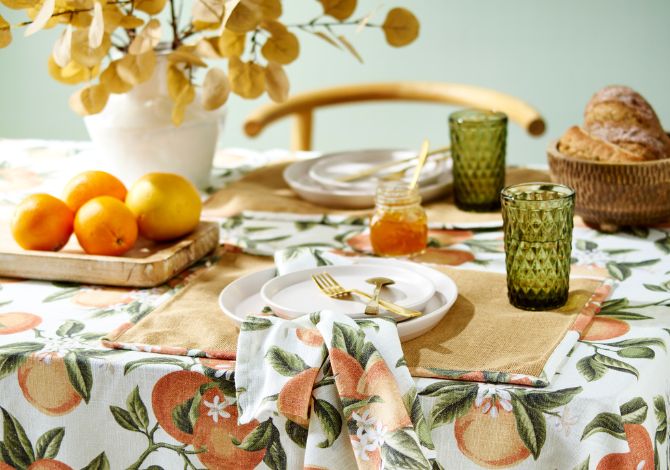
Easy Everyday Tablescaping Ideas That Will Blow You Away
Your choice of dining table decor can go a long way into how enjoyable the meal served on it turns out! Tablescaping is the art of decorating your dining table and the space around it, and while the term ‘tablescape’ is fairly new, people have been…
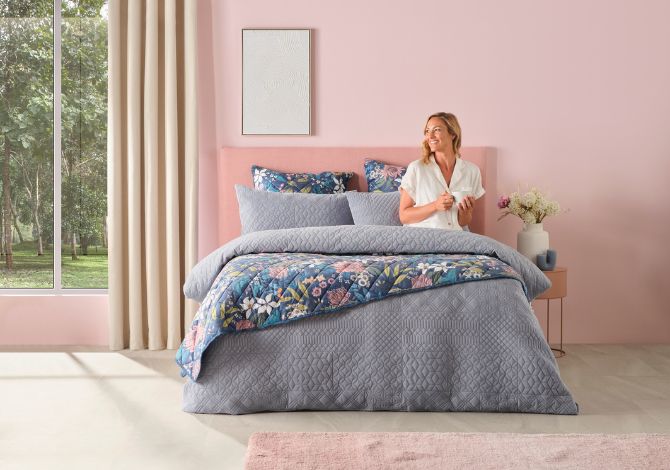
Relax In Your Own Coastal Oasis With Serene Haven
Transform your home into an oceanic paradise using the features of our Serene Haven home decorating trend. Permeate every room of your home with the airy, calming influence of this deep-sea style that mixes the modern stylings of technology with…
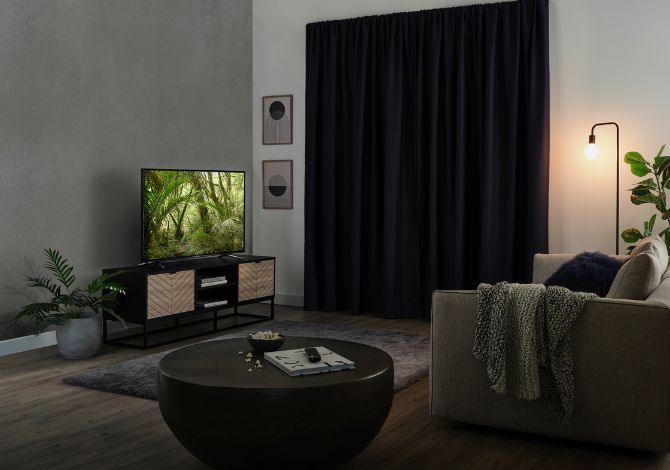
Theatre room ideas and setup - plus how to host a movie night at home!
‘Everyone loves the movies’ is a common phrase you hear during ads at the cinema - and it rings true for almost all of us. But when cinemas had to shut down during the pandemic, many of us had to make do with holding movie night at home. Luckily, this…
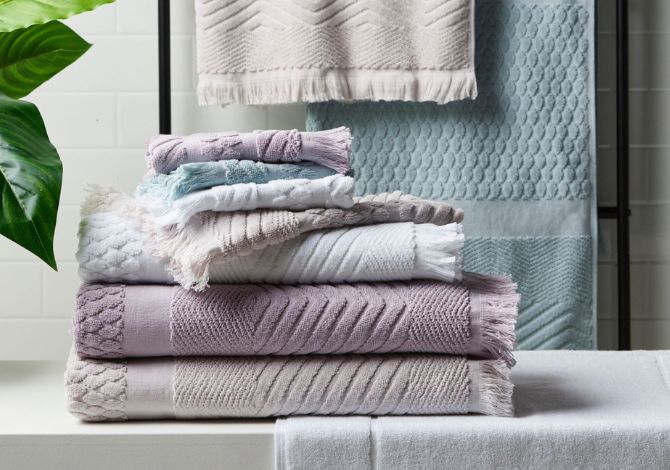
How to wash towels
We use them every day and they provide a valuable service, but do you really know the best way to wash and care for your towels? Your bath towels need to be properly maintained so they can help keep you clean and healthy, as well as keeping them soft…
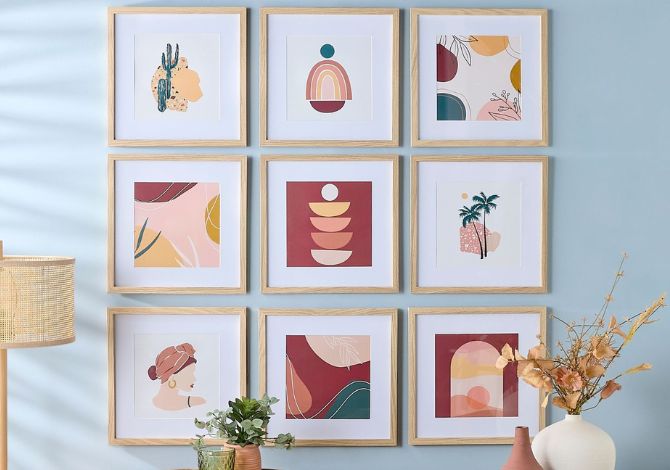
Wall decor ideas - how to hang wall art at home
Create a beautiful home with the addition of some art to your walls! Wall art is the perfect way to fill that glaring space in your house you’ve often walked by but have not known how to utilise. Any home area can be improved with some clever wall...
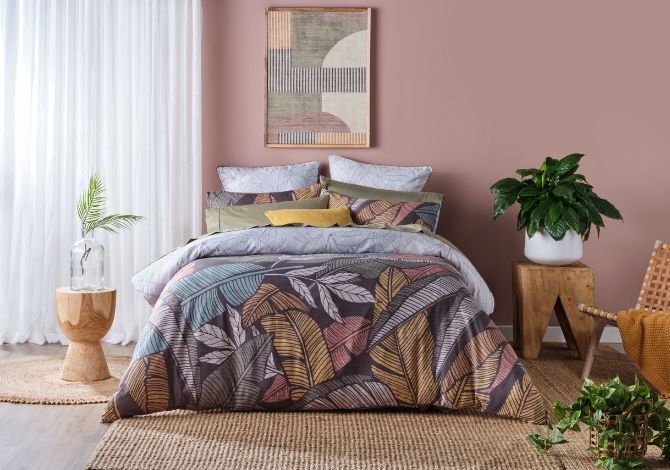
Live inspired by nature with the Urban Paradise home decorating trend
Rejuvenate your living space with the Urban Paradise home decorating trend, a modern style fusion of urban modernity and untamed nature. Create your own indoor paradise that celebrates sustainability, durability and functionality, all while bringing…
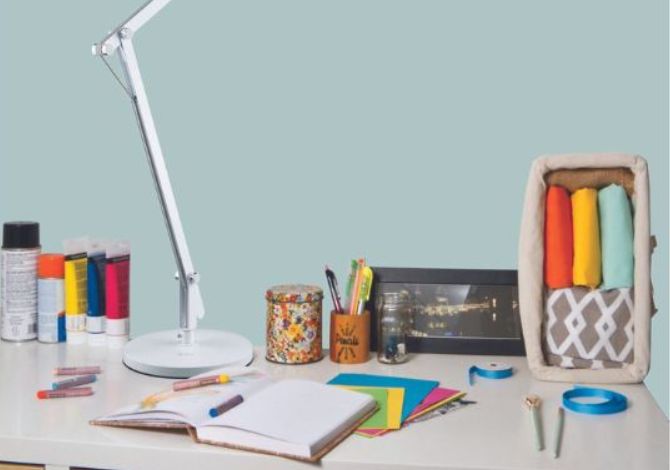
How to create an office setup at home, plus extra home office ideas!
If you work in an office, chances are you now have the handy option of working from home for your job. Working remotely cuts commute time and has given employees more flexibility than ever before, but it does mean you need to create your own office…
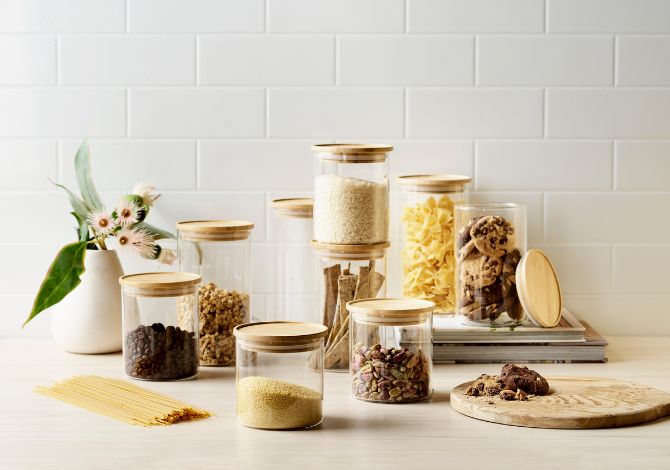
Pantry organisation ideas & how to organise your pantry
Pantries serve an essential role in our homes, keeping our food clean, dry and away from animals and pests. But after doing your grocery shopping, making the effort to put away everything neatly can just be a little too much. So we chuck our groceries…
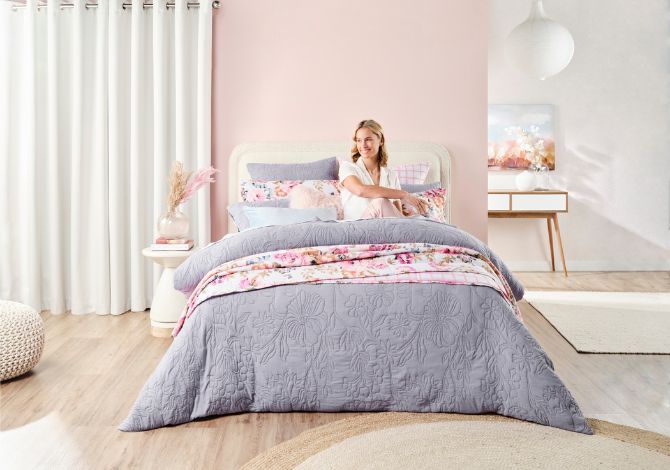
Refresh your home with the colours of Spring using the In Bloom trend
Transform your home into a refreshing blend of the indoors and outdoors using the In Bloom home decorating trend. In Bloom, as the name suggests, celebrates springtime and all the joys of a fresh new season. Bring the warmth, sweet scents and bright…
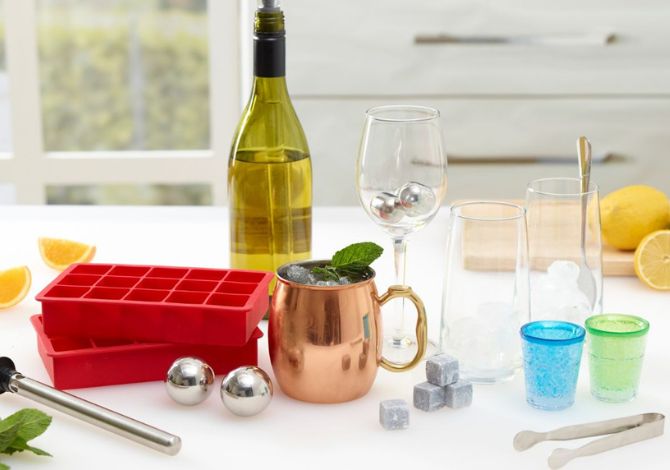
How to set up the ultimate home bar
Whether you are in the mood for a quiet drink or are having guests over for a party, a home bar can be a useful area, style centre and talking point all in one! Home bars provide you with a space to both store and display bottles of wine, beer and…

Living room lighting: everything you need to know
When it comes to sprucing up your living room you’ve got a lot to consider. Furniture, rugs, flooring and accessories all come to mind, but how much thought have you put into your lighting? The room lights in your lounge can affect how inviting and cosy…

How to choose & style a coffee table
Nothing ties a living room together quite like a central coffee table. Coffee tables provide an opportunity for having a lovely piece of furniture in your home that is useful as a surface for displaying things as well. Choosing the right coffee table…
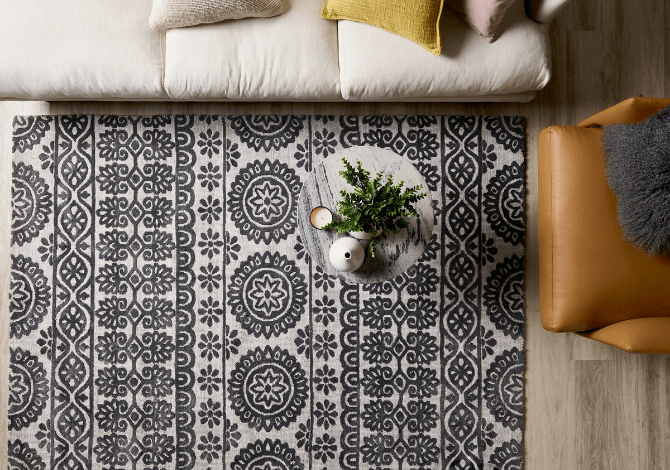
The complete rug guide to style your home
Rugs can add texture, warmth and colour to your home, and among the most popular are bedroom rugs and living room rugs. Rugs are easier to lay down and clean than a full layer of carpet, and can go from the centrepiece of a room to a supporting role…

How to make your own DIY curtains with Katie Parrott
Katie Parrott is an Australian sewer, crafter and passionate plus-sized fashion advocate. While she is normally seen sewing her own garments, Katie takes us through her process of how to make your own curtains with Spotlight’s Cut, Hem and Hang fabric.
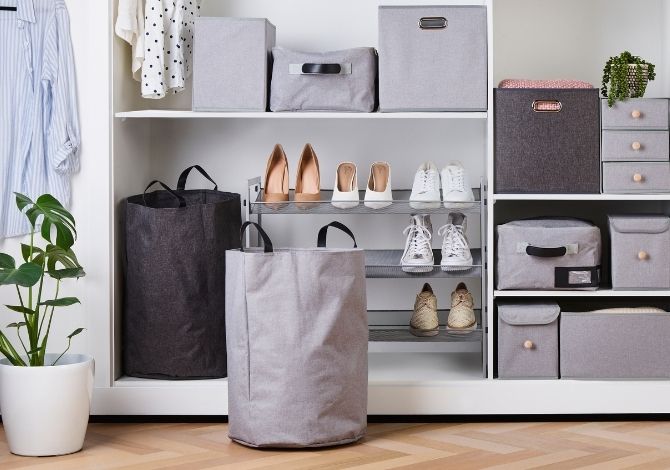
10 Storage Solutions for Wardrobes
Are you at the stage where it takes you ten minutes to find something in your wardrobe, or do you try to pull out one piece of clothing and three more come out with it? In 2021, it was found that out of all our clothes, we are only wearing 55% regularly.
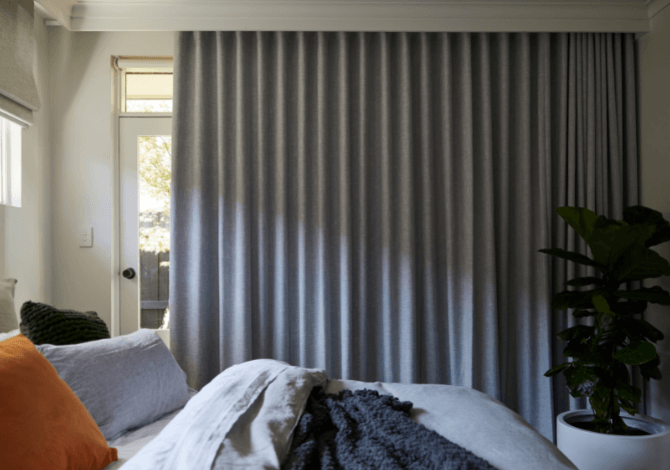
5 Reasons Why You Should Invest In Blockout Blinds & Curtains This Winter
Through rain, hail or even snow, you can rely on Spotlight’s range of blackout curtains and blinds to help you maintain a comfortable temperature in your home! Here are our top five reasons to invest in blockout blinds and curtains this winter.
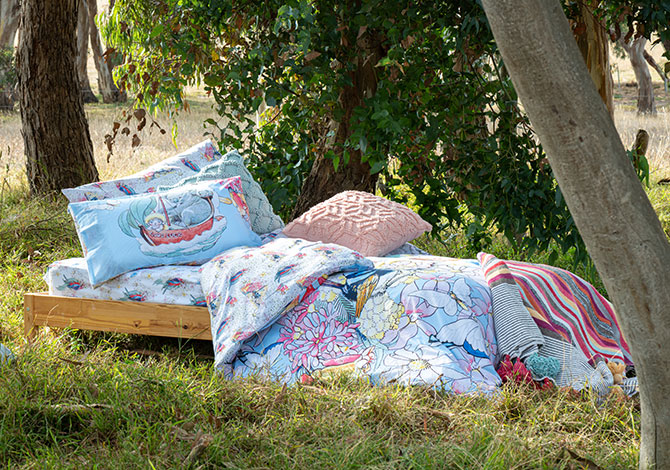
How to prep your kid’s bed for summer, with May Gibbs
May Gibbs characters are a treasured part of any Australian childhood. From Snugglepot and Cuddlepie and their gumnut baby friends to the cute native flora and fauna who populate her tales: butterflies, kookaburras, and even the odd cheeky goanna!
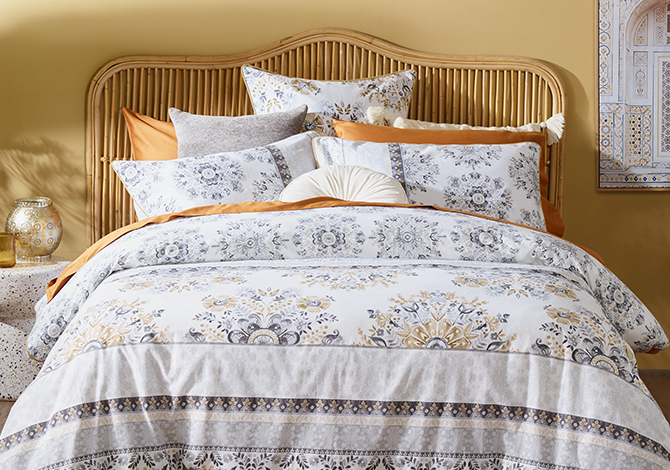
Beat The Heat With These Summer Bedding Ideas
Summer bedding is designed to help you sleep in hot and humid weather, and at Spotlight we’ve got a great range of summer quilts, bed sheets and mattress toppers to ensure you’re sleeping comfortably no matter how hot it gets overnight.

Home decor ideas to make your home a peaceful and tranquil space
Home is your sanctuary � your place of refuge � where you can turn down the volume of life and detox from the distractions of the world. Now more than ever, we need tranquility in our homes, and we can do that by introducing the appropriate colours�

The Top 10 Best Book Week Costume Picks
If you're stuck on thinking of costume ideas, then don't fret - we've put together a list of popular Book Week costumes to help inspire you. Check out a few of our top picks, right here!

Celebrate Your Favourite Animals With Book Week Animal Costumes
If you're looking for animal Book Week costume ideas and Book Week craft activities everyone can enjoy, check out some of our favourite ideas right here!

Make Book Week Magical With These Harry Potter Book Week Costume Ideas and DIY Crafts
From costume accessories to DIY Harry Potter projects for your costume, we'll take you through all the ways you can infuse a magical spirit into your Book Week celebrations.

13 Ready Made & DIY Book Week Costume Ideas For Teachers
We have curated some of our favourite Book Week costume ideas for teachers in this blog, as well as some group options if teachers want to coordinate their costumes!

Magical Book Week Costume Ideas For Toddlers and Preschoolers
We have curated some of our favourite preschool Book Week costume ideas for toddlers, as well as ideas for matching costumes in this blog.

Pastel Party Decorations - How to Host a Pastel Themed Party
We've put together a checklist of decorations and servingware to consider when shopping for your pastel party supplies.

Celebrate 100 Days of School With These Costume Ideas
We'll take you through a few of our favourite 100 days of school costume ideas for both kids and teachers as well as some fun and entertaining craft projects kids can create on their big day!

How To Be Your Own Party Stylist - DIY Party Supplies & Ideas for Your Next Event
We'll take you through all the things you need to know to become your own party stylist and prepare your space to celebrate in style.

Discover How to Throw a Kids' Slumber Party For A Fun-Filled Celebration
Here at Spotlight, we've got all the party supplies you need to fulfil your slumber party ideas as well as a whole lot of inspiration that will help you discover how to throw a slumber party.

Celebrate World Book Day: Find Costume and Creative Inspiration at Spotlight
Whether you're having fun in the classroom or at home, we've got a range of World Book Day ideas to help you join in on the fun this year!

Craft With Cricut: Create Personalised Gifts For Mum This Mother s Day
Infuse homemade love into your presents this Mother s Day by creating personalised gifts for Mum with our favourite Cricut projects!

Discover Mother’s Day Gift Ideas For Every Mum
Whether you've been planning it since last Mother’s Day or just need some last-minute Mother's Day ideas, read on for some of our favourite Mother's Day gift ideas that you can find at Spotlight!

Celebrate With Our Favourite Easter Baking Ideas: Easter Cakes, Cookies, Cupcakes & More Ideas
Whether you're a master chef or a beginner baker, we've collected a few of our favourite Easter baking ideas to make your Easter that little bit sweeter.

Unforgettable Celebration and Party Ideas Featuring DIY and Handcrafted Decorations
Keep reading for the best birthday party decoration ideas that will make your celebration one to remember.

St Patrick's Day Celebration Ideas, Costumes and Decorations
Whether you are celebrating a home, school, work or other social group, make this St Patrick's Day a blast with Spotlight!

Get Ready For The AFL Season With Spotlight
Whether you’re a lifelong supporter or new to the game, we’ll take you through our favourite ways to get ready for the AFL season.

Top Party Trends: What’s Hot and What's Not
Let’s jump into the trends taking over the party scene this year and find the perfect inspiration for your next celebration!

Your Guide for Hosting the Ultimate Disco Themed Galentine's Day Party
Celebrate your Galentine's by throwing the perfect party that will have your closest friends feeling the love.

Valentine’s Day Projects to Try This Year to Celebrate Your Loved Ones (Even If You're Not in a Relationship)
Time to spread love and joy - check out our Valentine's Day DIY gifts and activity ideas.

Lunar New Year Decorations & Party Essentials
With the start of a new year on the lunar calendar, what better way to celebrate than hosting a Lunar New Year Party to celebrate with your family and friends.

Our Favourite New Year’s Eve Party Ideas To Help You Celebrate The New Year In Style
No matter what your New Years Eve party looks like, all you need is a little inspiration (and some prep time) to make it special for family and friends.

Celebrate A Blushing Bride By Learning How To Host A Bridal Shower
When discovering how to host a bridal shower, there are many things to consider - we will take you through everything you need to know throw the perfect bridal shower.

How to Plan and Host a Baby Shower To Celebrate Your New Addition
There's no better time to celebrate both the mother and child. Throwing a baby shower for a sister, cousin, aunty or a friend allows you to show your appreciation for your loved ones while providing the chance for loved ones to "shower" their new…

Dress Up This Halloween: Our Favourite Last Minute Halloween Costume Ideas
Our last-minute Halloween costumes are a bit of a step up from the old 'sheet with some holes cut in it' trick, and we've got a great range of last minute Halloween costume ideas…

Prepare For A Frightening Function With Our Favourite Halloween Decorations Ideas and Trends
From subtle cobweb decorations for a perfect finishing touch to gigantic decorations that are incredibly eye-catching, our favourite Halloween decor accents are the perfect addition to any room.

10 Easy Celebrity Inspired Halloween Costume Ideas
Join in on the Halloween fun by dressing up as your favourite celebrity. Choosing celebrities with a signature look makes for an easy identifiable costume choice.

Share The Scares: Easy Halloween Costume Ideas For Couples and Families
Last-minute Halloween costumes are our specialty. All you have to do is bring a little spine-chilling imagination and a big sense of scary fun to celebrate in style.

No Tricks Here! Treat Your Guests With These Scarily Good Halloween Cake & Dessert Ideas
Create a lively dessert table at your next Halloween party with detailed desserts and ensure your guests are well fed. Or, swap the store-bought sweets out for cookies and cupcakes…

Throw A Spooktacular Celebration: How To Host a Halloween Party
Check out our guide to find out everything you need to do to throw the ultimate Halloween party at home, from demonic decorations to horrifying Halloween costumes!

Harry Potter Themed Party Ideas - How to Throw a Harry Potter Party
This article will go through all of the Harry Potter party ideas you need to bring the wizarding world into your home.

How To Throw A Dinosaur Party At Home
If you’re looking for a party theme that will impress inquisitive minds of all ages, a dinosaur party is the way to go!
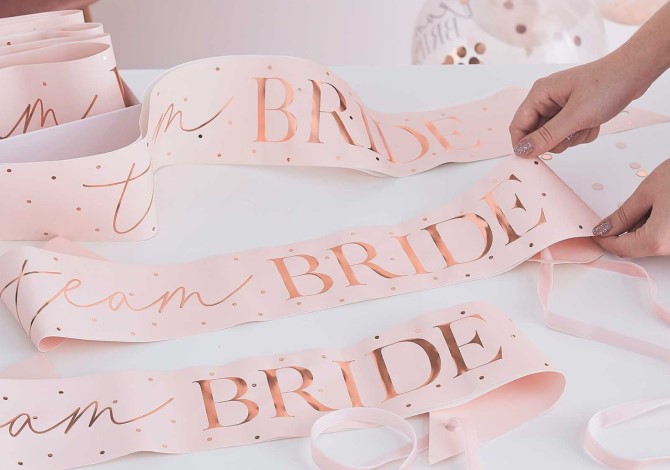
How To Style Your Bridal Engagement Party With Ginger Ray
Whether you’re the lucky bride preparing for her wedding or her maid of honour, planning an engagement party means you’ll need a great range of beautiful decorations for your space. At Spotlight we’ve made this process easy…
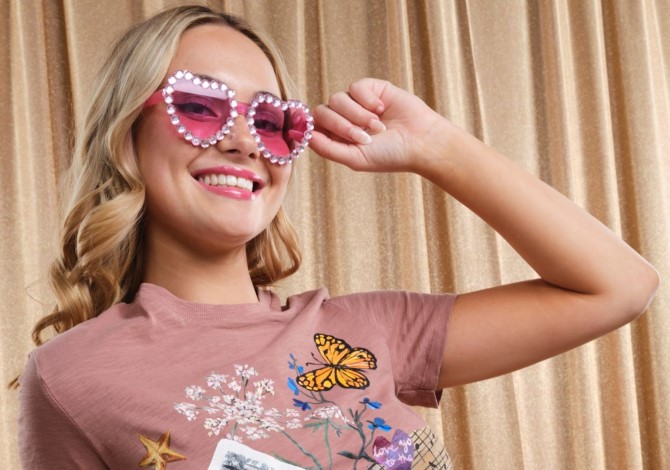
Express Your Era With These 5 DIY Concert Costume Ideas
At Spotlight we’ve created a collection of DIY projects inspired by ‘The Eras Tour’ hitting Australia this February with each piece related to a different era.

Get Concert Ready With These 6 Costume Accessories
Preparing for an upcoming concert is always exciting, but how do you decide what to wear? Let’s go through our top six costume accessories for concerts!
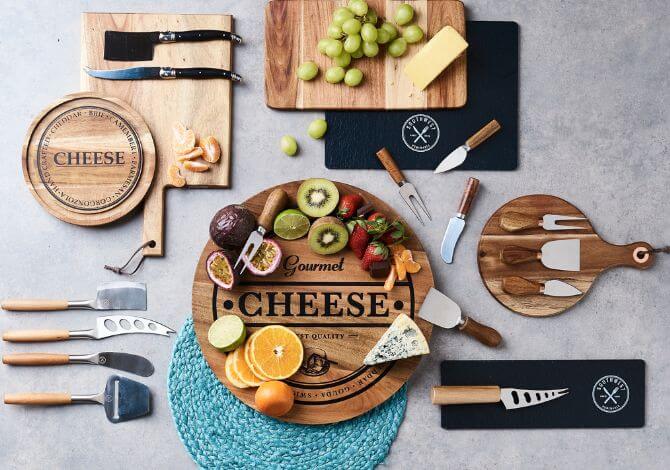
Bring Your Cheese Platter Ideas To Life With Spotlight
Cured meats, fresh fruits, tasty crackers and velvety cheeses… the right cheese board will tempt even the fussiest eaters! Whether it's a vibrant birthday party, a romantic anniversary or just your average Friday night, a cheese board is a welcome…
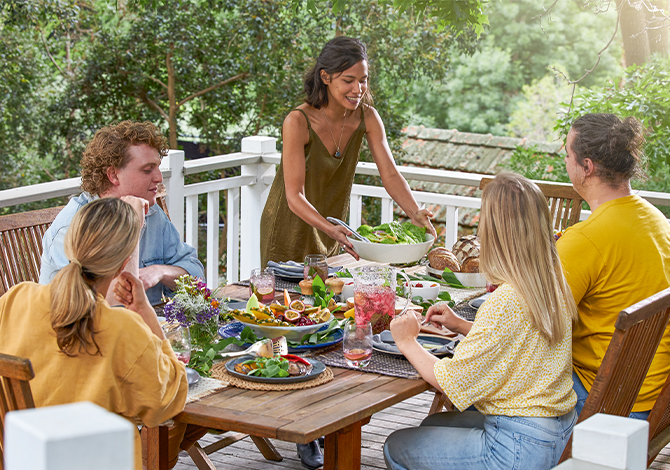
5 Fabulous Outdoor Entertaining Area Ideas Perfect For Summer
The sun's out, so it's time to make the most of this gorgeous weather with some extra celebrating and al fresco dining at home. Whether your outdoor entertaining area is a grassy yard, some pavers out the back, or a tiny apartment balcony, you'll want…

How To Throw A Magical Unicorn Themed Party At Home
Looking for a magical birthday party theme that all your kids and their friends will enjoy? Try throwing a unicorn theme birthday - with a little help from Spotlight! Full of colour, sparkles and a little magic, unicorn birthday themes are one of the…
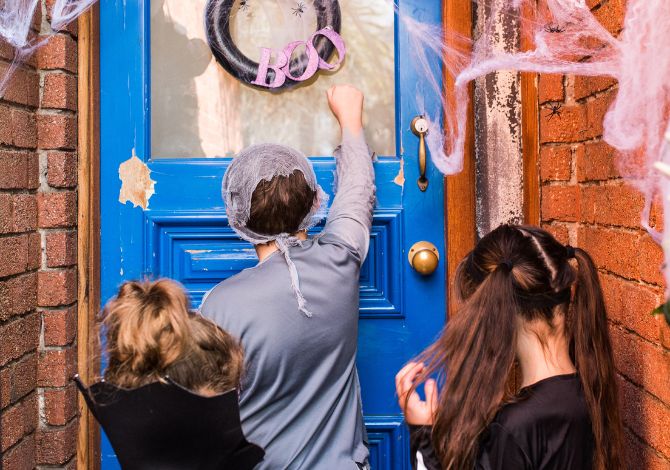
A Beginners Guide To Trick Or Treating On Halloween
Are you new to the trick or treating scene? Spotlight is the home of Halloween, for everything from decorating to costumes - and we’ve put together this handy little guide for new trick or treaters.
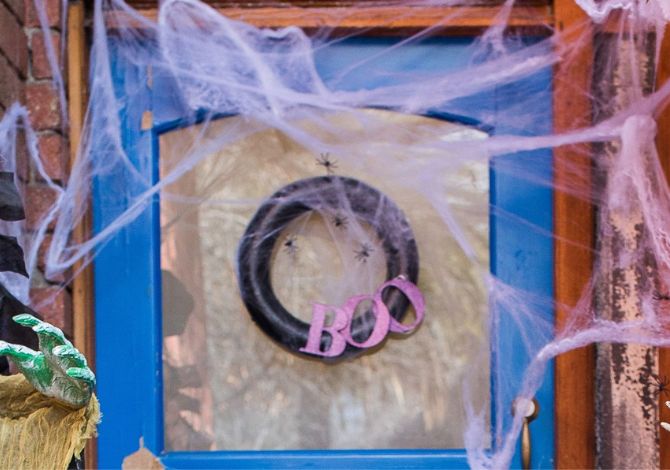
3 Halloween Wreath Projects To Try This October
If love Halloween crafts, learning how to make a Halloween wreath is going to be your next obsession! Wreaths are usually reserved for Christmas, but keen Halloween DIYers have taken this tradition and made it a little spooky…
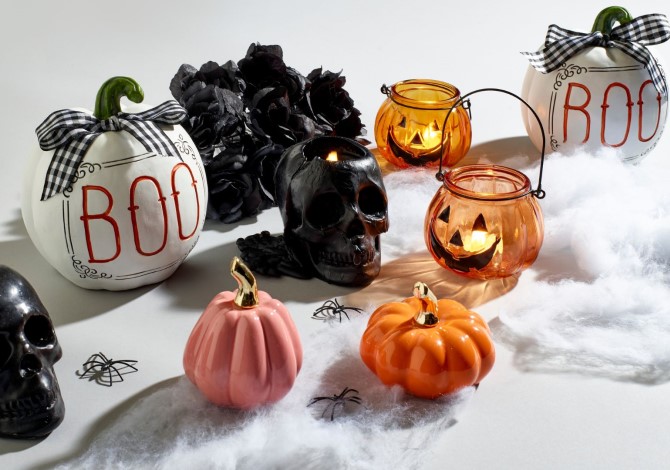
Get Into The Spooky Spirit With These 5 Halloween Pumpkin Ideas
The humble pumpkin has become an iconic symbol of Halloween due to the practice of carving jack o’ lanterns, and at Spotlight we have so many ways for you to bring this beautiful squash into your home this October.

10 Pet Halloween Costumes For Your Paranormal Pooch
Dressing up on Halloween is great fun, so why not get your pets in on the action with some of Spotlight’s scary, cute and funny pet costumes? Our pet Halloween costumes come in sizes to suit small, medium and large dogs, with pet costume ideas pulled...
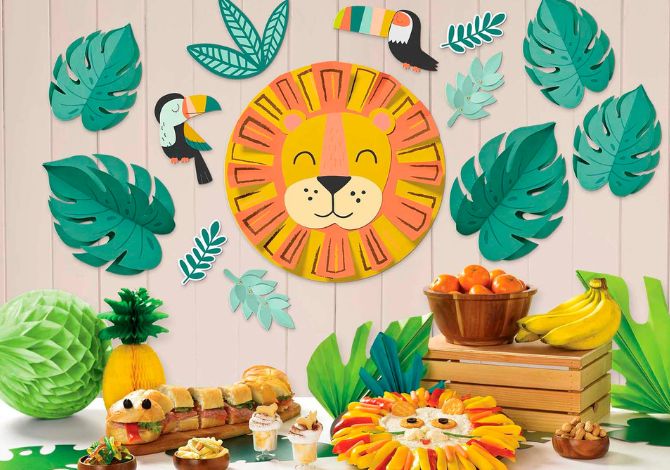
How To Throw A Jungle Theme Party
Going to the zoo for birthdays is always fun, but why not save the travel time and bring the aesthetic of the zoo, and even the jungle, into your home instead? Kids of all ages love jungle, animal and safari themed birthday parties, and best of all...
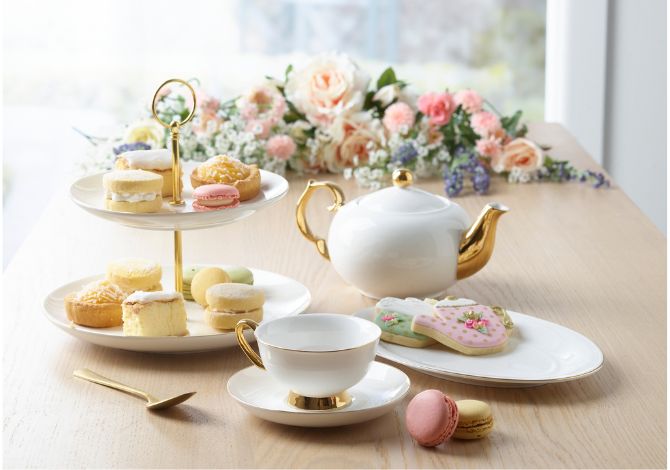
How To Host A High Tea Party At Home
One of the best ways to enjoy time with your friends is during a high tea or afternoon tea party - but who’s going to step up and host high tea at home, and what is high tea exactly? If you are going to be hosting your own high tea, then you’ve come...
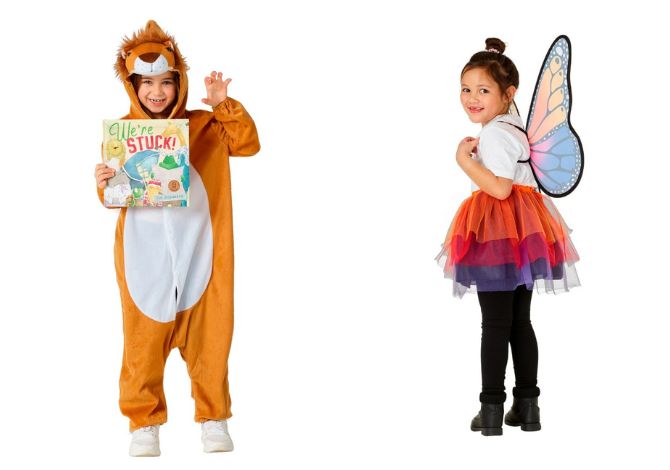
Celebrate Your Favourite Animals During Book Week 2023
So many of the best children’s stories feature animals of all kinds, so why not celebrate them during book week 2023? At Spotlight we have an amazing range of animal-themed costumes, decorations and craft activities you can utilise during book week...
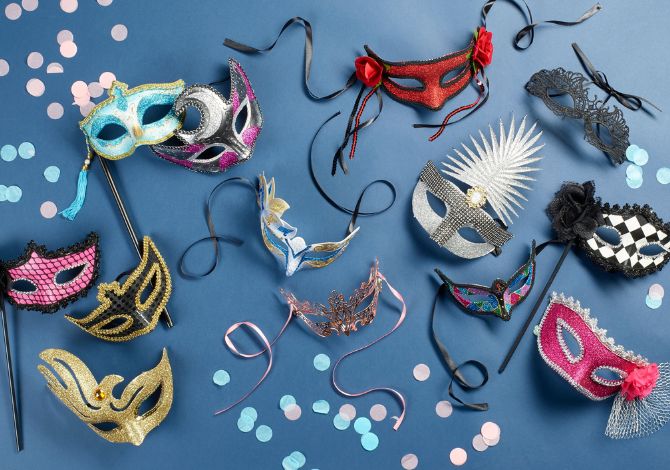
5 Steps To Throwing A Magical Masquerade Party
When it comes to party themes, there is none grander than the masquerade party. Emphasizing brilliant costumes, beautiful music and enchanting dancing, a masquerade or masked party can be enjoyed by partygoers of all ages.
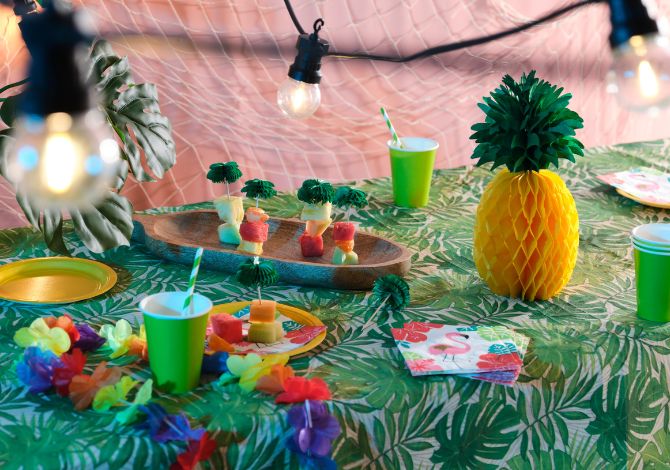
How To Throw A Hawaiian Theme Party At Home
Themed parties make choosing your food and decorations easy, and one of our favourite party themes has to be the Hawaiian party! A Hawaiian or tropical theme party is one you can rely on for amazing colours, delicious food and party games everyone…
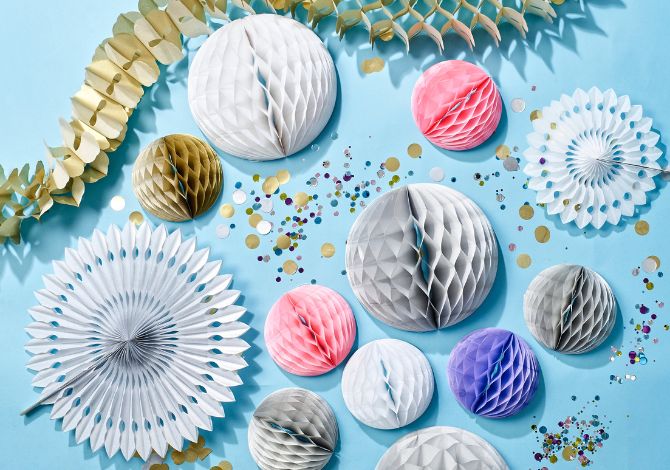
Four Fun Ways to Celebrate the New Year
Looking for some fun themes for a New Year’s Eve party? The party specialists at Spotlight are here to help! We’ve come up with four fun New Year’s Eve party ideas anyone can try at home, to make staying in just as much fun as going out on the most...

How to throw the ultimate 70s theme party
Looking for a party theme that will have your guests jumping, jiving and having an all-around good time? Look no further than a 70s themed party for all your groovy party needs! This iconic decade was the time of disco outfits, glam rock and rock…
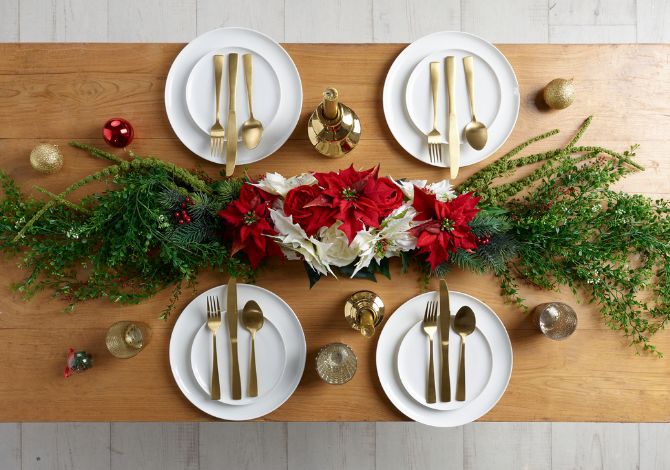
Create a Christmas in July dinner party table setting
Everyone loves a dinner party, and why not spruce your next one up with some Christmas decorations? Celebrating Christmas in July gives you the opportunity to experience all the festivities of a cold Christmas that, in Australia, we don't normally get…
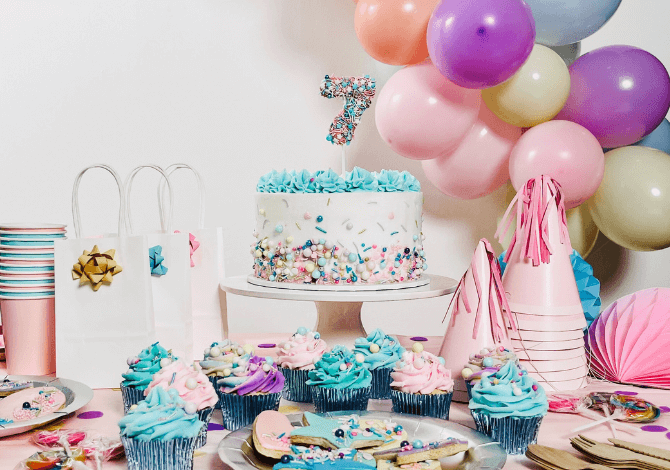
11 Easy Steps to Create the Ultimate Kids’ Birthday Party
Planning a birthday party for a child can be a stressful and time-consuming task, especially if it's your first time. Kids need to be constantly entertained, fed and monitored during a party, which is a lot for busy parents to do as well as hosting!
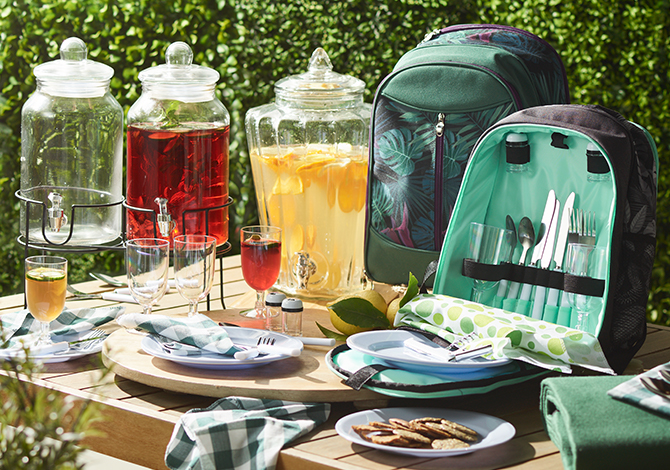
How to do summer better with our Summer Collection
There's so much to love about the Australian summer. Whether you and your family are heading to one of our many beautiful beaches, picnicking under the shade of a tree or just making the most of your very own backyard, adding the right items to your...


