 | ||
| Your browser is not supported. | ||
|
Please browse our site using any of the following options:
| ||
How to make textured canvas art and the impasto technique

Practiced by the masters and still incredibly popular today, impasto painting involves creating a textured painting with paint that rises off the page in peaks and waves. It allows the artist to create an incredibly detailed painting that is also free-flowing, and even a little chaotic!
Impasto painting can seem a little intimidating from the outside, thanks to the perceived long drying times and copious amounts of paints used. But rest assured, impasto painting is not as scary as it seems! Wondering how to make textured canvas art at home? There are plenty of tips and tricks you can use to start your impasto painting journey off on the right foot, and at Spotlight we have plenty of paints and tools you can use to create beautifully textured artwork that showcases the impasto technique. Whether you need help with palette knife painting for beginners or experts, this article has heaps of handy information to help you out!
Quick Links
- What kind of paint do I use for the impasto technique?
- What can I make impasto art on?
- What do I need for painting with a palette knife?
- Palette knife painting techniques
- Impasto painting tips and tricks
- Palette knife painting ideas
- How to protect my textured art
What kind of paint do I use for the impasto technique?
Impasto art is usually made with one of two kinds of paint, oil or acrylic - but what is impasto paint exactly? Oil paint is naturally thick enough for impasto techniques, but has a very slow drying time. Acrylic paint must be mixed with an appropriate medium for impasto painting, but it will dry faster than oil paint. Whichever paint you use will depend on your budget and experience, although if you are a beginner we recommend using acrylic paint with some mediums, as it isn't as expensive as oil paint and it is odourless and water-based, making clean up easier as well.
When choosing acrylic paints, look for heavy-body varieties to get you off to a good start. Then for your medium, look for gel medium or the aptly-named impasto medium to add body and thickness to your acrylics. This will allow you to create the textures so often seen in oil paintings!
What can I make impasto art on?
The most popular surfaces for impasto art are stretched canvas and wooden board.
A high-quality, stretched cotton canvas provides you with a toothy, crisp surface that has a little give to it. Many store-bought canvases are pre-primed and ready to paint on, and come in a bright white or cream colour that really makes your colours pop.
Wooden boards provide a lovely smooth surface with none of the woven texture of canvas to fill in, and they are much more durable than canvas. You can customise the surface of your board, but you may need to prime it yourself if you are making a board from scratch.
Avoid making impasto art on thinner materials like paper or card, as the weight of impasto paint and the techniques used can cause them to sag and even tear!
What do I need for painting impasto art?
Here are the basics of what you'll need for creating textured art:
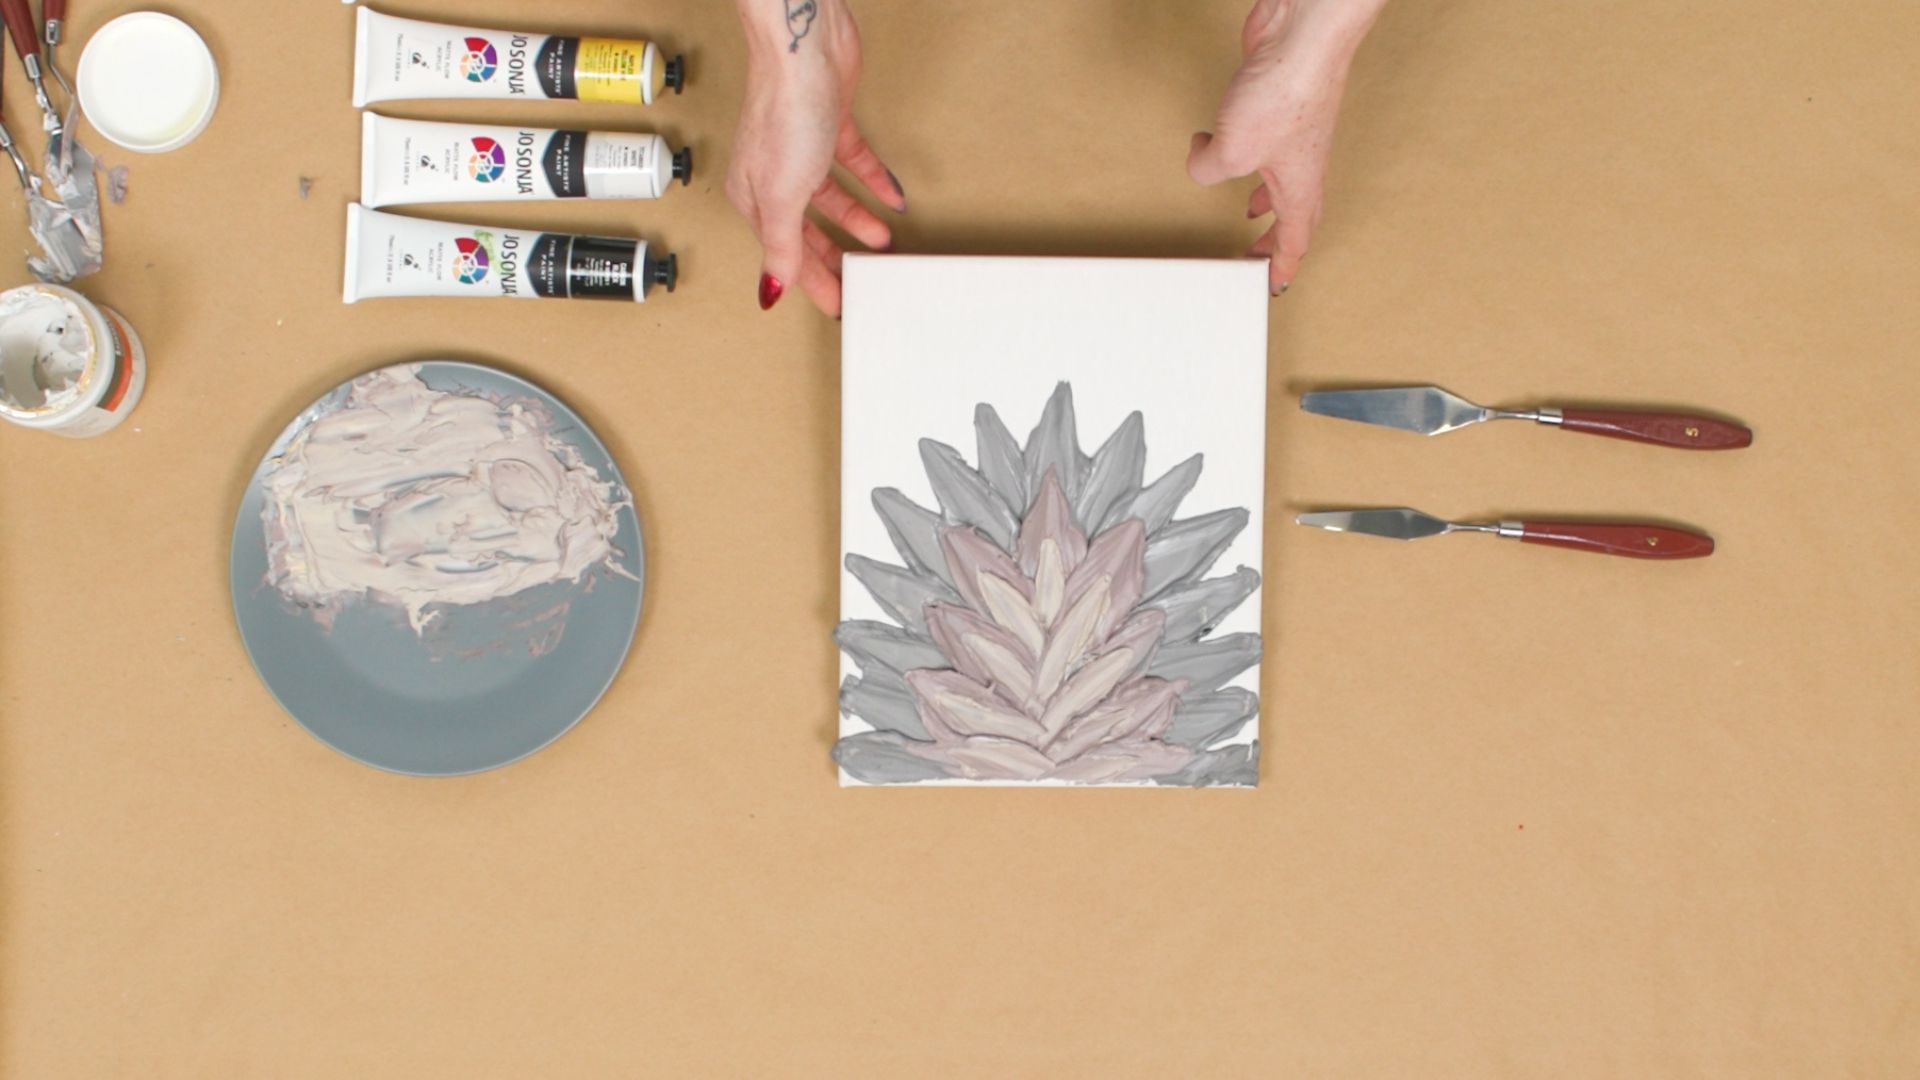
- Oil paint or acrylic paint (heavy body)
- Gel or impasto medium
- Stiff, synthetic paint brushes
- Palette knife
- Painting knives
- Palette
- Stretched canvas or board
- Cleaning rag for brushes
- Linseed oil (if using oil paint)
Make sure to have a good selection of painting knives, as different sizes and shapes will allow you to create different effects on the page. Brushes are not used as much as knives but are great for creating any little details you need. Synthetic brushes will hold more paint than natural fibre ones, and are less likely to leave brush-strokes in your work.

Painting knife vs palette knife
Upon checking your local art store, you may notice the terms 'palette knife' and 'painting knife' being thrown around… but that's the difference? They are often used interchangeably, but technically, a palette knife is what you use to mix paint colours on your palette, while a painting knife is what you use to apply the paints to your canvas.
Here's a more in-depth explanation of the painting knife vs palette knife question:
- A painting knife will have a narrow handle and an angled blade to help keep you from getting your knuckles in the paint as you work. They come with heaps of differently-shaped heads to create all sorts of interesting effects, and have a springy blade that allows you to apply different amounts of pressure as you paint.
- A palette knife is shaped more like an icing spreader, with a long, straight handle and a straight blade that is used to mix colours on your palette. The straight handle means they are no good for painting with, but they are effective at scraping dried paint off your canvas.
Unfortunately, many of the places that sell these products label them all under the 'palette knife' label, which can be confusing when you actually know the difference. When buying your own, pay less attention to what they're called and more to the shape of the product and the materials they're made from. Metal and wooden knives are more durable than plastic ones, although learning on a plastic set is a great way to start off as a beginner.
Palette knife painting techniques
Now that you've got everything you need, let's dive into the different kinds of palette knife painting techniques and impasto painting techniques that are out there. For both beginners and experts, we recommend starting with a light sketch on your canvas or board so you can keep your painting on track, and creating a flat underpainting that completely dries before you begin any impasto techniques. Here are three of the most common impasto techniques you can use:
- Scraping - once you have at least two layers of colours you can carefully scrape away an upper layer to reveal the colour beneath. If you have under-painted then this will be your bottom layer of colour! Scraping away layers of paint is great for showcasing thin lines, like grasses and fur, if you have an appropriate colour underneath.
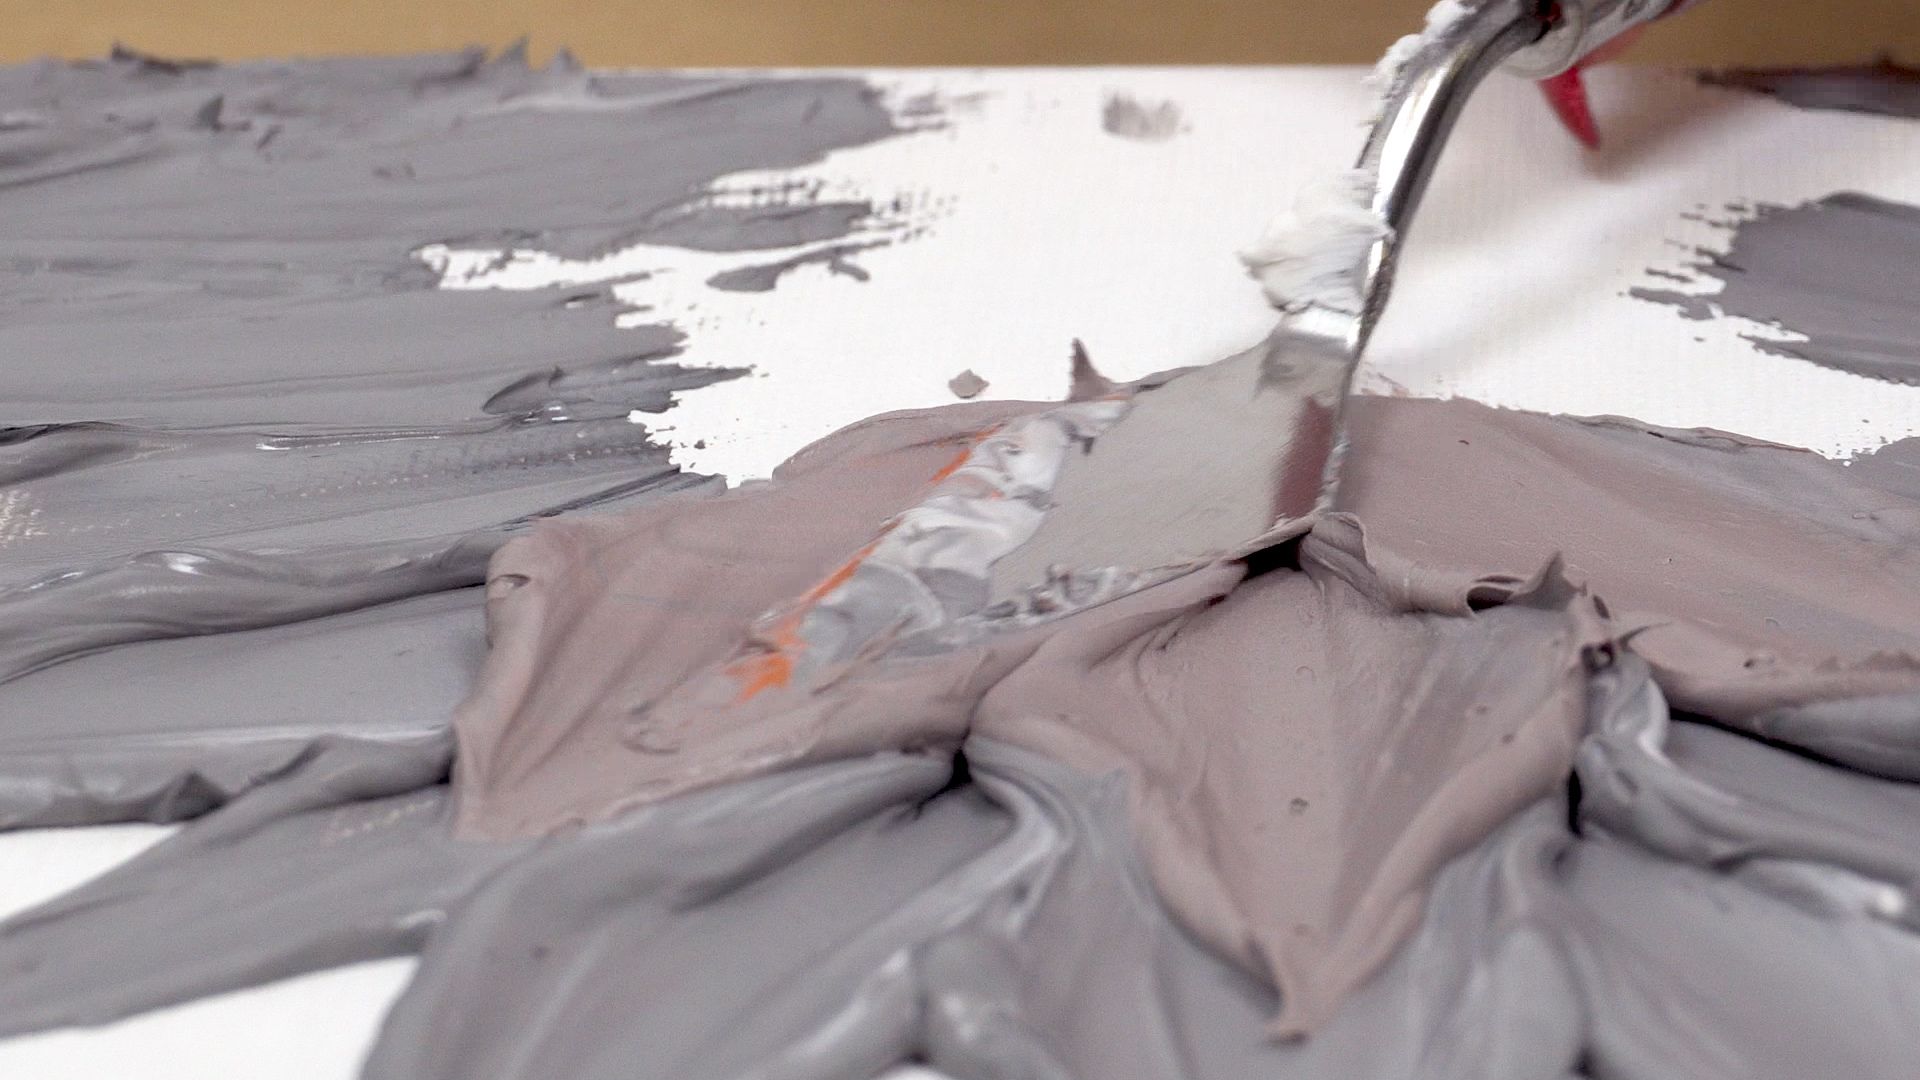
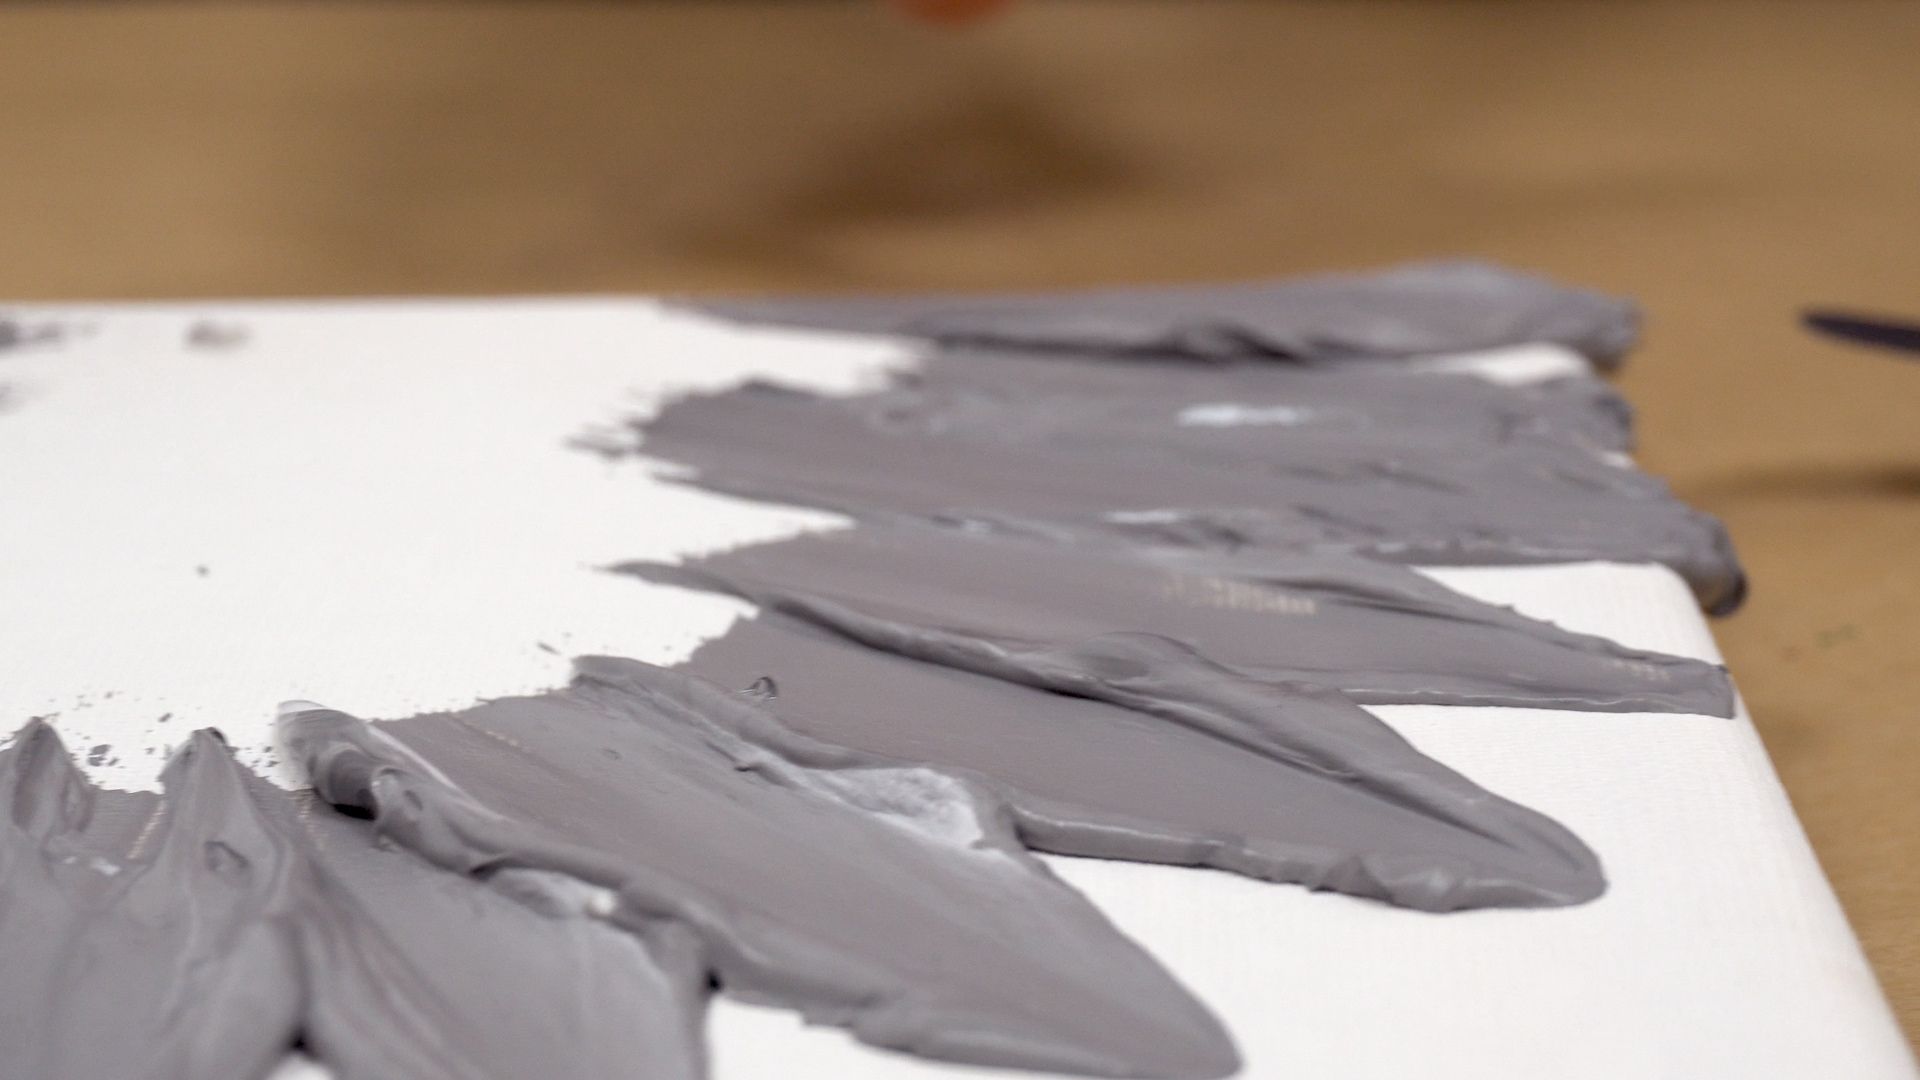
- Creating peaks - learning how to use a palette knife properly is essential to this technique. To create those signature textured peaks, load a bit of paint onto your painting knife and hold it at a 45-degree angle to the page. Press down lightly, then gently turn the knife to the left or right as you lift the knife to create a small peak. The more paint you load onto your knife, the larger a peak you can create.
- Scumbling - this technique uses a paintbrush instead of a knife. Once the most recent layer of your paint has dried, dip your brush into some undiluted paint and loosely apply the paint 'dry' over the section you want. The idea is to let the background colours show through, and scumbling is wonderful for creating texture and helping blend the transition between two colours.
When learning how to paint with a palette knife, keep in mind the drying time of your chosen paint so you don't accidentally smudge any off when using these techniques.

Impasto painting techniques, tips and tricks
Here are some extra handy hints to make your textured painting journey a little smoother and a whole lot more fun!
- Loaded your painting knife with too much paint and now there's way too much colour on your canvas? Don't worry - scrape it back off with a clean painting knife while it's still wet. Has your paint dried and you don't like the look of it anymore? Carefully scrape it away with your palette knife until the offending colour is gone. And who knows, scrape away too much and you may reveal a surprisingly well-fitting colour underneath!
- Paint thick over thin to avoid cracks forming in your painting. Because thin layers dry faster than thick layers, ensure your thickest layers (your peaks) are on top. If you apply a thin layer over these peaks, the thin layer will dry before your peaks and then will crack as the peaks themselves dry.
- Angle your brush and apply only gentle force when adding colours and painting sections. Too much force will disrupt your lower layers of paint and will either displace them or muddy them together.
Palette knife painting ideas
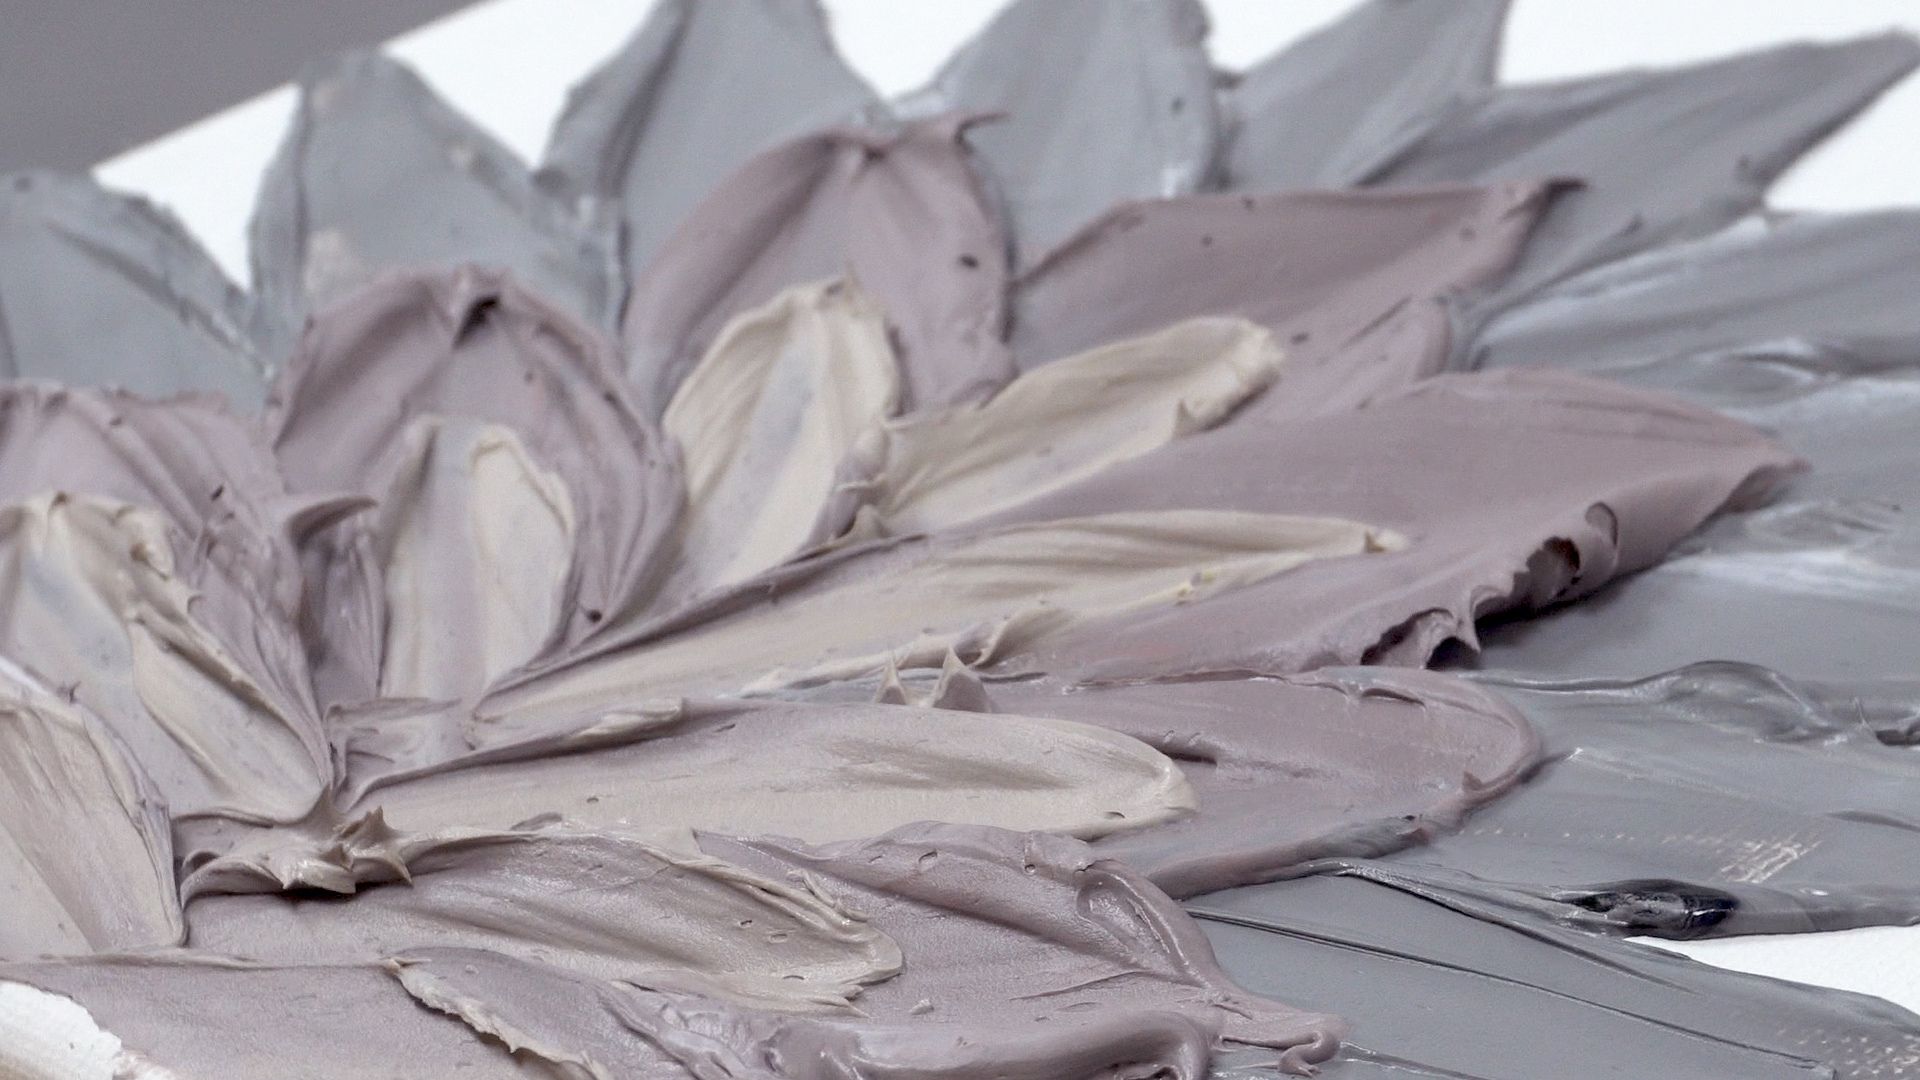
- Painting flowers with a palette knife - the shape of a palette knife is perfect for painting the petals of flowers, as you can see in our images. You can create incredibly detailed and beautiful flower art by simply pressing a loaded palette knife onto your canvas to create a petal shape, and repeating to make large, textured flowers.
- Painting the ocean with a palette knife - recreate the wavy surface of the ocean using your palette knife! Creating peaks and waves - literally - is a wonderful way to illustrate the ocean, and you can use multiple shades of blue to represent the different depths of the ocean itself.
How to protect my textured art
Because of the wonderful textures of a finished impasto painting, any sealants or varnishes will need to be applied via spray. A varnish will protect your painting from dirt and moisture, and in the case of textured artwork, it will stop dust from settling in the crevices of your painting.
When your painting is completely dry, carefully wipe it over with a dry cloth to get rid of any existing dust. Make sure you are in a well-ventilated area and place your painting upright. Shake the can well and apply evenly over the surface of the painting - check the can for specifics on how far back to stand, how many coats to apply etc.
Once you are done applying your varnish, cover your painting with some sort of protective tent so the varnish can dry without the worry of having any dust or insects sticking to it.
Try not to display your painting in direct sunlight, as this can damage the paints and cause your painting to fade.

Find everything you need for impasto art at Spotlight
Have we inspired you to begin impasto painting? If so, you can find an excellent range of paints, canvases and other painting accessories right here at Spotlight! Browse our range of art supplies online, where you can choose from a great range of payment options, as well as click and collect or home delivery for your order. You can also pay your local Spotlight store a visit and our lovely team will help you find all the impasto painting supplies you need!
For more great painting ideas and inspiration, have a read of our create blog, or check out our handy painting projects page.


