 | ||
| Your browser is not supported. | ||
|
Please browse our site using any of the following options:
| ||
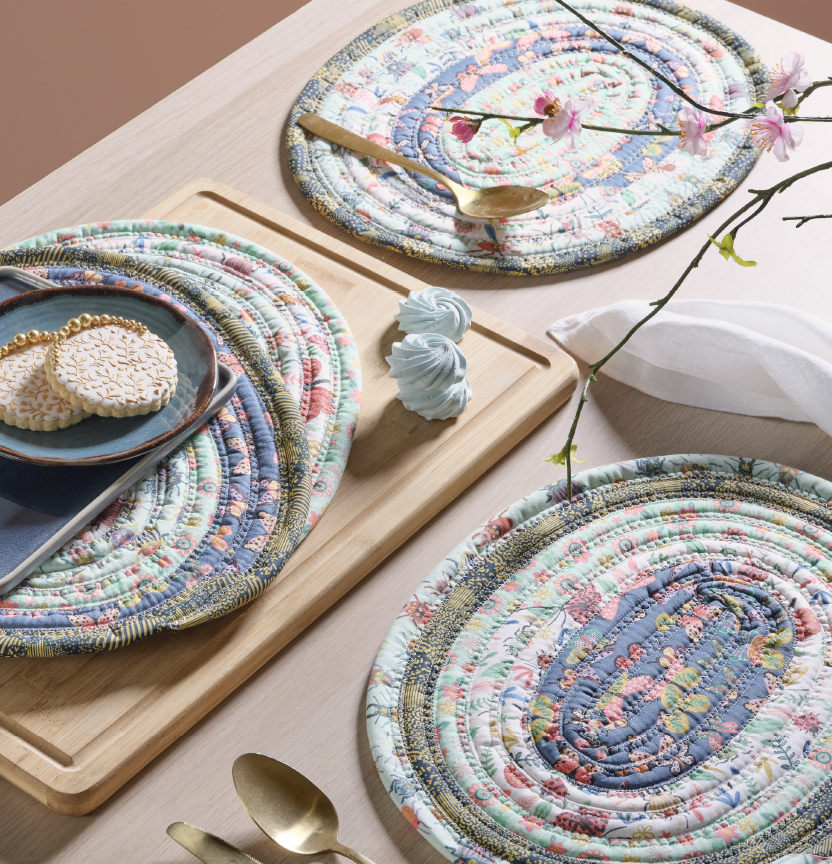
JELLY ROLL PLACEMAT

Level: Easy
What you'll need:
- Jelly Roll - 20 pieces x 2.5" wide
- 1m cotton/polyester batting
- Matching Gutterman 100% cotton thread
- Rotary cutter
- Cutting mat
- Quilters ruler
- Wonder Clips
- Scissors
- Seam ripper
- Sewing machine
Note: All fabric should be 100% cotton, washed and pressed.
Please read all instructions carefully before commencing the quilt.
Instructions:
Cutting Instructions:
Cut strips of batting 2.5" wide long.
Tip: If your sewing machine has the option available, after you have joined your fabric strips, reduce the pressure which will prevent any drag when sewing the bulky strip.
Step 1- Divide your jelly roll strips into 4 groups containing 5 strips each.
Step 2- Join each group of 5 strips creating 4 very long strips of fabric. Press seams.
Step 3- Using your first strip of fabric, lay a batting strip onto wrong side of fabric. If you need to join batting strips, simply lay them with ends meeting with a very slight overlap. Leave a short ½ gap from each end of the fabric and fold the fabric end over on to it, creating a finished end.
Step 4- Using your wonder clips, commence folding the fabric and batting as one along the sides, into the centre so that the long ends meet, fold again in half and using your wonder clips, secure the strip all the way along.
Step 5- Sew a straight line 1/8" from the joined edge ensuring that the ends are neatly secured.
Step 6- Change your stitch to a zig zag with a width of 3 and length of 5. You may need to do a test to ensure that you get the zig zag size correct on your machine.
Step 7- Measure 5" from the end you are planning to have as your centre. Fold the strip at the 5" point so that two sides are next to each other. There will be an overlap at the fold.
Step 8- Start sewing with your zig zag at the overlap. It will be quite bulky to start with but sew, ensuring that the two sides are meeting and that your zig zag is catching both sides evenly.
Step 9- Prior to reaching the end of where the two sides meet stop sewing, leaving the needle in down position, again fold the fabric strip and ease the fabric around creating a slight curve. Pivot and continue sewing, ensuring that the stitching is catching each side of the fabric.
Step 10- Continue joining your strip. It is important at the rounded ends of each row to not pull on your fabric otherwise it will create a bowl effect. Instead, push the fabric forward towards the machine as you are easing around the curves to ensure there is sufficient 'give' to form a nice, flat shape.
Step 11- When you are reaching the end of your fabric strip, tuck the end under the opposite edge so that it blends into the oval shape. Zig zag back a couple of stitches to secure.
Step 12- Repeat for the other 3 placements.


