 | ||
| Your browser is not supported. | ||
|
Please browse our site using any of the following options:
| ||
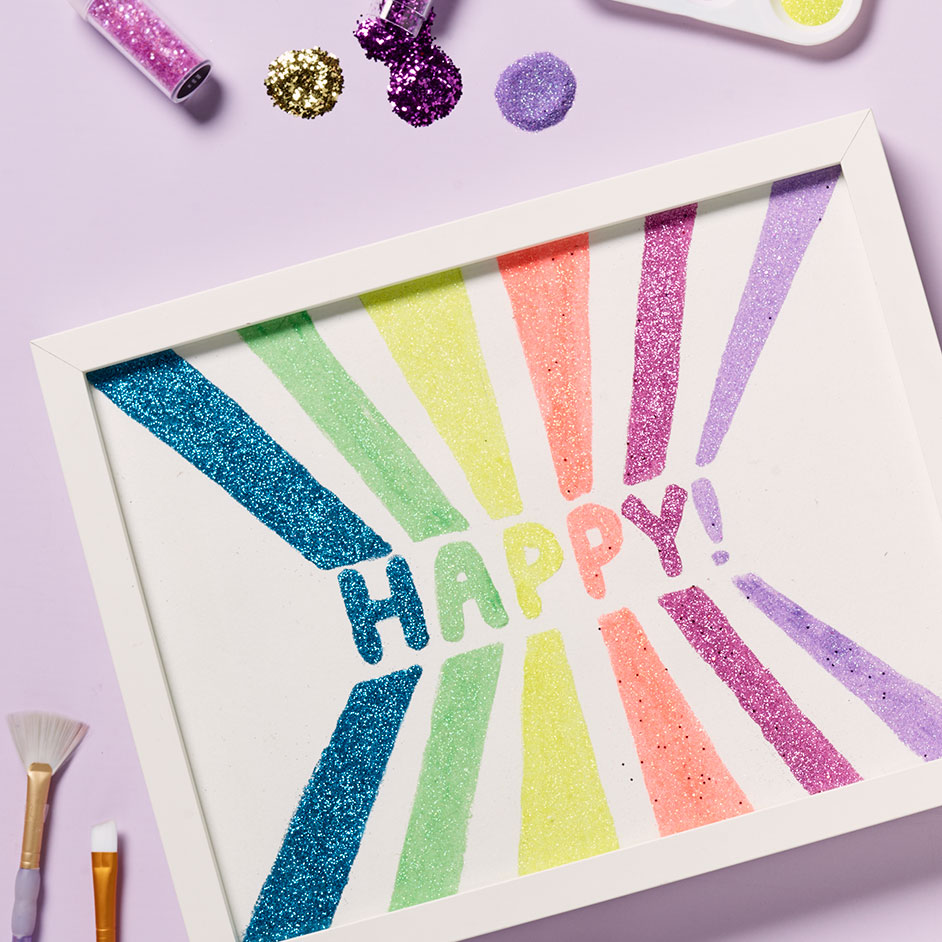
GLITTER ART PRINT

LEVEL: EASY
WHAT YOU'LL NEED:
- Card stock, piece for artwork and larger piece for working on
- Pencil
- Ruler
- Eraser
- Glitter packs
- PVA glue
- Paint brush
- Hairspray
- Frame
INSTRUCTIONS
Step 1 - Draw out your design on the cardstock using the ruler and pencil. Once happy with your design rub out the pencil lightly so you are left with a faint line of you design.
Step 2 - Lay out the larger piece of cardstock on the table and place your design on top ready to start. Take the paint brush and use a small amount of glue to fill in the first area of the design you wish to work on.
Step 3 - While the glue is wet, sprinkle the chosen glitter colour over the glue, covering completely. Leave to dry for a few minutes before shaking the excess off onto the larger cardstock below.
Step 4 - Carefully fold the cardstock in the centre so you can funnel the excess glitter back into its tub.
Step 5 - Repeat steps 2 - 4 until the whole design is complete. Leave to dry for a couple of hours.
Step 6 - Once your design is dry. Spray lightly with some hairspray, this will stop any excess glitter from falling off.
Step 7 - Place design into frame to finish!


