 | ||
| Your browser is not supported. | ||
|
Please browse our site using any of the following options:
| ||
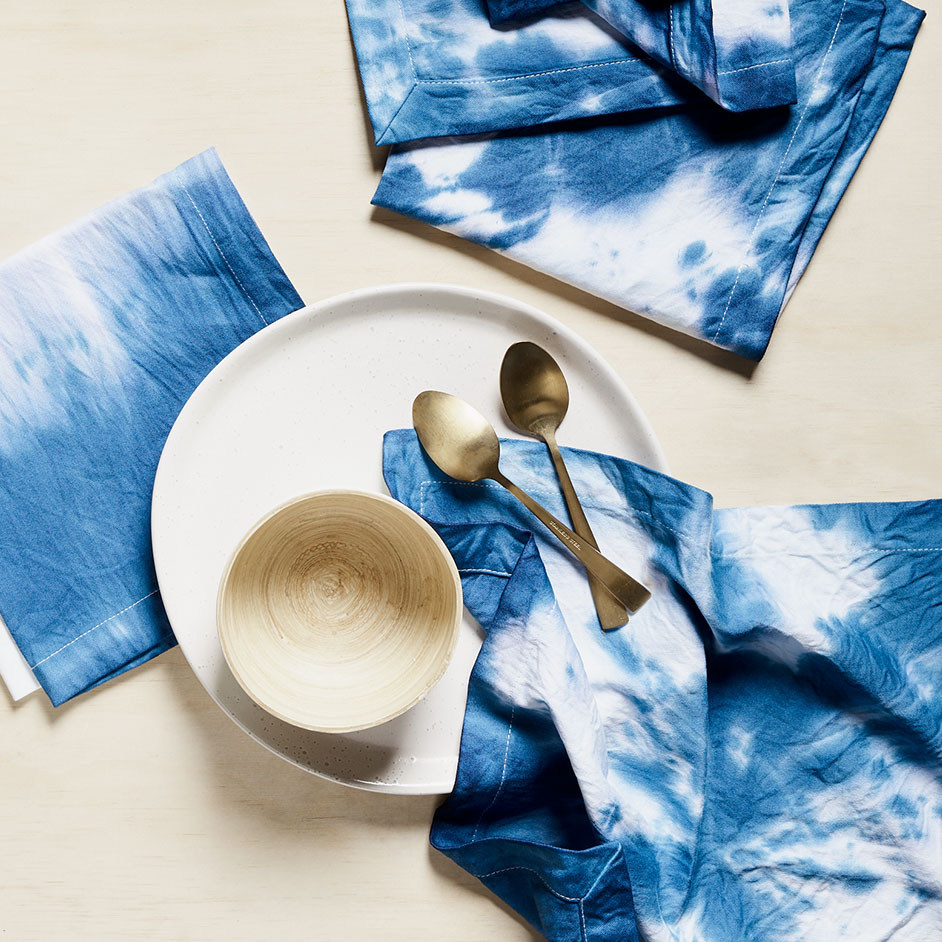
TIE DYED NAPKINS

Level: Easy
WHAT YOU'LL NEED
- WAM Linden Napkin - Set of 4
- Tulip Tie dye kit
- Water
- Cling wrap
- Clean work space
INSTRUCTIONS
Step 1- Before you start tie dyeing, make sure to wash your napkins. Then grab your damp fabric directly from the washer and prep it for dyeing.
Fold, twist and bind your fabric according to your chosen tie-dye technique.
Step 2- To prep your fabric wrap the elastic bands around the fabric creating separate sections.
Step 3- Once your fabric is secured, it's time to mix your Tulip dyes! Simply add water and shake the dye bottles until all the dye is mixed in. Lay out large plastic sheet to protect the surface you are working on and put on the plastic gloves.
Step 4- Squeeze dye onto different sections of your bound fabric. You might need to rotate and/or flip your fabric as you are applying dye to make sure you cover all sections.
Step 5- Cover your tie-dyed fabric in cling wrap to keep damp while the dye sets. Let it set for 6 to 8 hours or longer for brighter colours. Follow the tie-dye instructions included in your kit for laundering.
Step 6- Once your fabric is washed and dry your napkins are ready to use!


