 | ||
| Your browser is not supported. | ||
|
Please browse our site using any of the following options:
| ||
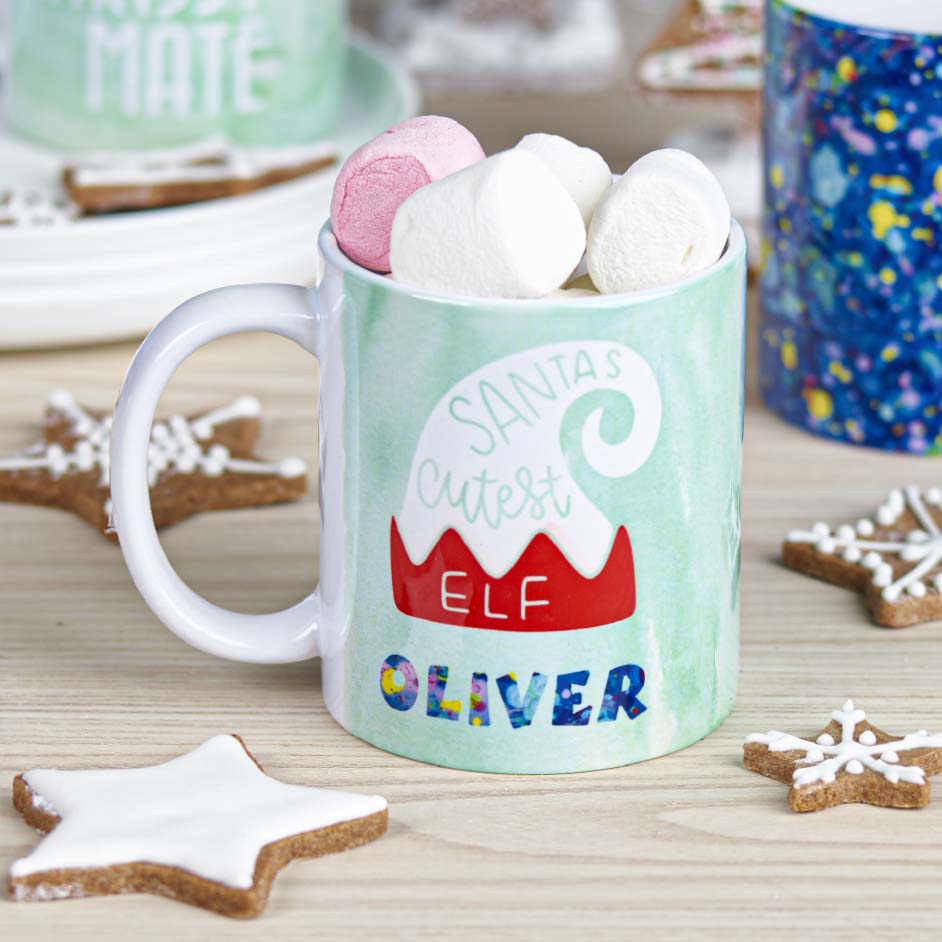
SANTAS CUTEST ELF PERSONALISED MUG

LEVEL: EASY
WHAT YOU'LL NEED:
- Infusible Ink™ transfer sheet - paint splash
- Infusible Ink™ transfer sheet - cherry red
- Infusible Ink™ transfer sheet - green watercolour
- Standard grip machine mat
- Cricut Mug Press™
- 12oz 340ml or 15oz 475ml Cricut mug blank
- Lint roller
- Cricut heat resistant tape (optional)
INSTRUCTIONS
Preparation
Step 1 - To begin, go to the Cricut "Community" section of Design Space and search for Santa's Cutest Elf. Select edit a copy, select the name text and replace with name of your choice. Select make it.
Cut
Step 2 - When you're ready select make it, then mirror your design. Place the Infusible Ink transfer sheets (shiny side, clear liner down) on the mat and follow the design space prompts to cut images.
Assemble
Step 3 - Remove unneeded pieces, leaving design on clear liner.
TIP: This design uses the slice then set method. For help with slice and set click this link
Step 4 - Apply your design to the blank Cricut mug and secure in place with heat resistant tape if required.
Step 5 - Once the Cricut Mug Press has reached pressing temperature, place your mug into the mug press and lower lever to start transfer.
Step 6 - After beep, remove mug from press, and set on a heat resistant surface like a Cricut Easy Press Mat or pot trivet.
Step 7 - Once your mug is completely cool remove transfer sheet to reveal design.


