 | ||
| Your browser is not supported. | ||
|
Please browse our site using any of the following options:
| ||
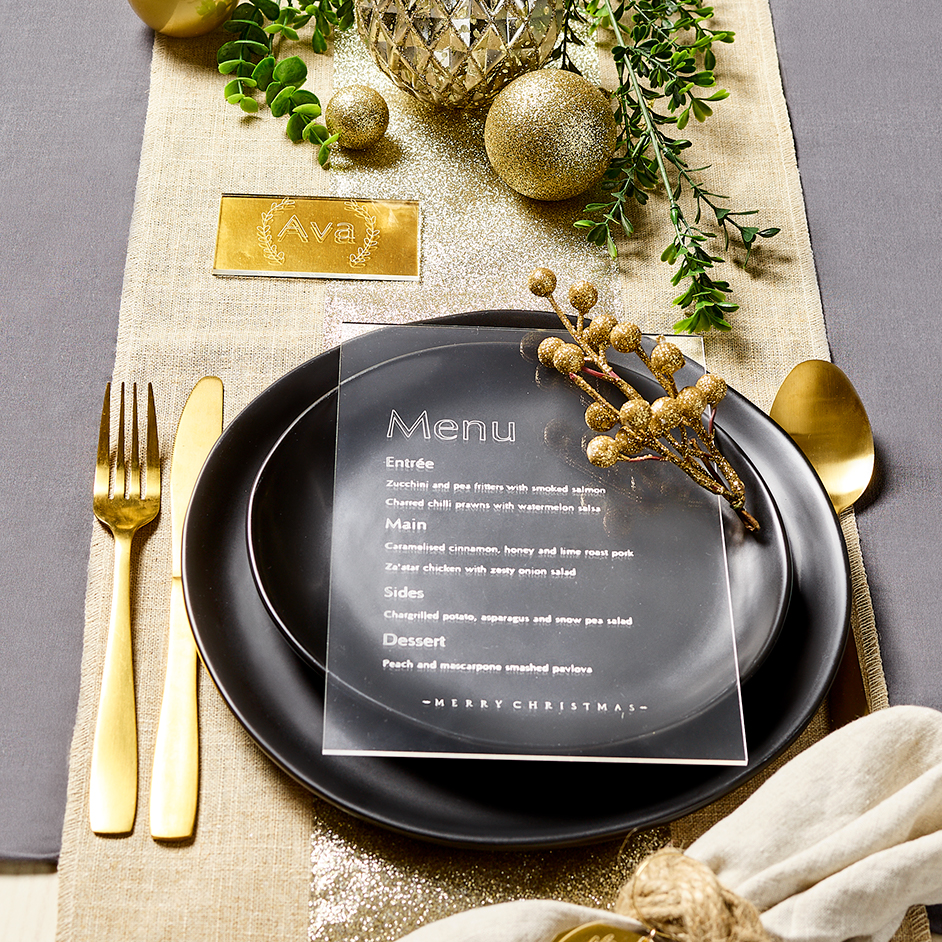
PERSONALISED CHRISTMAS TABLE SETTING

LEVEL: EASY
WHAT YOU'LL NEED:
- Cricut Maker
- Laptop/Computer with Cricut Design Space
- Strong Hold Mat
- Cricut Engraving Tool
- Masking Tape
- Measuring Tape
- Crafters Choice A5 Acrylic Blank - Menu
- Crafters Choice Keychain Acrylic Blank - Napkin Ring
- Crafters Choice Place Card Acrylic Blank - Place Card
- Crafters Choice Hoop Earring (Gold) 50pk
- Gold Foil Cardstock
INSTRUCTIONS
Step 1 - Using Cricut Design Space create your design. We started by measuring the blank and creating a matching rectangle/circle with the same specs (this will be deleted later) but allows for positioning of your design. Create your design with fonts/text and images/flourishes available in the Design application, when choosing a text be mindful that it will be an outline of the font - if you don't want this, you can purchase Cricut fonts which are set to "Draw". Once you are happy with the design remove the rectangle/circle background and ensure you set images and text to the operation "Engrave".
Step 2 - Remove the film from both sides of the blank and place on the strong hold mat, we recommend allowing at least 1inch clearance from the top and side. Secure with tape ensuring the tape if taut and flat as this can get caught in the machine.
Step 3 - Push the feeder rings to the sides of the machine so they will not obstruct the blank when it is fed through the machine.
Step 4 - Place your engraving tool in the machine.
Step 5 - Start making your design, ensure you re-position the design to match the placement of the blank e.g. if you've put the blank 1inch from the top and bottom do the same with your design, so it aligns. You can choose to mirror flip the design, but we were happy to leave as is with the engraving facing you.
Step 6 - Set the setting to "Acrylic 2mm" - the blanks are 3mm, but we've pushed the feeder rings to the side which will allow for this extra thickness.
Step 7 - Start engraving!
Step 8 - For the Keychain we've added some gold foil to the back to make the engraving pop - feed through a hoop earring which can be attached to a napkin ring - this can also be used to personalize keychains or as wine charms.


