 | ||
| Your browser is not supported. | ||
|
Please browse our site using any of the following options:
| ||
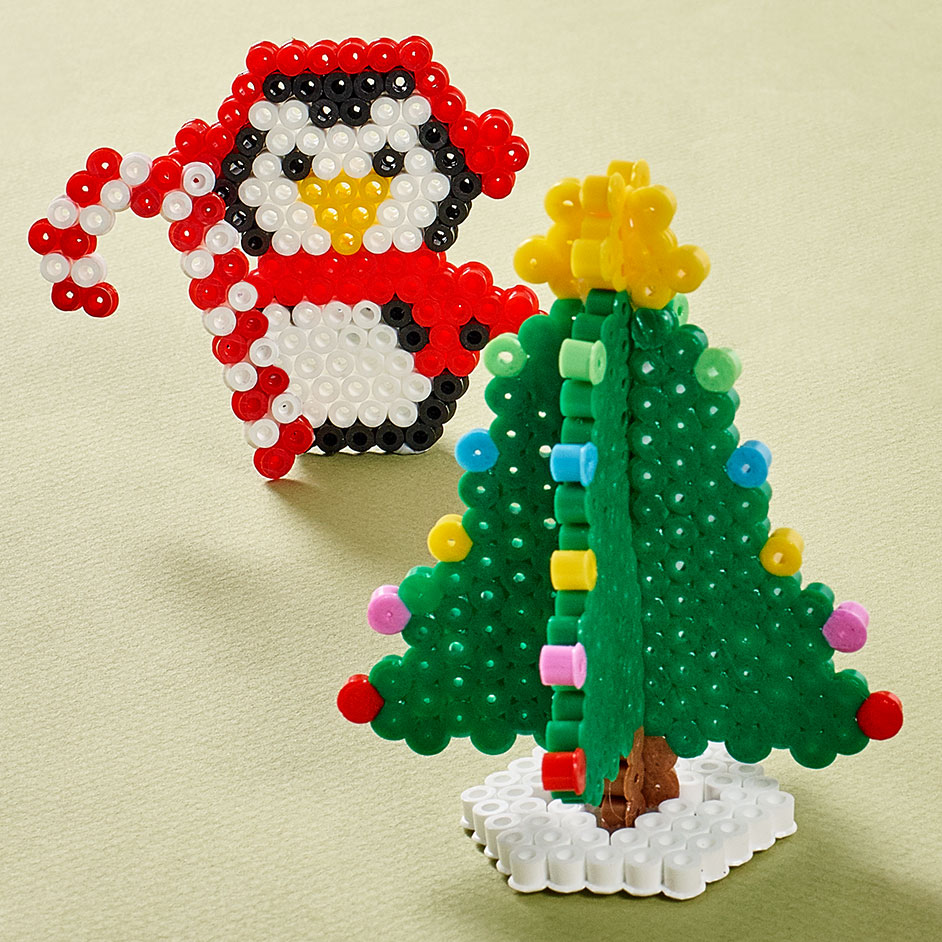
HAMMA BEAD CHRISTMAS TREE & PENGUIN

Level: Easy
WHAT YOU'LL NEED
- Hama Heart and Hexagon Pegboard
- Hama Bead Bag in Green, Black, White, Red & Bold colours
- Clothing Iron
- Baking paper
INSTRUCTIONS
TIPS & TECHNIQUES
- Do not add water to your iron, the steam will ruin the beading during the fusing stage.
- Beads need heat for about 10-20 seconds per side to fuse evenly. Lift the paper occasionally to see how the beads are fusing. Additional heating time may be required
- You can iron one side or both depending on your preference. For 3D projects, ironing both sides will help to strengthen the fusing of the beads
- You can reuse pegboards and ironing paper
Penguin & Candy Cane
Total Bead colours needed
White - 66
Red - 61
Black - 40
Yellow - 6
Step 1 - You will need to use the large hexagon pegboard for your projects. If you're using a clear pegboard, slide the actual-size pattern underneath it. Then place all the beads onto the pegboard according to the design template.
Step 2 - Adult supervision is required if child is under 12 years old. You are now ready to fuse your design, place your pegboard on a flat, heat-safe surface. Set a household iron to the medium setting. Place ironing paper over the pegboard. In a circular motion, begin to iron the project. When ironed properly, the beads will still have open centres. Do not over iron as this will cause the beads to close and can make assembly of your project more challenging. Let the design cool before handling.
Step 3 - Remove the paper and bead design from the pegboard. Use blue tack to adhere the candy cane to the penguin and you're ready to show off your cute Christmas decorations
Christmas Tree
Total Bead colours needed
Green - 226
Yellow - 20
Brown - 18
Light blue - 4
Light green - 4
Pink - 4
Red 4
Tree Skirt
Total Bead colours needed
White - 42
Step 1 - You will be using the same large hexagon pegboard from the previous project.
Step 2 - Refer to previous steps regarding iron heat setting and placement of pegboard. Fuse your beads and let cool before handling and allow the beads to harden. They can also heat up quite a bit and be hot to touch.
Step 3 - Remove the paper and bead design from the pegboard. Flip the design over to expose the non-fused side, we recommend fusing this side to make the design more rigid and strong when putting together the trees later.
Step 4 - After the first tree is done, repeat the previous steps for the second one. There will be enough space to include the tree skirt which will hold the tree up.
Step 5 - Assemble the trees and then insert into the tree skirt which will hold the tree. We used blue-tack for extra adhesion. We also recommend using a glue gun for a stronger hold.


