 | ||
| Your browser is not supported. | ||
|
Please browse our site using any of the following options:
| ||
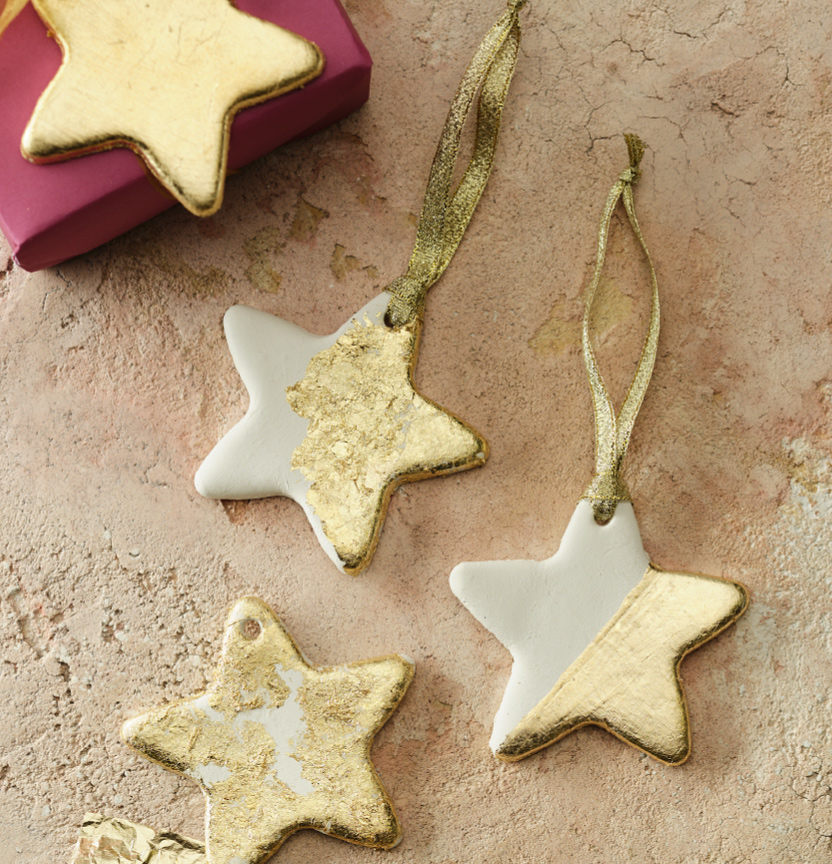
GOLD GILDED STARS

Level: Easy
WHAT YOU'LL NEED
- Crayola Air Dry Clay
- Star Cookie Cutter
- X-Press It Metal Leaf Adhesive Gold
- X-Press It Metal Leaf Flakes Gold
- Sculpey Acrylic Clay Roller
- X-Press It Gold Size White Glue
- Cling Wrap
- A Straw
- Small paint brush
- Ribbon
INSTRUCTIONS
Step 1 - Take a small handful of the Crayola air dry clay and place on a smooth surface.
Roll flat at an approx. height of 5mm using the acrylic clay roller, until the surface area is wide enough for the cookie cutter.
Step 2 - For smooth rounded edges, and to avoid the clay sticking to the cookie cutter, you can smooth a piece of cling wrap over the surface of the clay. Be sure to avoid any lumps in the cling wrap as this will create impressions on the surface of your star.
Step 3 - Press the cookie cutter into the clay. To create a ribbon hole, keep your cling wrap in place. Press the straw into one of the points of the star. Remove cling wrap. Remove excess clay from around your star.
Step 4 - Once you have repeated this step for as many stars you desire, set aside to dry. This may take 24 hours.
Step 5 - Once your stars are dry, paint on your gold size glue using the small paint brush. You may wish to try a few different patterns!
Step 6 - Allow the size to become tacky and apply your gold leaf. You can apply this however you would like, have fun with a few techniques!
Step 7 - Once your gold leaf is applied and the glue has cured, thread a length of ribbon through the hole in the point, and tie a knot to finish off. Your gold gilded stars are now complete!


