 | ||
| Your browser is not supported. | ||
|
Please browse our site using any of the following options:
| ||
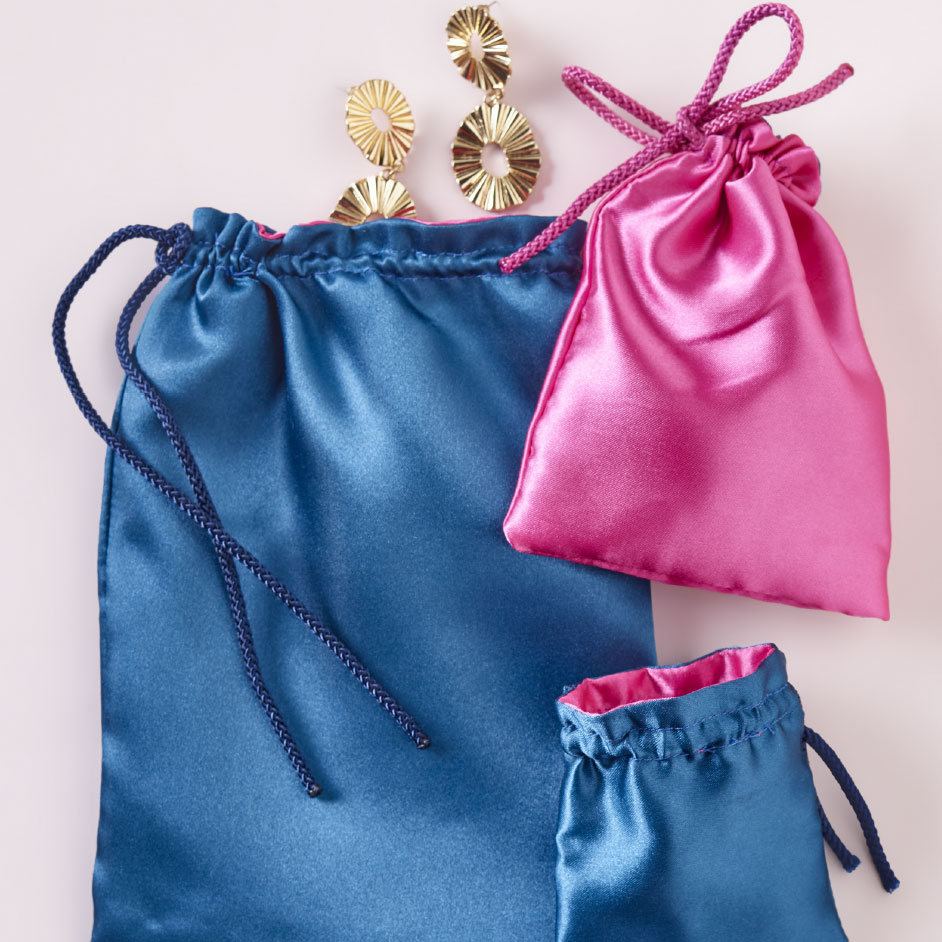
REVERSIBLE SATIN BAG

LEVEL: BEGINNER
What you'll need:
- 5m Semco plain satin pink and teal
- 8mm simplicity small twist cord gold
- Thread
- Scissors
- Seam ripper
- Pins
- Small safety pin
- Sewing machine
INSTRUCTIONS
Step 1 - Cut out a rectangle from each satin fabric in the size you would like to make your bag. One piece would be used for the outside of the bag and the other cut piece for the lining. Make sure to leave 1cm seam allowance.
Step 2 - Start by placing the two pieces of fabric right sides together, and pin along the top (widest) edge. Sew a seam along the pinned edge.
Step 3 - Open the sewn piece up and place it face up on the table, with the lining half at the top. Fold it over from right to left, making sure the finished side of the fabric is on the inside
Step 4 - Pin along the long-left side and along the bottom, then use the sewing machine to sew along those two edges.
Step 5 - Now flip the bag inside out, revealing the finished side of the fabric
Step 6 - Close up the bottom of the bag's lining. Grab the open end with both hands and use your index finger to push the sides in about 1cm. Push the cut ends down until you can't see them and pinch to hold in place.
Step 7 - Secure the pinched seam with a row of pins. Now you can do a slipstitch to close the seam or -- since it's just the inside of the bag anyway -- just sew it closed with a quick row of stitches on the machine.
Step 8 - Now shove the lining down into the bag, pushing the seam you just sewed down to the bottom of the bag.
Step 9 - Next stabilize the top of the bag by pinning around the edge, making sure that the outer and inner layers of fabric are lined up nicely. Then sew a row of stitches 2cc from the top of the bag.
Step 10 - Then sew a second row of stitches next to the first one. These stitches will form the channel for your drawstring.
Step 11 - To open up the channel to allow the drawstring to enter, use a seam ripper to cut away at the thread right at the seam, making a hole just big enough to slip a safety pin into. Then put a small safety pin on the end of your drawstring cord.
Step 12 - To open up the channel to allow the drawstring to enter, use a seam ripper to cut away at the thread right at the seam, making a hole just big enough to slip a safety pin into. Then put a small safety pin on the end of your drawstring cord.
Step 13 - Stick the safety pin into the hole and use it as a sort of handle to feed the drawstring all the way through the channel and out the other side
Step 14 - Pull the cord through and even it out, cut to an appropriate length, and tie a knot in each end.
Tip - This is a simple drawstring bag that can be made with just about any fabric, in any colour, to suit any occasion. You can easily vary the size, too!


