 | ||
| Your browser is not supported. | ||
|
Please browse our site using any of the following options:
| ||
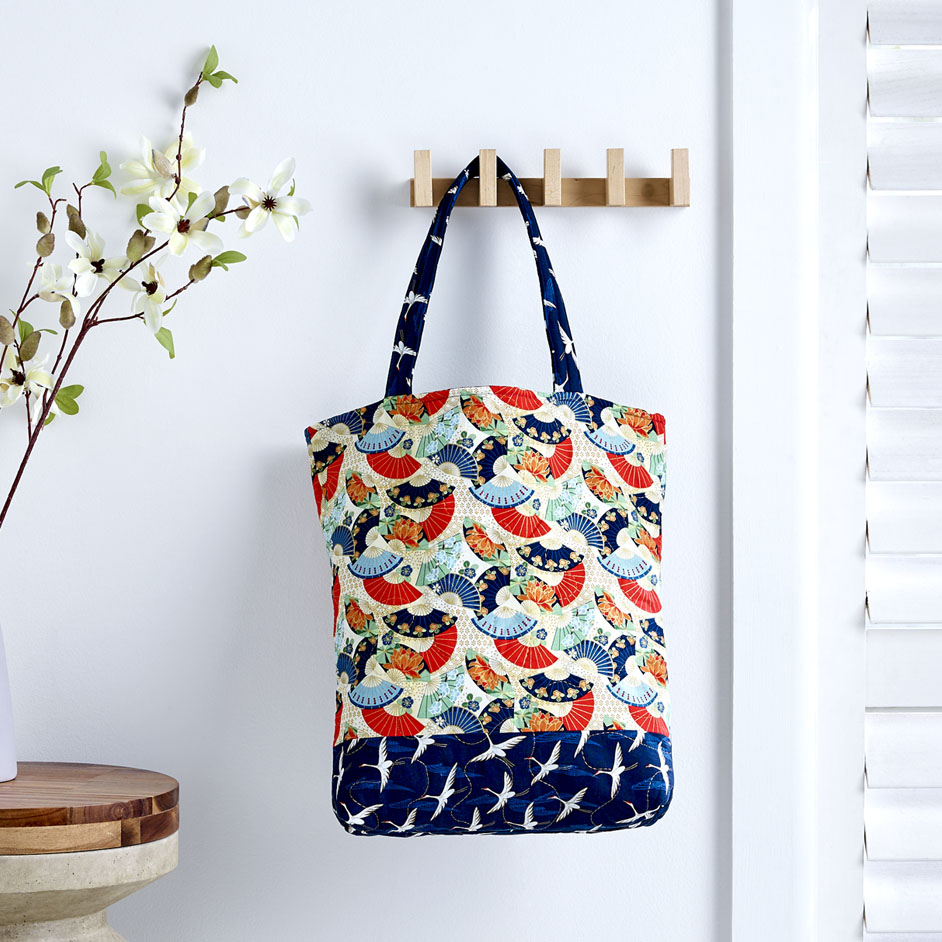
CHANDELIER GEISHA

LEVEL: EASY
WHAT YOU'LL NEED:
- A (AFQM-73150-205 MULTI) 1/2 yd
- B (AFQM-73151-69 MIDNIGHT) 3/8 yd
- C (AQFM-73152-9 NAVY) 1/2 yd
- Two 17" x 19" pieces and
- One 5" x 42 "piece of fusible fleece
- Sewing Machine
- Scissors
- Thread
- Pins
Note: Please read through all of the instructions before beginning. All of the seam allowances are 1/4" unless otherwise noted. Width of fabric (WOF) is equal to at least 42" wide. Press all seam allowances open after each seam is sewn, unless otherwise noted. Remember to measure twice and cut once!
INSTRUCTIONS
CUTTING
Fabric A
- Cut one strip 14-1/2" x WOF subcut two rectangles 17" x 14-1/2" for the main bag exterior.
Fabric B
- Cut one 5-1/2" x WOF subcut two rectangles 5-1/2" x 17" for the exterior contrast
- Cut one strip 5" x WOF trim down to 5" x 42" for bag handles
Fabric C
- Cut one strip 17" x WOF subcut two 19" x 17" rectangles for lining
BAG ASSEMBLY
Step 1. Sew a 5-1/2" x 17" Fabric B contrast exterior rectangle to the bottom of a 14-1/2" x 17" Fabric A main bag rectangle, noting fabric orientation to make an exterior panel, press seams open to reduce bulk. Repeat to make a second identical exterior panel.
Step 2. Iron fusible fleece to the wrong side of a Step 1 exterior panel and quilt as desired. Repeat to second exterior panel.
Step 3. Fuse 5" x 42" fleece to wrong side of the 5" x 42" Fabric B handle. Fold raw edges in wrong sides together lengthwise to meet in the center (see white line in diagram below).
Fold this edge towards white lineFold this edge towards white line
Step 4. Fold strip in half to encase raw edges. Top stitch on each side and in the middle of the strip. Cut strip in half (see red dotted line below) to create two 1-1/4" x 21" handles.
Step 5. Pin a strap to the top edge of each exterior panel,
RST and raw edges aligned 4" from each side edge. Ensure that the straps are not twisted. Baste in place with a 1/4" seam.
Step 6. Cut a 2" x 2" square from the bottom corners (along one 17" side) of both exterior and both lining panels.
Step 7. Place exterior panels RST with straps tucked between the panels. Sew along both sides and the bottom edge, using a 1/2" seam allowance. Corner cutouts will remain unsewn. Press seams open.
Step 8. Bring corners together, pinching to bring the side and bottom seams together to form the bag's box corner. Sew using a 1/2" seam allowance and backstitching at both ends. Repeat for remaining corner.
Step 9. Repeat Steps 7 and 8 with the lining panels, leaving a 6" opening along the bottom seam for turning. Press the seam allowance open at the opening.
Step 10. With the exterior right side out, and the lining wrong side out, place exterior inside the lining, tucking straps between the layers. Pin at side seams and around the bag opening. Sew using 1/2" seam around entire bag opening.
Step 11. Pull the bag through the opening in the lining. Tuck raw edges of the lining opening in and edge stitch closed.
Step 12. Press seam at the top of the bag. Top stitch 1/4" from the top edge, around the entire bag.


