 | ||
| Your browser is not supported. | ||
|
Please browse our site using any of the following options:
| ||
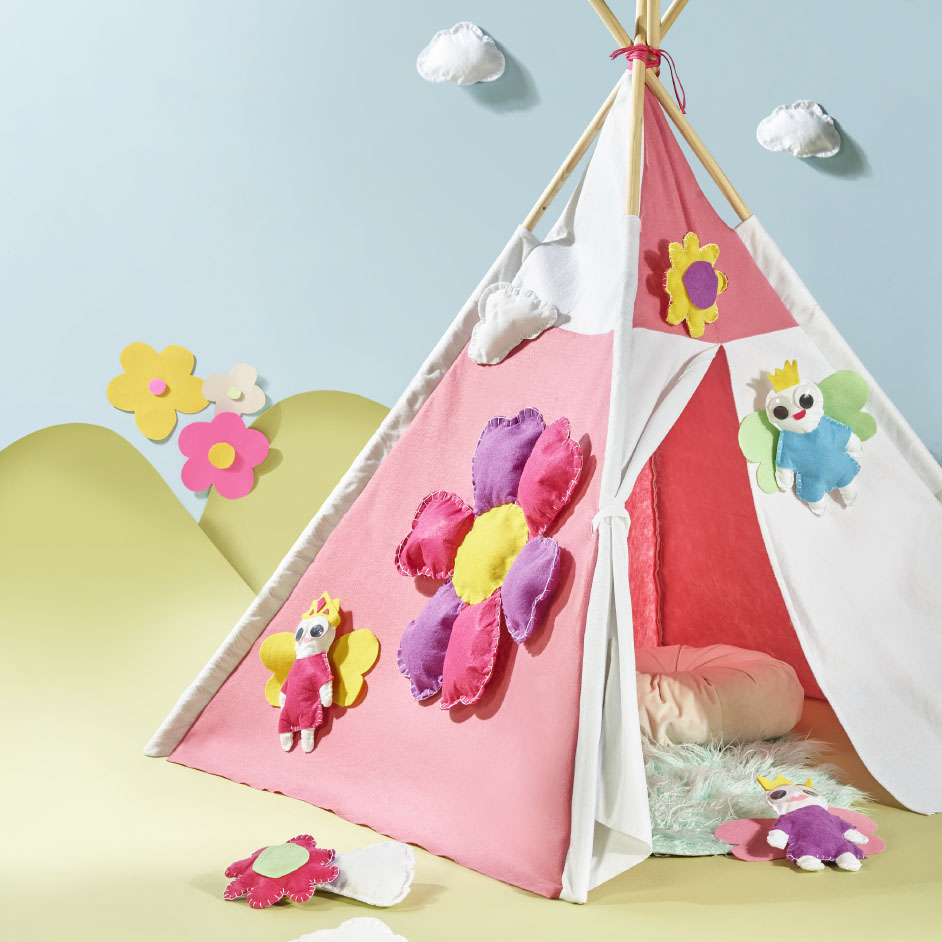
VELCRO TEEPEE

LEVEL: EASY
What you'll need:
- 22mm x 1m Velcro white stick on dots
- 19mm x 3m Velcro one wrap white tape
- 4m felt fabric
- Cord 4pcs approx. 30cm
- Arbee A4 sheets in hot pink, purple, yellow, blue, light green, white
- E6000 Fabri-fuse Glue
- Embroidery thread and needle
- Hobby fill
- 180 -200cm wooden poles x 4
- Sewing machine
INSTRUCTIONS
Step 1 - Measure and cut out tent base in felt as per pattern.
Step 2 - Fold pole pockets in half and sew one end shut, turn out and sandwich between long edge of triangle pieces.
Step 3 - Sew front panel together until 40cm down, the rest of the way fold back 1cm seam and stitch to create door opening.
Step 4 - Stitch on four pieces of cording to the top of front panel.
Step 5 - Sew all pieces together at long edges. On the side panels sew buttonholes on edge closest to front.
Step 6 - Insert Wooden poles and tie together with cord at the top.
Step 8 - Cut two lengths of velcro white tape 10-15cm, thread though the buttonhole and around the tent poles.
Tip - Ensure the Hook side of the velcro is down, it will stick to the felt, pull it back and wrap around itself to open the tent front doors.
Step 9 - Next, cut out shapes from your A4 coloured sheets to create flowers, fairies, clouds or more
Step 10 - Blanket stitch shapes together leaving a small space and fill with hobby fill before finishing blanket stitch. Use E6000 fabri-fuse to glue felt to felt like the fairy wings on the back of the fairies.
Step 11 - Add stick on Velcro dots to back of flowers, fairies, and clouds. Ensure to use hook dot as it will stick to felt. Kids can then enjoy playing with and sticking on the felt toys to the tent.


