 | ||
| Your browser is not supported. | ||
|
Please browse our site using any of the following options:
| ||
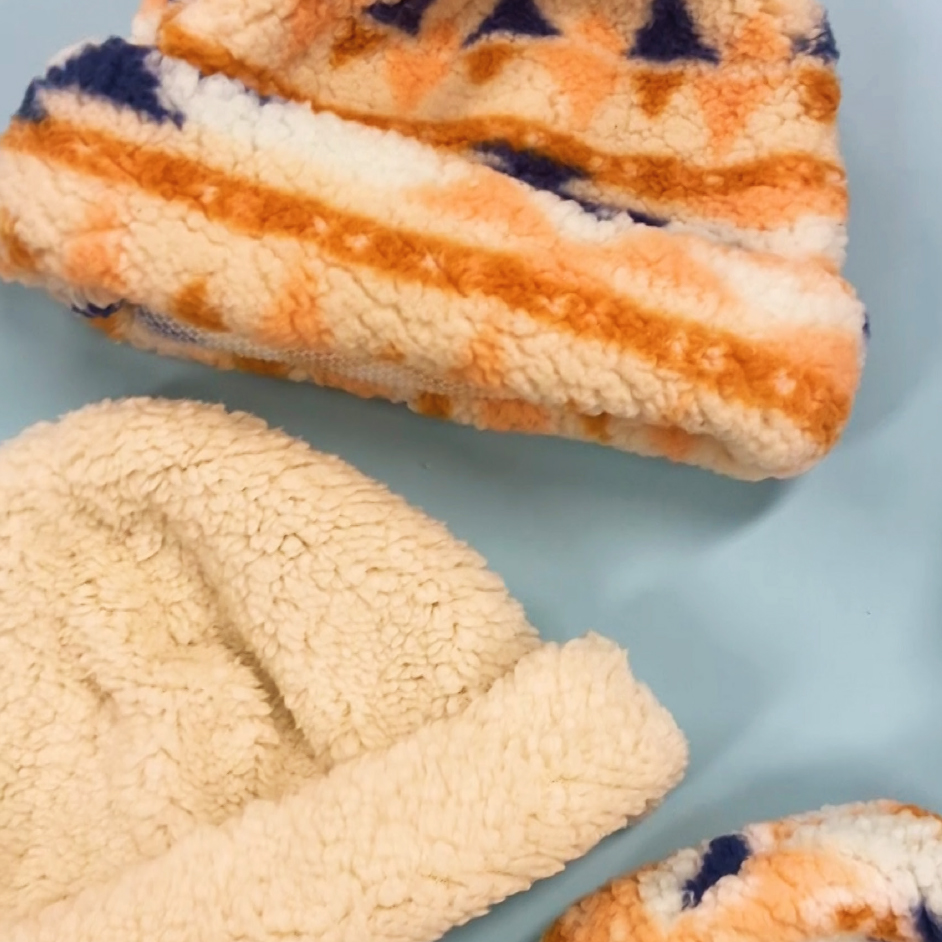
FLEECE BEANIE

LEVEL: EASY
What you'll need:
- Fleece fabric of your choice x 50cm
- Sewing machine and matching thread
- Scissors
- Pins
All seam allowances are 1.5cm
INSTRUCTIONS
Step 1 - Print out the pattern provided 200% and cut out the pieces. Lay the pattern pieces onto the fleece ensuring all the pattern pieces are following the same NAP and the stretch of the fabric is running across the pattern pieces horizontally.
Step 2 - Cut out using fabric scissors and overlock the edges of the fabric pieces if you wish.
Step 3 - Fold one of the head pieces in half with right sides together. Pin the curved edge above the fold and sew together with a 1.5cm seam allowance to create a nice, curved edge for the top of the beanie. Repeat this step with the other head piece.
Step 4 - Line up both the head pieces with right sides together and ensuring the seam line from the darts on each side match up. Pin along the edge and sew together with a 1.5cm seam allowance.
Step 5 - Next, take the cuff piece and fold in half, pin and sew along the short edge with a 1.5cm seam allowance.
Step 6 - Fold the cuff in half lengthways with the wrong sides of the fabric together and place over the bottom edge of the wrong side of the beanie with the side seams aligned. Pin and sew in place with a 1.5cm seam allowance.
Step 7 - To finish, turn the beanie right side out and pull the cuff around to fold up and cover the seam allowance of the join. You can sew the seam allowance down with a zig zag stitch to the front of the beanie and then fold the cuff up, this is optional.


