 | ||
| Your browser is not supported. | ||
|
Please browse our site using any of the following options:
| ||
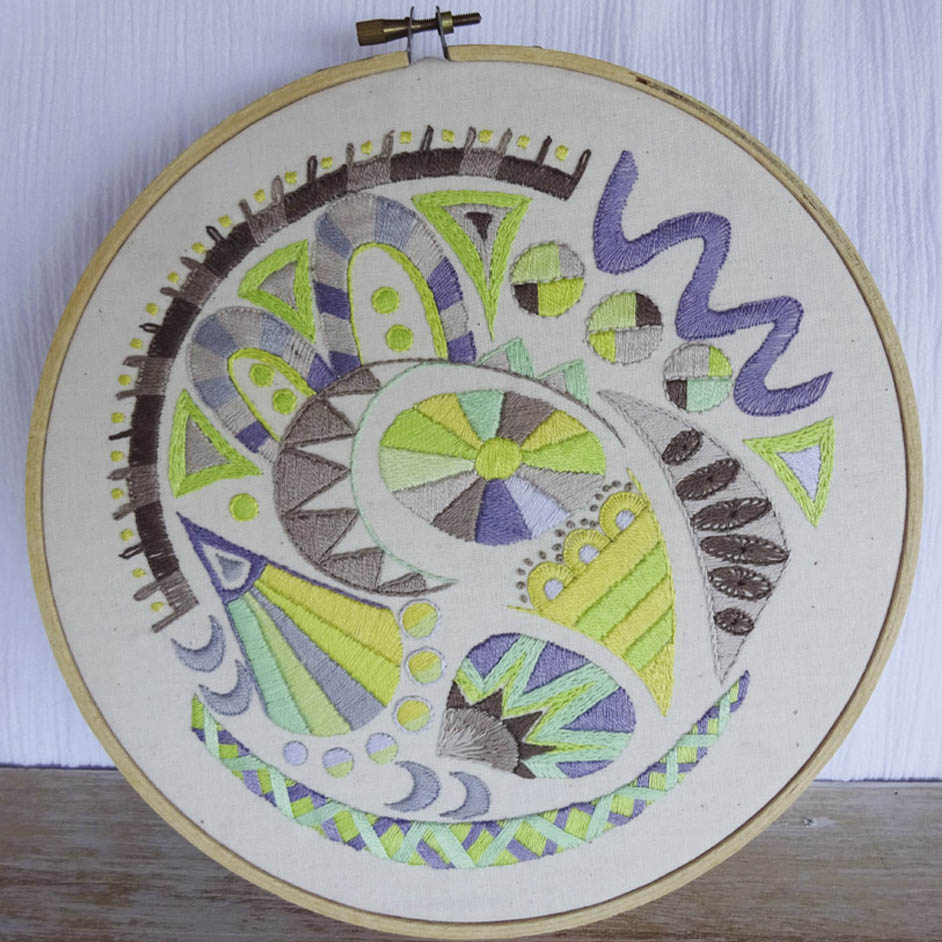
DMC SHELLS EMBROIDERY

LEVEL: EASY
WHAT YOU'LL NEED:
- DMC Stranded Cotton - 1 skein of each colour 03, 06, 07, 08, 12, 13, 14, 15, 16, 17, 26 & 28
- Carbon paper for tracing
- 8in timber hoop
INSTRUCTIONS
Step 1. Print out page with design outlines. Place your fabric right side up on smooth, hard surface. Tape your carbon paper onto the fabric and your printed design on top of that. Using a pen trace over the lines of your design.
Step 2. Embroider design using 2 strands of DMC Stranded Cotton. Refer to stitch guide on next page for colour and stitch placement.
- When stitching, try to keep the tension of your thread even. DO NOT pull too tight.
- Use a loop method to start the thread to avoid knots and keep the back of your work looking nice and tidy. Separate one strand of floss, twice as long as you normally use. Fold the floss in half, and thread the 2 loose ends through the eye of your needle. This should make a long tail with a "loop" on the end. Bring your needle up from the back, as you would to make the first stitch, leaving the looped end at the back of the work. Return your needle to the wrong side after forming your first stitch and pass the needle through the loop.
- If your thread gets twisted while stitching, drop the threaded needle and let it hang freely until it "unwinds".
Step 3. Once you have completed all the stitching, spray with water to erase markings and iron it flat from the back to protect your stitching


