 | ||
| Your browser is not supported. | ||
|
Please browse our site using any of the following options:
| ||
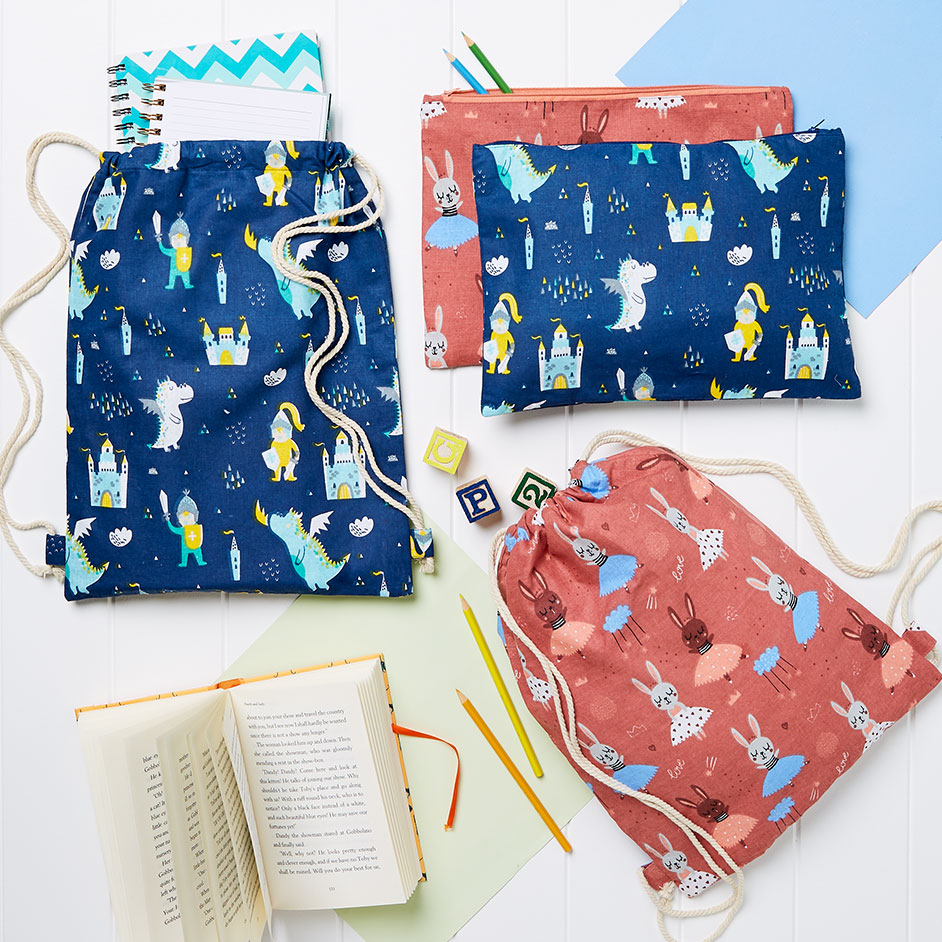
PENCIL CASE & LIBRARY BAG

Level: Easy
WHAT YOU'LL NEED
- 1m x dollar printed fabric
- 1 x lining fabric for inner
- 4m x natural cotton rope for straps
- Sewing machine and matching thread
- Scissors
- Pins
INSTRUCTIONS
Step 1 - First cut the panels as per required size which in this case is 40x30cm. Cut 2 panels of Dollar Printed fabric of 45x35cm for front & back of the bag Cut 2 rectangles of Dollar Printed fabric 6 cm x 10cm for the rope loops Cut 2 panels of plain cotton fabric of 45 x 35cm for the lining Cut 390cm Length of Cotton Rope
Step 2 - Take the 2 rectangles for the rope loops, fold in half and press, you should have 2 x 10cm x 3cm pieces. Press under a 1cm allowance along the long edges and pin together. Top stitch along both edges to create your rope loops.
Step 3 - Pin the outer fabrics together with right sides facing in. Position the rope loops inside the 2 pieces of fabric roughly 1.5cm from the bottom of bag. Starting at the top and using a 1cm seam allowance sew down one side 6cm, leave a 3cm opening and continue to the bottom edge, sew along the bottom then back up the other side stopping 10cm from the top, leave a 4cm opening then continue to the end. The rope loops will be trapped in the seams.
Step 4 - Press seams open. Press top edge 1.5cm to the wrong side. Clip corners and turn right side out and press.
Step 5 - Pin lining rectangles together with right sides facing. Sew together down sides and across bottom edge. Clip corners and press seams open. Press top edge 1.5cm to the wrong side but do not turn right side out.
Step 6 - Insert lining into bag with wrong sides together and push lining into corners.Topstitch bag and lining together around the top, close to the edge.
Step 7 - To create the casing stitch around the bag 4.5cm down from the top of the opening. Stitch around the bag again 7.5cm from the top at the bottom of the opening.
Step 8 - Cut piping cord into 2 x 3m lengths.Tip - Before cutting, wrap sticky tape around the cord where the cut will be to prevent cord unravelling.
Step 9 - Using a bodkin or safety pin insert one cord through opening in one side, thread around and back out through the same opening. Knot ends together through the loops at the base of bag. Repeat to thread the other length through the other side opening.
PENCIL CASE
WHAT YOU'LL NEED
- 50cm x dollar printed fabric
- 50cm x lining fabric Matching colour zip - 35 cm in length
- Sewing machine and matching thread
- Scissors
- Pins
INSTRUCTIONS
Step 1 - First cut the panels as per required size which in this case is 35x20 cm. Cut 2 panels of Dollar Printed fabric of 39x24cm for front & back of the Case. Cut 2 Panels of Lining 39x24cm for Inner part.
Step 2 - With the right sides of one of the outer pieces face up, align the zipper length right side down along the top long edge. Place one of the lining pieces face down aligning all layers together at the top. Pin and then sew together using a zipper foot on your machine close to the teeth of the zipper.
Step 3 - Repeat step 2 for the other side of the zipper and with remaining fabric pieces.
Step 4 - Pull fabric right way out away from zipper and press flat. If desired top stitch fabric 3-5mm in from zipper edge, this will help the fabric sit flat.
Step 5 - Up-zip the zipper half way and with right sides facing pin the two outer fabric together aligning all remaining edges. Repeat with the lining fabrics and pin together. Pin the teeth of the zipper towards the lining side.
Step 6 - With a 1cm seam allowance sew around all the pinned edges leaving a 5cm opening at the middle base of the lining side. Clip corners and press seams open at corners and base.
Step 7 - Turn out pouch through the opening in the lining. Press in the seam allowance along the opening and top stitch closed. Place lining back inside the outer pouch and push out each corner and press.
Step 8 - Your case is now ready to use!


