 | ||
| Your browser is not supported. | ||
|
Please browse our site using any of the following options:
| ||
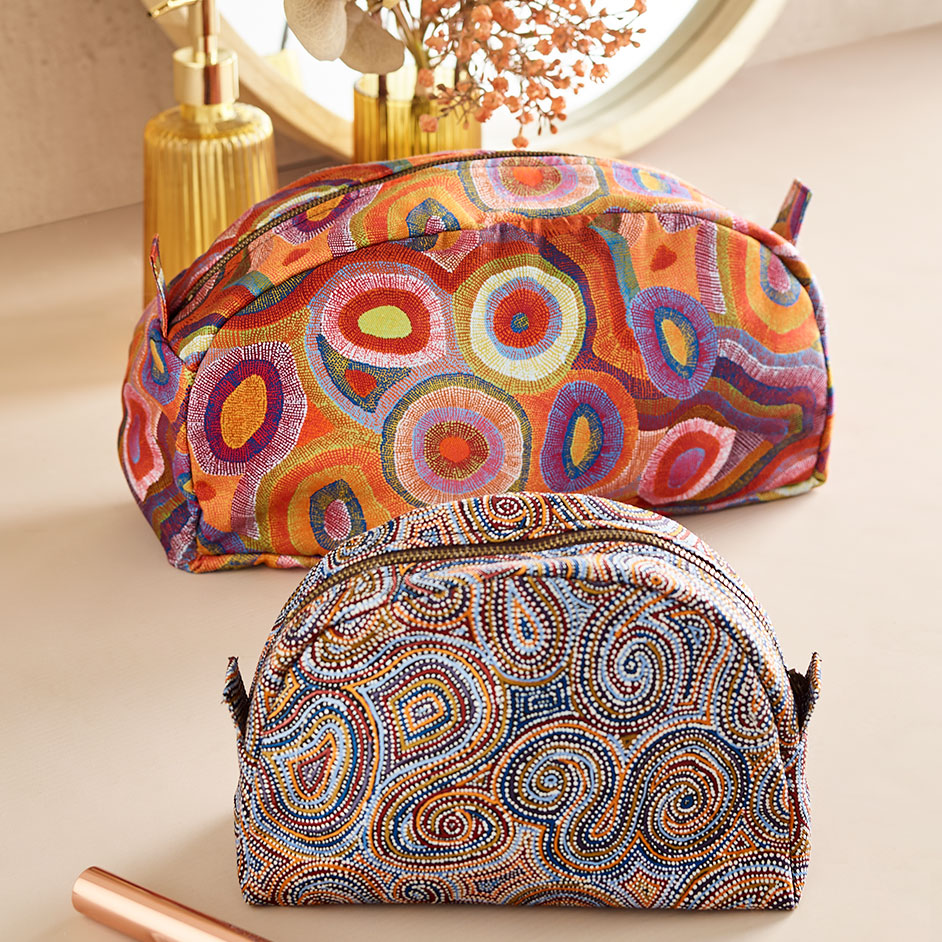
WARLU COSMETICS BAGS

LEVEL: INTERMEDIATE
WHAT YOU'LL NEED:
SMALL: approximately 18cmW × 13cmH × 6cmD
Main Fabric
- 1 x 33cm × 35cm
- 2 x 29cm × 4.5cm
- 2 x 5cm × 4cm (tabs)
Lining Fabric
- 1 x 33cm × 35cm
- 2 x 29cm × 4.5cm
- 40cm x 2.5cm bias binding
Fusible Wadding
- 1 x 31cm × 33cm
- 2 x 27cm × 2.5cm
Zipper
- Sml 29cm
LARGE: approximately 23cmW × 14cmH × 10cmD
Main Fabric
- 1 x 42cm × 44cm
- 2 x 31cm × 6cm
- 2 x 6cm × 5cm (tabs)
Lining Fabric
- 1 x 42cm × 44cm
- 2 x 31cm × 6cm
- 47cm x 2.5cm bias binding
Fusible Wadding
- 1 x 40cm × 42cm
- 2 x 29cm × 4cm
Zipper
- Sml 31cm
INSTRUCTIONS
Draft pattern pieces for both sizes following pattern.
Fold Wadding according to pattern. Cut around the outside edge.
Iron Wadding to Main fabric piece.
Cut adding 1cm (seam allowance) all around. Cut lining the same size as main fabric piece.
Zipper Insert
Iron wadding to main fabric zipper insert pieces.
Place zipper face down on to right side of main fabric. Place lining piece right side down onto zipper aligning all long edges.
Sew close to zipper teeth using a zipper foot. (1cm from edge)
Turn right sides out and iron flat repeat with the other side of zip.
Topstitch close to zipper.
Zig zag or baste along long edges to hold all layers together.
Tabs
Fold the long sides into the centre (wrong side) then fold and press in half to form a tab.
Clip (pin) tabs to each end of zipper insert piece with folded edge in, baste in place.
Assembly
Place zipper insert piece along the middle of main fabric piece matching ends, right sides together.
Place lining piece over this with right side facing down.
Sew down both ends with a 1cm seam allowance.
Turn so that lining side of both the zipper insert and lining is facing out.
Make sure all layers are neatly aligned then zig zag or baste around the outside edges.
Pin bias binding to zipper insert. There will be a little overlap of bias on each end of pouch. Repeat with both sides of bias and zipper insert.
Stitch along both sides to attach the bias. (0.5cm) only as far as the base of pouch.
Pin sides from the corner up along the curved edge matching centres of top insert piece and front (back).
Clip up to stitching line to ease curve.
Sew with a 1cm seam allowance.
Turn bias to right side out.
Fold in end of bias and pin up in place to inside seam allowance.
Fold over 6mm then turn bias to cover raw edges. Slip stitch in place along the stitching line.
Turn right side out.


