 | ||
| Your browser is not supported. | ||
|
Please browse our site using any of the following options:
| ||
Everything You Need To Know About Leather Craft For Beginners

If you're looking to start working with leather to make your own accessories and clothes, there are a few things you need to know about working with this unique material. At Spotlight we love making all sorts of DIY fabric crafts, and leather crafting is no exception. But because of its origin, working with leather requires a different skill set than you would need working with classic cotton or linen fabrics.
This leather crafting guide will go through everything a beginner needs to know about working with leather, from how leather is made to how you can sew, dye, paint and fix leather at home - plus we'll touch on how faux leather differs from natural leather too. If you've ever wanted to bring your leather craft ideas to life, this is the guide for you!
Quick Links
What Can I Make With Leather?
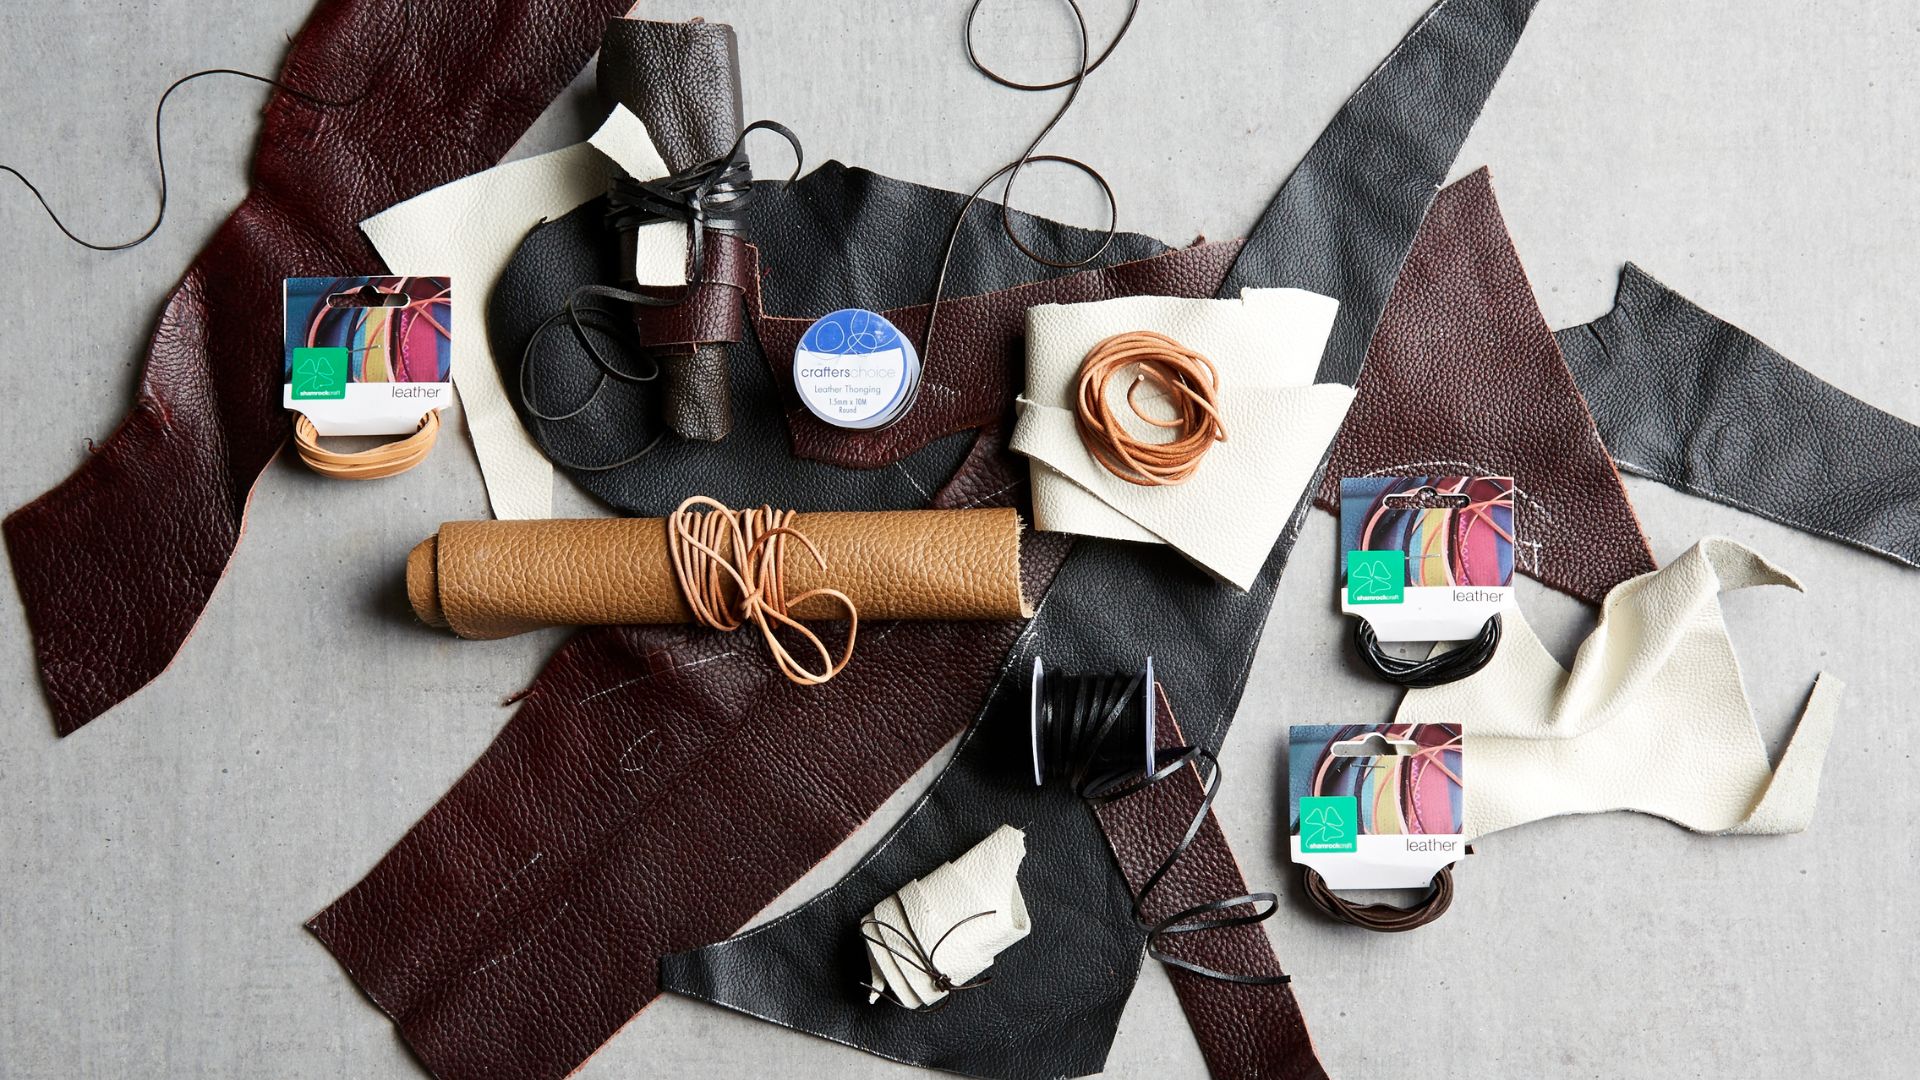
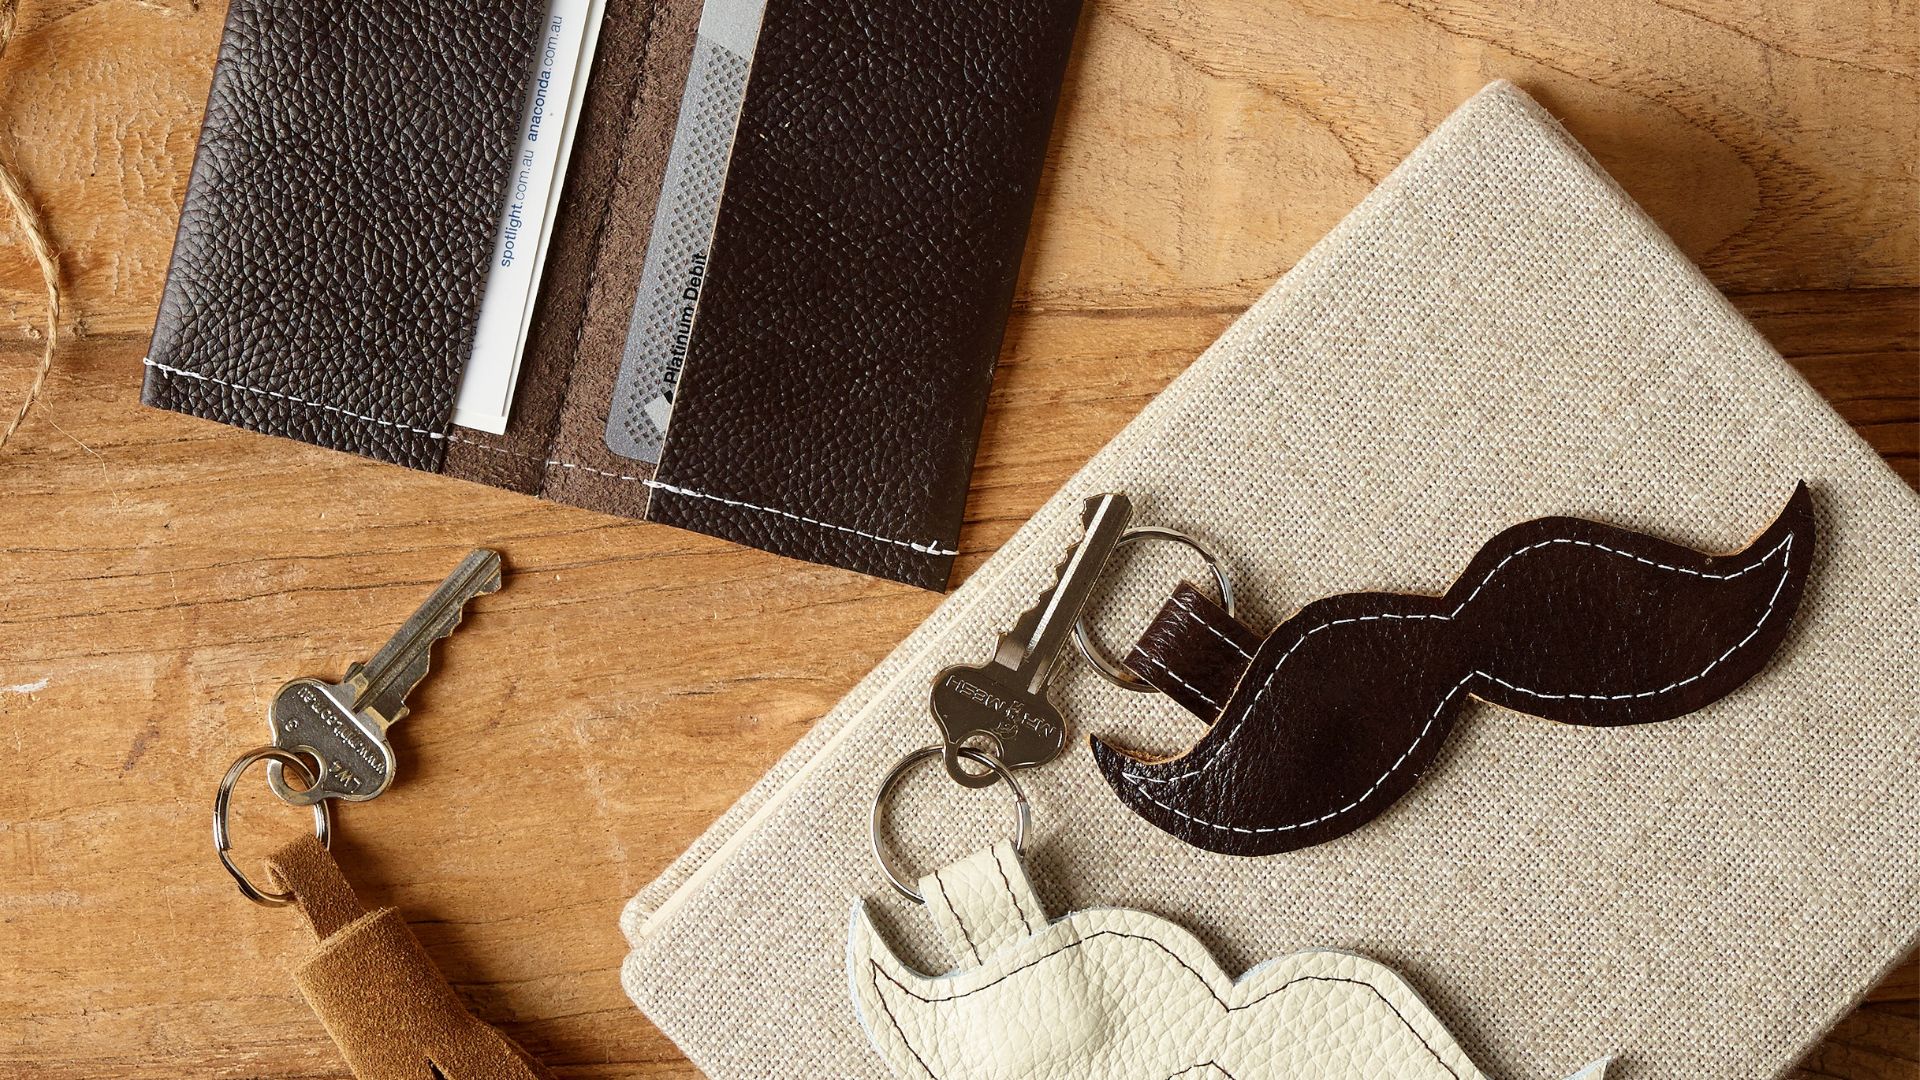
A flexible, durable and long-lasting material, leather can be used to make all sorts of crafts, accessories, decorations and clothes. With its warm tone, matte sheen and flexible nature, leather can be used to make handy accessories like bag tags, bookmarks, coasters and wallets, jewellery like earrings and bracelets, and clothing like shoes and jackets.
You can sew, glue, dye and paint leather with the right supplies, and you don't need a fancy studio or expensive power tools to do it - leather craft is a great activity for beginners!
How Is Leather Made?
Leather is made from the hide of an animal, usually a cow. The hide is tanned, cured and pickled to prevent any decay and make it waterproof while retaining its natural flexibility.
If you've ever wondered 'how is leather made?', here's a more in-depth breakdown of the process:
- Once the animal hide is clean, it is either salted or placed in a salt brine to stop it from decaying. When this process is done, the hide is soaked in clean water to remove any excess.
- Any hair is removed by soaking the hide in a calcium oxide solution, which is also called a lime bath.
- The hide will swell from moisture, so it is split into two layers. The upper layer will be used for high-quality leather products, while the underlayer will be kept for cheaper products.
- The hide is now tanned using a tanning solution, which is made from either vegetable or mineral agents. Vegetable agents produce a more flexible leather great for furniture or suitcases, while mineral agents create stretchy leather suitable for clothing or bags.
- The leather goes through a liquoring process, where fats are added to make it soft and strong.
- Excess moisture is removed by passing the leather through rollers, and it is then shaved to a uniform width.
- Leather can then be re-tanned using the same agent and dried again using the rollers. It is then totally dried, either using air or vacuum drying. If the leather is going to be coloured, it will be bleached at this stage as well.
- If desired, the leather is dyed and/or embossed, and then it is finished by stretching, oiling and being coated with a protective finish.
What Is PU Leather?
If you like the look of leather but would rather use a product not made from animal hide, PU leather is the material for you. You can tell if a leather product is made from PU leather by looking at the tag - names like split leather, bi-cast leather, bonded leather and reconstituted leather all indicate that a product is made from PU leather, rather than animal hide.
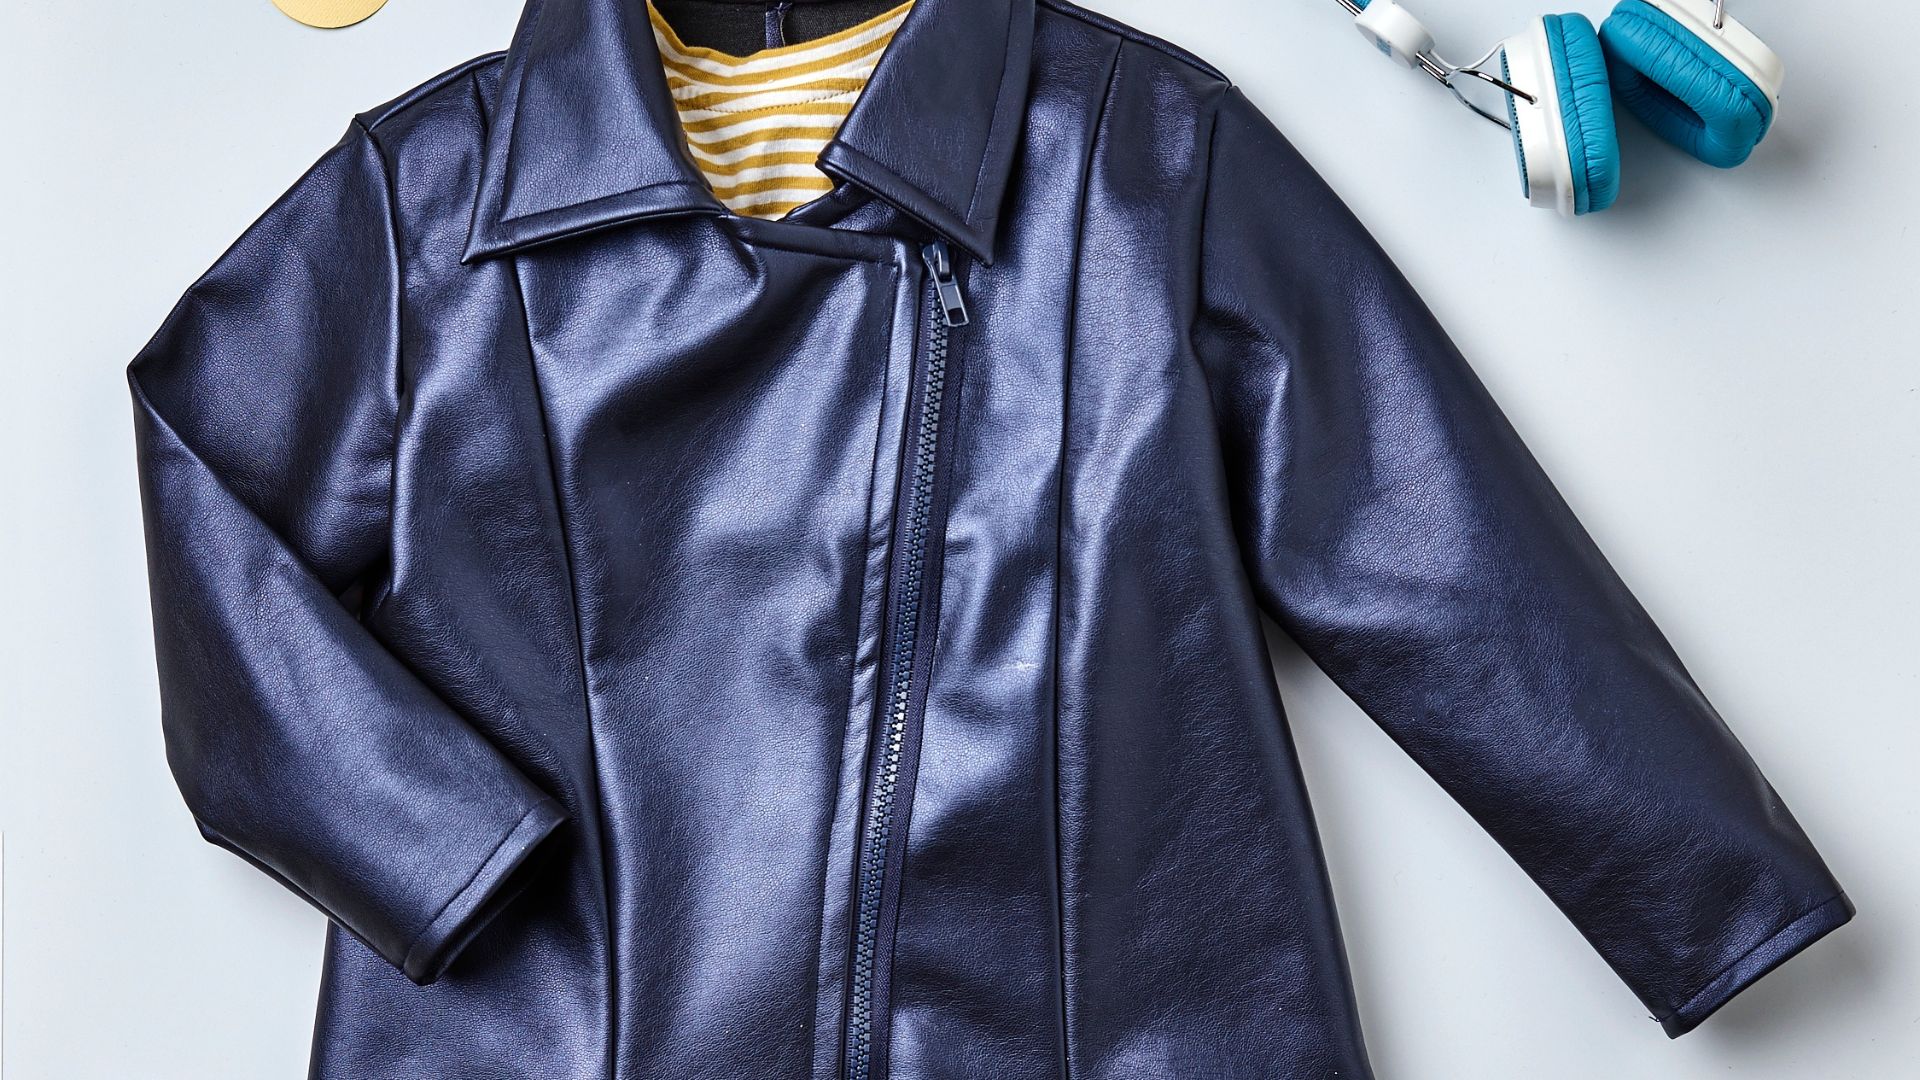
What is PU leather exactly? PU leather is made from a plastic material and contains no animal products, making it vegan. It is easy to clean because it repels water, and comes in a huge range of colours and styles.
However, PU leather lacks many of the useful qualities of real leather, and it lacks durability, has a tendency to crack and peel and won't develop a patina after use like real leather. PU leather also isn't as breathable as real leather and can have a chemical, plasticky smell.
PU leather is an affordable choice if you like the look of leather but don't love the cost, but be aware products made from PU leather will be of a lower quality in almost every aspect.

How To Work With Leather
Here are some quick walkthroughs on how you can work with leather!
How to dye leather
Leather usually comes in lovely and warm shades of brown, but you can dye it a range of beautiful colours if you'd like a different shade for your project. Undyed leather is easier to work with - if you are dying a leather product that has already had a coat of colour applied to it, make sure you apply a deglazer which will 'unseal' the leather and help make it more reciprocal to dye. Make sure you are working in a well-ventilated space and have protective gloves on when working with dye. Here are some steps you can follow if you're wondering how to dye leather:
- Wipe down the leather with a damp cloth to remove any dust and dirt, as well as prime the leather for dying.
- Use cotton balls or a sponge to apply the first layer of dye using circular motions, making sure you are getting the dye right to the edge of the leather. Let this initial coat dry completely in a cool and dry place.
- Add another two coats, letting each dry before moving on. Apply these coats using diagonal strokes with your sponge to ensure every part of the grain has been covered with dye.
- Once all the dye has dried, it's time to buff and finish your leather. You can buy specialised leather finishers or conditioners for this - rub into the leather using a circular motion and let dry. Once dry, buff with a soft cotton cloth and you're done!
How to soften leather
If your favourite jacket, bag or leather shoes are starting to become stiff, you may be wondering how to soften leather without spending a lot of money. Luckily, there are a few different ways you can breathe new life into old leather if it has become old and stiff. Make sure you have wiped down your piece before softening it to remove any dust, dirt and other grime.
- Use a natural oil to soften your leather. Oils like coconut, avocado, and jojoba are some of the best for the job! Start by exposing your leather item to the sun for a little while, as it will open up the pores in the material which will then absorb the oil.
- Apply the oil to your leather item using your finger in an even layer.
- Let dry, and repeat as many times as necessary until your leather piece is soft and has a rich colour.
You may like to test your chosen oil on a small, unnoticeable patch of your leather to ensure there aren't any adverse reactions taking place.
- You can also use water to soften a leather accessory, although you need to be careful not to overdo it. If you have hard water in your area, make sure to use distilled water for this. Fill a spray bottle with water and set to the mist setting over the jet setting. Spray your leather item with water from top to bottom until you see the water beading on the surface, rather than being absorbed. Wipe off the excess water with a clean cloth and allow it to air dry before applying some leather conditioner to help it maintain the moisture you have just added.
- You can use a dedicated leather conditioner, but how do you pick the right one? It's best to look for a physical cream or gel, rather than a spray which may have extra water inside. Apple your high-quality leather conditioner using a cloth in a thin layer, paying particular attention to areas of wear, like the elbows of a jacket or the toe of a boot.
How to paint leather
If you want a bolder colour you just can't get with dye, why not try painting your leather? Prepare your leather by wiping it down with a dedicated leather deglazer or some isopropyl alcohol to remove any protective coating that would stop your paint from sticking. Finish preparations by wiping it down one final time with a damp cloth to remove any dust or dirt. The following steps are a good guide to start with if you are wondering how to paint leather:
- Choose an acrylic paint designed to be used on leather and mix in a 1:1 ratio with water before applying a thin coat using a soft sponge brush over your leather.
- Let dry, then continue to apply thin coats in the same manner, allowing each to dry. Make sure to stretch and flex the leather before applying each new coat - this will prevent cracks later on down the line.
- Once you are happy with the colour, allow it to completely dry and then apply a finisher to seal the paint in place. This should be applied in thin coats similar to the paint, and make sure it dries somewhere no errant splatters of dirt or dust are going to adhere to the sticky surface.
How to sew leather
Creating your own leather clothing means you'll need to be able to sew leather, which is a little different to sewing more mainstream materials like cotton. While the action of sewing leather is the same, here are a few things you'll need to keep in mind when sewing leather:
- Leather sewing needles are thicker than most sewing needles and have a sharp point, as leather is much tougher to sew with. Make sure you have the right needles on hand when learning how to sew leather!
- To punch holes through particularly strong leather you should make use of a quality awl.
- Use a strong thread like nylon or polyester, as thinner and weaker threads will snap or break down when used with leather.
- Don't pull your stitches too tight, as it can cause the leather to wrinkle and warp.
Make sure to browse our sewing supplies for leather needles, awls and thick thread for sewing with leather.
How to fix leather cracks
You can fix minor scuffs and scratches on your own with a leather repair kit, while tears will need to be glued together. Always clean the area around the damage with a water-vinegar solution or a special leather cleaning solution before starting, but don't scrub so hard that you make the damage worse! Dry the area after so no excess moisture remains and remove any stray threads with scissors.
Here is how to repair a scratch with a leather repair kit:
- Apply a leather binding glue to the scratch and sand around the surface with fine sandpaper to remove any excess.
- Fill the scrape with leather putty and sand over to remove any excess putty.
- Apply a few layers of leather colourant, letting each layer dry before adding the next, until the colour matches the rest of your leather piece.
- Finish with a special leather sealant to protect and preserve the colour.
Here is how to fix leather cracks or a tear:
- Apply a drop of leather glue to your applicator.
- Lift the edge of the tear and apply a uniform layer of glue under the ridge of the tear on each side.
- Wipe away any excess glue with a damp cloth.
- Pinch the two sides of the tear together, ensuring there aren't any bumps or ridges.
- Hold the tear together for five minutes so the glue can set. If it still comes apart after this, add glue again and hold for another five minutes.
- Secure the seam with masking tape and allow the glue to dry for two hours.

Master Leather Craft With Spotlight
Ready to start bringing your leather craft ideas to life? Shop our range of fabrics and sewing supplies to find a great range of leather and faux leather materials you can use to make all sorts of accessories. Shop online, safely pay and we'll deliver your leather craft supplies straight to your front door. Otherwise, visit your local Spotlight store and our friendly team will help you find the right leather craft supplies for your needs.
Check out our buying guides on sewing needles and sewing threads to make sure you're getting the right sewing supplies for working with leather, and practice your leatherworking skills by making our easy leather earrings project and any of our other sewing projects.
Want more crafty ideas and inspiration? Browse our Create blog for fun articles on making a quilt, working with cosplay fabrics and sewing for beginners.


