 | ||
| Your browser is not supported. | ||
|
Please browse our site using any of the following options:
| ||
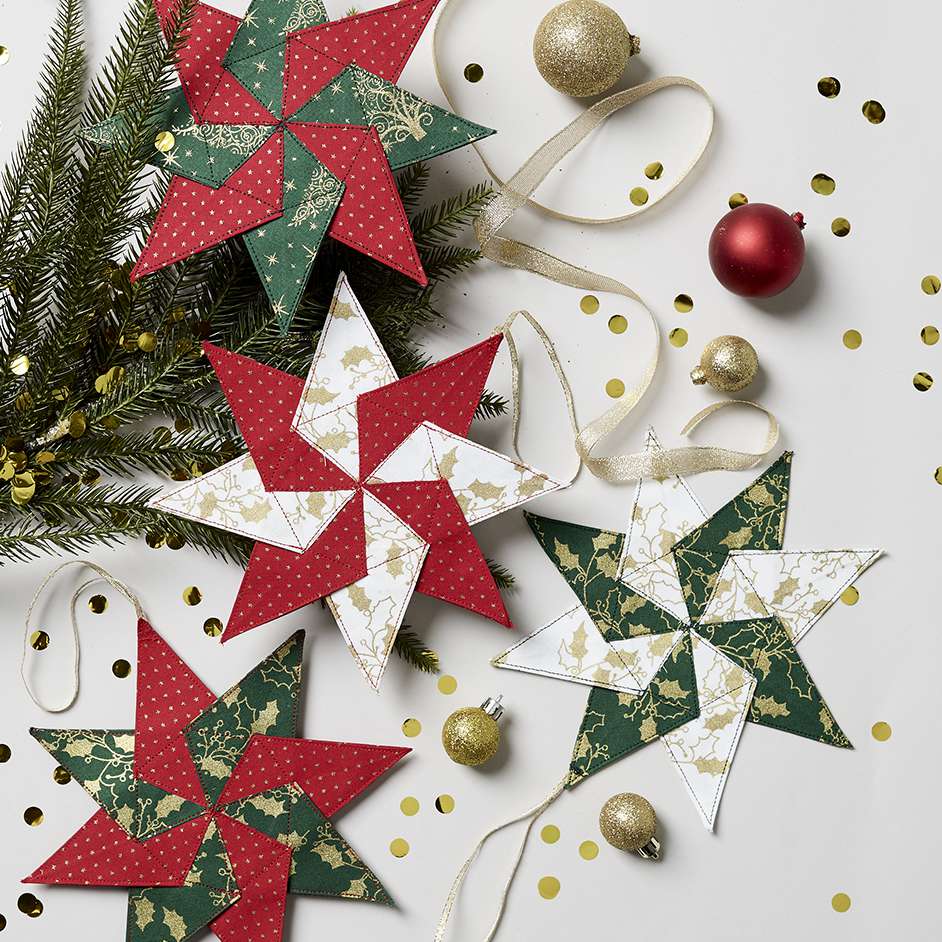
CHRISTMAS STAR ORNAMENT

Level: Easy
WHAT YOU'LL NEED
- Fabrics are from 'Metallic Xmas' range
- 20cm each of assorted fabrics - Holly, green/gold, Holly, white/gold, Tree, green/gold, Tiny Star, red/gold
- Legacy Fuse-Under Fusible Web
- Roll Offray Galena Ribbon, gold 3mm
- Matching Gutermann 100% cotton thread
- Rotary cutter, mat & quilters rulers
- Quilting pins, tape measure
- Scissors, seam ripper
- Applique mat or baking paper
- Sewing machine with 1/4" foot
Note - 1/4" (6mm) seam allowance used throughout unless otherwise indicated.
Read all instructions carefully before commencing the project.
INSTRUCTIONS
Note - Stars can be made using two colours or in a single colour. Instructions are for a two colour star.
Step 1 - From each of two fabrics cut 1 x 3" (8cm) strip across the width of the fabric, crosscut each strip into 8 x 3" (8cm) squares for a total of 16 squares.
Step 2 - From Fuse-Under fusible web cut 16 x 3" (8cm) squares. Fuse one square to the wrong side of each fabric square.
Step 3 - Finger press a square in half along the diagonal with wrong sides facing. Open out and fold opposite sides into the fold to make a kite shape as in diagram and finger press. Repeat for all 16 squares.
Step 4 - Place two same colour kite shapes wrong sides together with edges aligned and press. Stitch around long sides and one short side as in diagram. Repeat to make 8 complete kite shapes.
Step 5 - To assemble the kite shapes into the star place one kite shape with long point facing up and unstitched short side on the left. Place the next kite shape on top with unstitched edge aligned along the centre of the first. Continue adding kite shapes around as in diagram. To add the last kite shape place on top of the previous shape as before then lift the first kite shape and slip the edge of the last one underneath.
Step 6 - Topstitch from the centre down each unstitched edge then stitch across each kite shape from that point to the next.
Step 7 - Cut a 12" (30cm) length of ribbon. Fold in half bringing cut ends together and stitch to the back of one star point.


