 | ||
| Your browser is not supported. | ||
|
Please browse our site using any of the following options:
| ||
Your Complete Guide To Resin Jewellery Making & Materials

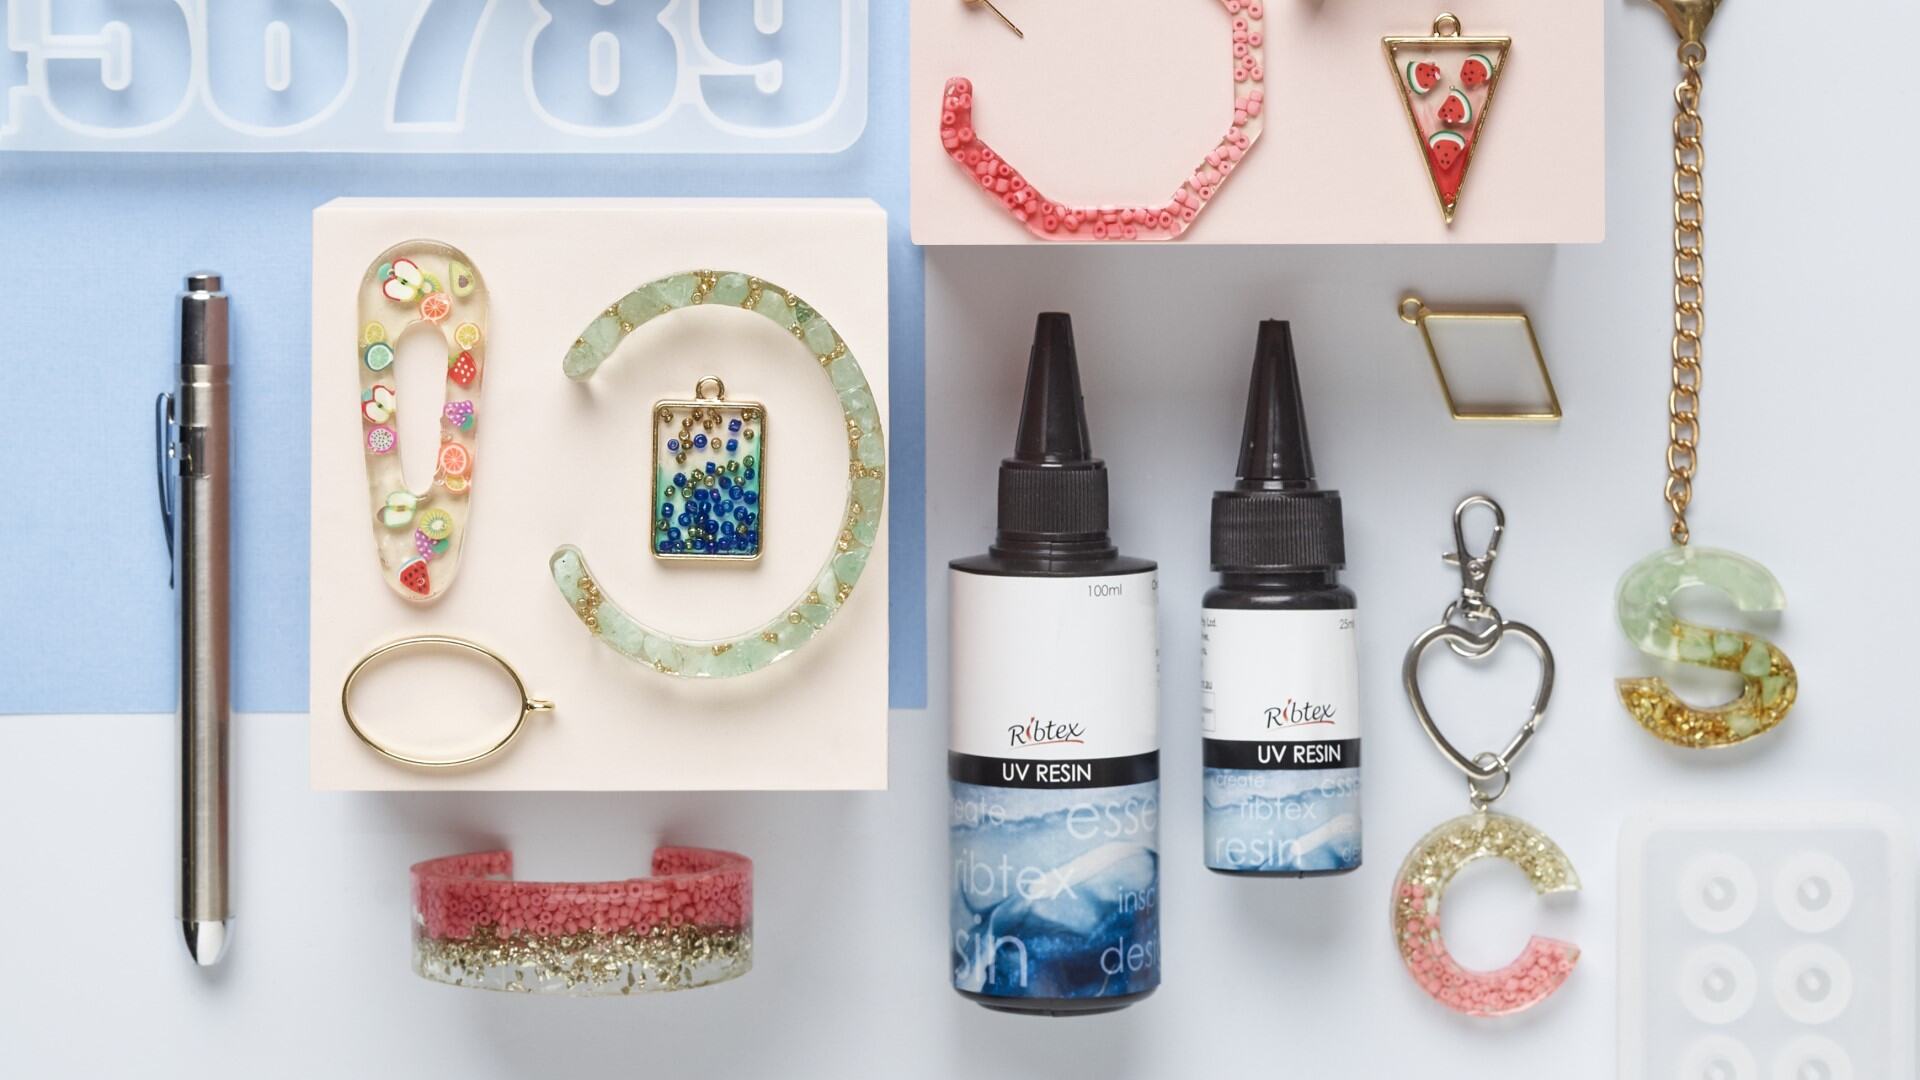
Resin is one of the most versatile craft materials when it comes to creating your own unique jewellery items. It can be coloured with specialised resin dyes, poured into moulds or jewellery findings, cut, sanded, or used in its clear form to encapsulate inclusions like polymer clay, dried flowers, gold leaf or glitter. Craft or jewellery resin is not just limited to creating jewellery items - you can explore creating keyrings, hair accessories or even small bowls, trays and coasters with this fabulous medium. Resin is lightweight and water resistant once cured, making it ideal for creating durable and hard-wearing jewellery pieces.
Explore our in-depth guide to learn more about resins and how to get started creating with them. We have great tips and tricks on what materials you'll need, how to set up your resin jewellery workspace, and how to pour, mix and colour resin for any project!
Quick Links
- Types Of Resins & Resin Dyes
- Resin Tools, Materials & Equipment
- How To Mix, Colour & Pour Resin
- Added Extras: Resin Jewellery Inclusions & Finishing Your Pieces
Types Of Resins & Dyes
What Is Resin?
Resin is the broad name given to a range of substances that are typically viscous and translucent. Synthetic resins are essentially a form of plastic and can be used as adhesives, as varnishes, or in conjunction with casting processes to make jewellery or small solid objects. Resin used for jewellery making is referred to as casting resin, and is typically used with moulds to create shaped objects. It has a lower viscosity than other resins, making it ideal for pouring into moulds or frames without leaving unwanted bubbles in your creation. At Spotlight, you can find different resins for jewellery that require different approaches to use and making.
Epoxy Resin
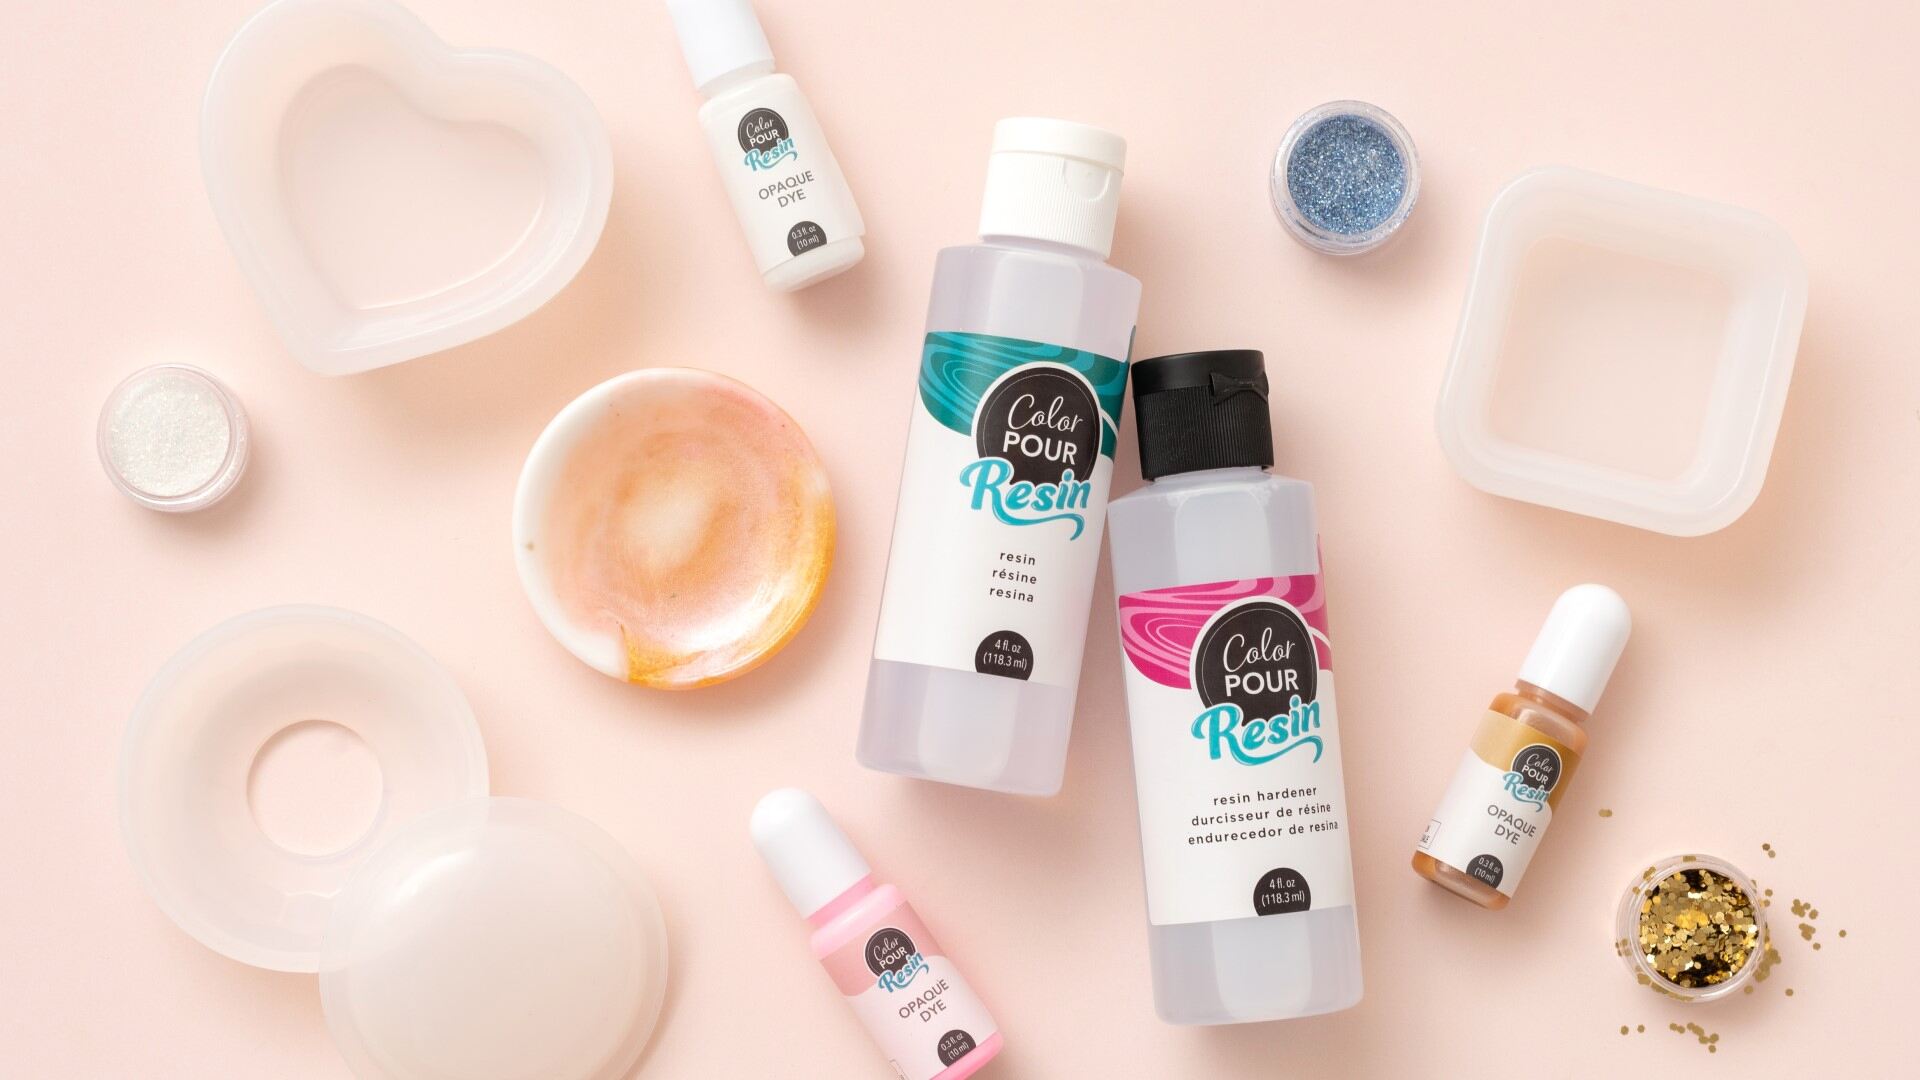
This type of resin comes in two parts - Part A (resin) and Part B (resin hardener). The two parts need to be mixed together, typically in a 1:1 ratio. Once the resin and hardener are combined an exothermic (heat releasing) chemical reaction will begin. During this reaction, new chemical bonds are formed to create a permanently hardened material.
UV Resin
UV resins are a liquid resin that will cure (harden) with exposure to ultraviolet light. Some resin artists favour UV resins for their quick hardening times (sometimes only 3-4 minutes) and ease of use (no mixing!). Keep in mind that the quick hardening time also means short working times when it comes to casting processes. You'll also need to carefully store UV resin so it doesn't harden in the bottle with accidental exposure to light.
Silicone Resin
Unlike other resins which are used to create jewellery and objects, silicone resins are instead used to create moulds for casting your pieces. Like epoxy resin, silicone is mixed from separate parts and poured over objects to create an impression. Once the silicone resin has cured you'll have your own custom resin mould for creating completely unique jewellery pieces!
Colouring Resin: Dyes & Tints
One of the most exciting parts of working with jewellery resin is being able to colour and tint your creations in any way you like! Much like paints, you can mix resin dyes to create your own colours. You can also create gorgeous colour variations by pouring in a mixture of tinted resins into your mould, and even experiment with ombre effects by graduating coloured resin into clear resin.
- Opaque resins: Create bold colours and vibrant jewellery pieces with opaque resins. At Spotlight, you can find opaque resins sold individually or in packs. Adding opaque resin will eliminate the clear, transparent look of your creations.
- Transparent resins: With transparent resin dye you can maintain the clarity or "see-through" effect of your cast resin pieces. Adjust the depth of colour in your jewellery pieces by controlling the amount of transparent dye used - use sparingly to create subtly tinted pieces, or add more dye to create vibrant jewel-like pieces that pop!
- Coloured resins: You can also find UV resins that are already tinted, meaning no more mixing or colouring is needed. Alternatively, use a couple of drops of your coloured resin to tint clear UV resin.
Top Tip: Experimenting with resin dyes and different pouring and mixing techniques is a great way to create your own unique effects. Keep in mind that certain dyes are intended for particular resin types, so if you're in doubt only mix resins and resin dyes from the same brand.
Resin Tools, Materials & Equipment
Before you jump into creating your first resin pieces, it's important to set yourself up with the right tools and materials. Not only will the correct tools make creating your resin jewellery a breeze, but the right set-up and equipment will ensure you don't endanger your health.
Resin Safety Checklist
- Always work in a well-ventilated area: All resin goes through a chemical transformation when mixing or curing, which means there can be potentially hazardous fumes in your workspace. This is why it's vital to work in a well-ventilated area when creating with resin.
- Read the accompanying MSDS before use: Some resins may have an included safety data sheet (SDS), material safety data sheet (MSDS), or product safety data sheet (PSDS). Always read the MSDS to ensure that any specific safety precautions are adhered to.
- Wear protective gloves & glasses: Avoid any resin contact with skin as this can cause irritation. You can also take an extra precautionary step and protect your eyes with safety glasses. If contact with eyes occurs, rinse immediately with clean water for 15 minutes and seek advice from a doctor if irritation continues.
- Keep out of reach of children: Resin is not suitable for use by children as it may be harmful if swallowed. If you have kids who are keen on getting involved with resin casting ensure they are supervised at all times, have the right protective gear and that an adult is responsible for the mixing and pouring.
- Be cautious of curing resin: Both UV resin and epoxy resins generate a small amount of heat while curing. If you're curing large volumes you may find your mixing containers become hot.
Resin Tools & Workspace Setup
Once you've taken care of your own safety you can think about protecting your (well-ventilated) workspace as well! Resin - especially once it's curing - can be especially difficult to wipe off tabletops. Cover your workbench with a plastic drop sheet, vinyl, or other water-resistant material. Keep all your tools, resins, moulds and dyes easily to hand - you don't want to be opening packets once your gloves are on and the resin is curing!
Resin Tools Checklist
- Mixing tools: Have a supply of plastic spoons or wooden stir sticks to mix your epoxy resins. You may also find that toothpicks are a great tool for gently blending different resin colours within a resin mould.
- Pouring cups and mixing cups: Plastic cups are invaluable for mixing epoxy resins, and they can be easily disposed of once mixing and pouring is complete. Never use food-grade bowls or cutlery for mixing resin - it cannot be washed off, especially once the resin has started to cure.
- Resin syringes & pipettes: Accurately measure resin and fill your resin moulds with pipettes or syringes. They're easy to control and are the best way of filling small moulds without spillages.
- UV lights: If you're working with UV resin then you'll need a strong UV light source to cure your creations. At Spotlight you can find pen-shaped resin setting lights (perfect for small jewellery pieces), as well as larger UV lamps for more sizable creations.

How To Mix, Colour & Pour Resin
When creating your resin jewellery pieces, chances are you'll be using a resin mould to shape your designs, or filling jewellery bezels with tinted resins or inclusions. The process is simple, but there are a few tips and tricks you can follow to ensure great outcomes every time!
Mixing & Colouring Epoxy Resin
Epoxy resin needs to be correctly measured and mixed before you can think about colouring or pouring it into moulds.
- Start by measuring out equal amounts of the resin and resin hardener in separate mixing cups. If your mixing cups don't have measurement markings then you can use a syringe for accuracy.
- Combine both epoxy resin parts into one mixing/pouring cup and gently start to mix them together. Use a folding motion rather than vigorously stirring to avoid introducing unwanted air bubbles into the mix.
- Mix for 2 to 3 minutes to ensure both parts are thoroughly combined. If you're not colouring your resin, you can now proceed to pouring!
- To colour your resin, take the resin dye of your choice and add just one or two drops to start with. Gently fold it through (again, avoiding adding any air bubbles) and add more colour if needed.
Top Tip: If you want to use more than one colour in your resin jewellery you can divide your mixed resin between extra mixing cups and tint each amount separately. You can also experiment with mixing resin dyes to create your own unique shades.
Filling Resin Moulds & Bezel Findings
At Spotlight we have a fabulous selection of moulds for resin jewellery and objects. Explore shapes including pendants, earrings, cuff and bracelet moulds, bead moulds, paperweight moulds and so much more. Whether you're using UV resin with a dispensing cap or have just mixed a batch of epoxy resin, carefully pouring your resin is just as important as mixing and colouring.
- Consider the size of your mould or bezel: If you're filling a large bracelet or coaster mould, you can carefully and slowly pour in your coloured resin directly from the mixing cup. Hold the cup in one position, keeping it as close to the top of the mould as you can. Pouring resin quickly and from a height can introduce air bubbles into the mix.
- Use the right tools: When filling jewellery bezels or small, detailed moulds, the best option is to use a pipette or syringe to access any small spaces. It also prevents you from accidentally overfilling your moulds.
- Eliminate any air bubbles: Create a professional finish to your resin jewellery pieces by removing air bubbles before the resin cures. Gently tap the mould on a hard surface to get any bubbles to rise to the surface. You can then pop the bubbles using a needle or pin. Another alternative is to use a heat gun on a low setting. Hold the heat gun at a distance from the resin surface (you don't want to blow the resin out of the mould!) and allow the hot air to pop the bubbles.

Added Extras: Resin Jewellery Inclusions
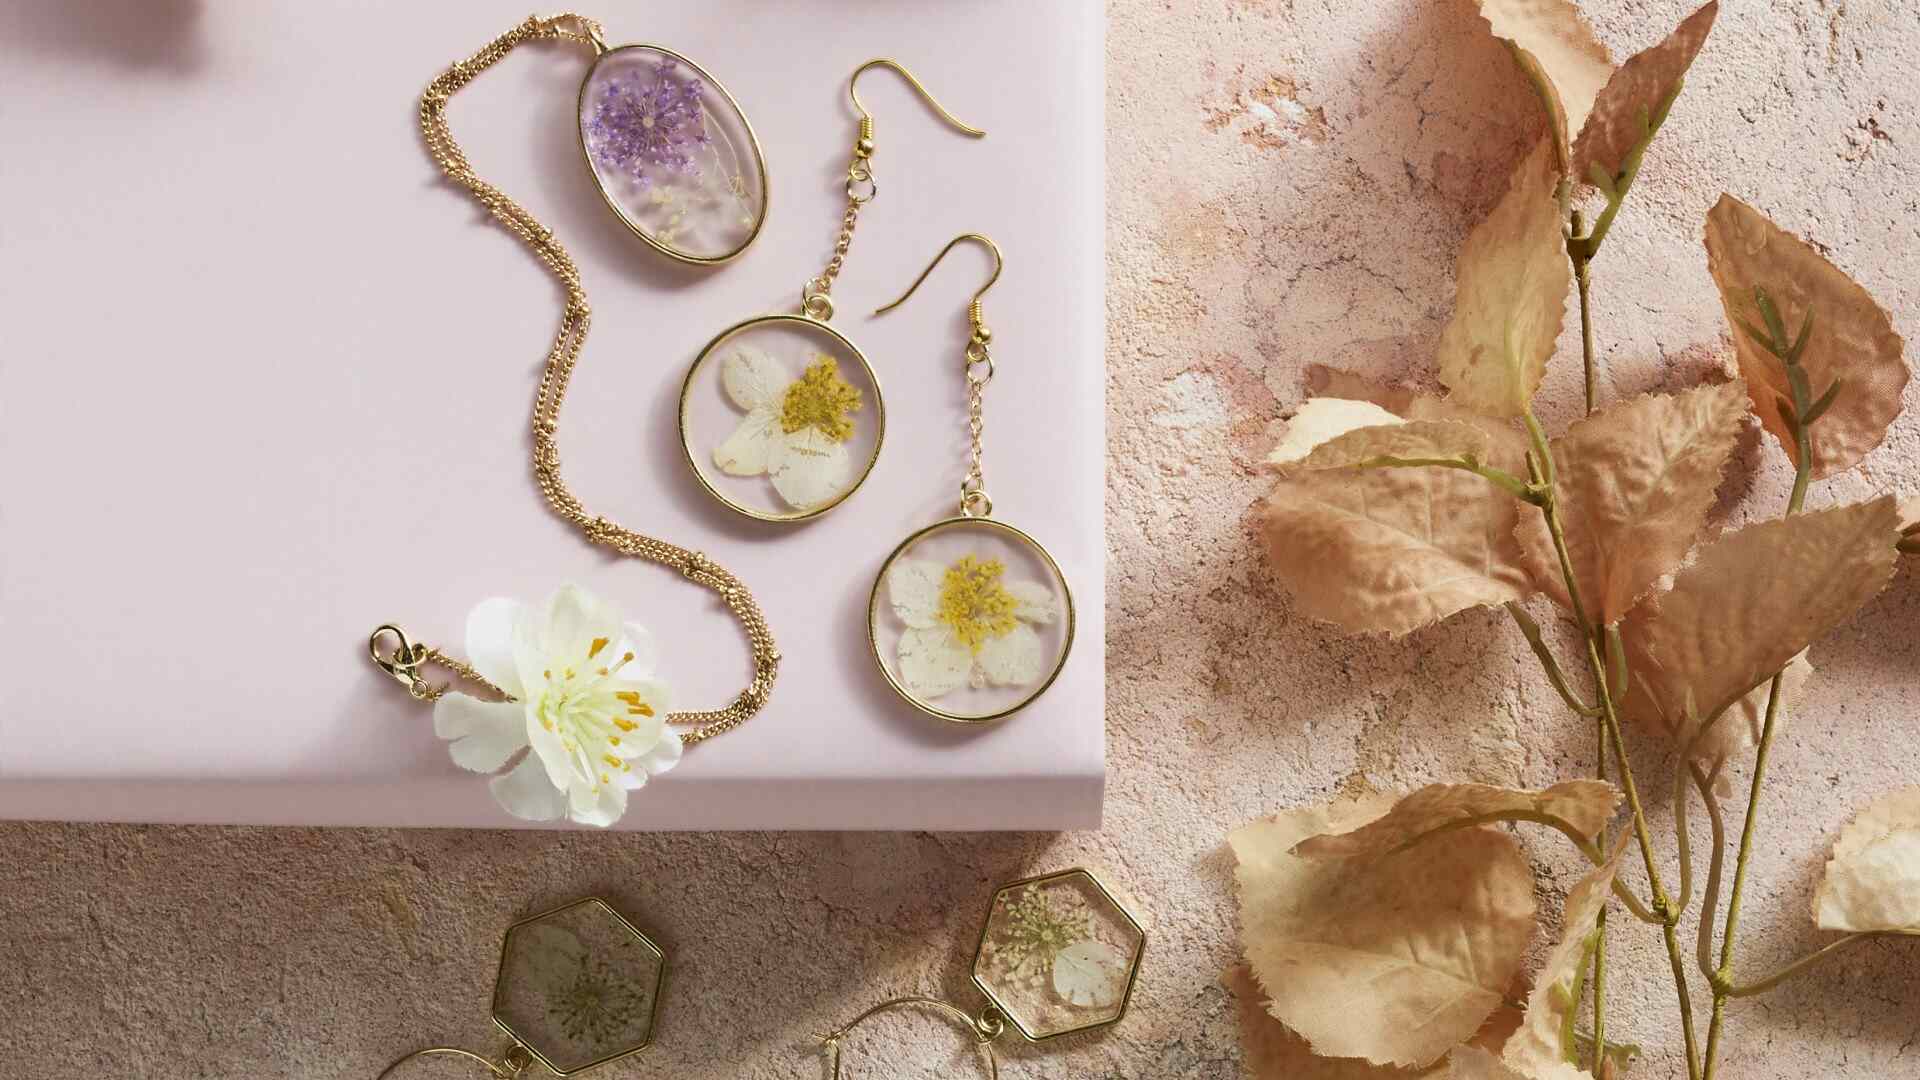
One of the great things about making resin jewellery and resin art is being able to embed objects into your pieces. Referred to as inclusions, you can add objects like seed beads, polymer clay shapes, stones, paper, dried flowers and even hundreds & thousands into your resin jewellery!
What Can't I Add To Resin?
Always ensure that your chosen inclusions are compatible with resin. Remember that resin and water don't mix well, so fresh flowers or anything with natural moisture content won't work. Likewise, objects with fuzzy textures (e.g. pom poms) may trap lots of air, which will then leech tiny air bubbles into your resin as it cures.
Adding Inclusions To Resin: Methods, Tips & Tricks
- Prepare your inclusions. If you're adding decorative paper, fabrics or other lightly textured items to your resin, it's a great idea to coat them with PVA or lacquer first. Allow them to dry thoroughly before adding to your piece. This will safeguard against air bubbles forming on the surface of the inclusion.
- Add inclusions directly to the mould. Create striking visual effects by sprinkling glitter or beads into the mould before topping with resin.
- Layer your inclusions. You may find that some very lightweight objects may be prone to floating in the resin after you add them. If you'd like to ensure the inclusion is completely embedded, try filling your mould or bezel partway with resin and allowing it to cure partway. You can then layer the inclusions onto the tacky surface before topping up the mould with clear resin.
- Think in reverse. Always keep in mind that when you're working with resin moulds that the top of the mould will be the back side of the final object. This means that inclusions that have a "right side" should be placed face down in the mould!
Shop Resin Jewellery Making Supplies At Spotlight
Whether you're new to the art of making resin jewellery or are a seasoned pro wanting to top up your supplies, Spotlight has you covered with our resin jewellery making range! Explore resins, resin moulds and resin tools, as well as resin inclusions and resin bezels from our range of resin art supplies. Learn more about jewellery making techniques and materials with our beads buying guide and the ultimate guide to jewellery findings, tools & stringing materials. You can also inspire your next jewellery creations with our FREE online jewellery & beading projects! Shop the range of resin supplies and beads & jewellery online or in-store at Spotlight today.


