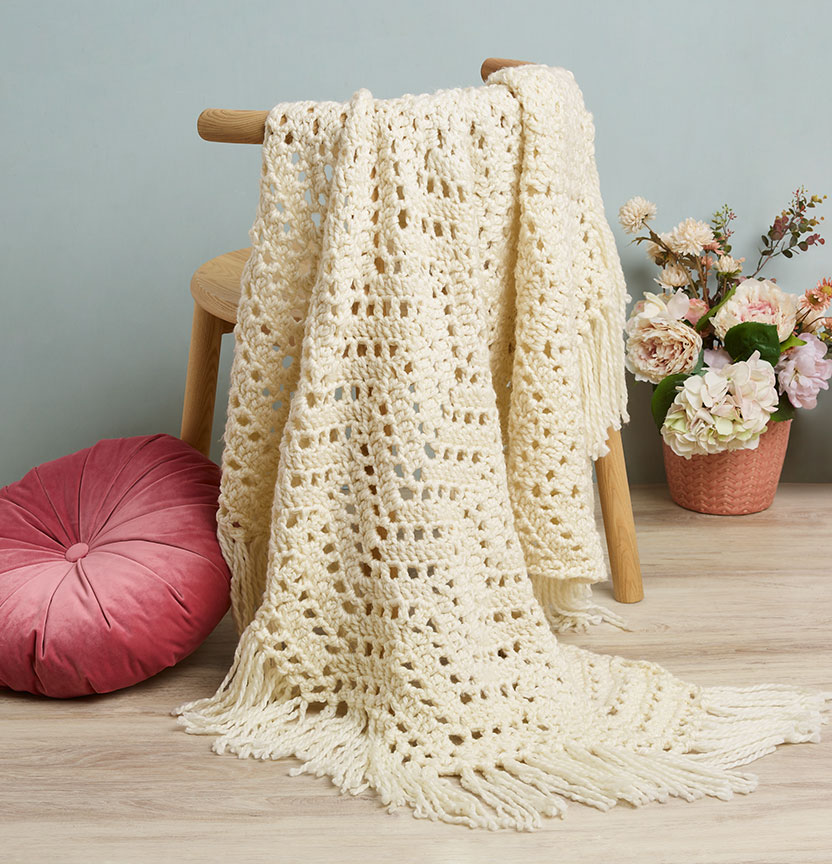
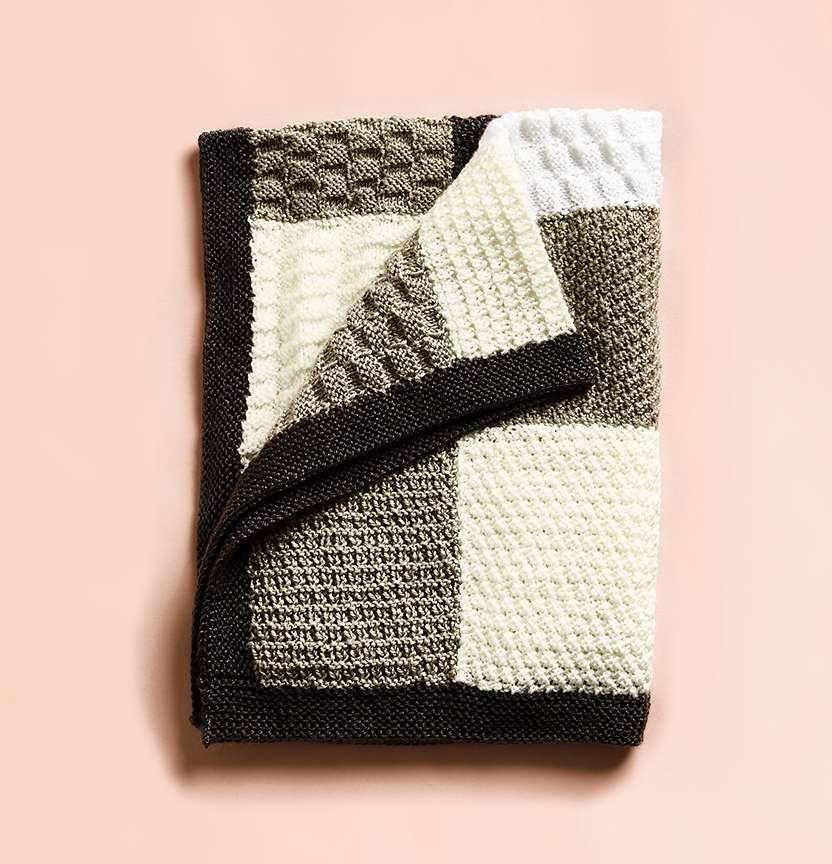
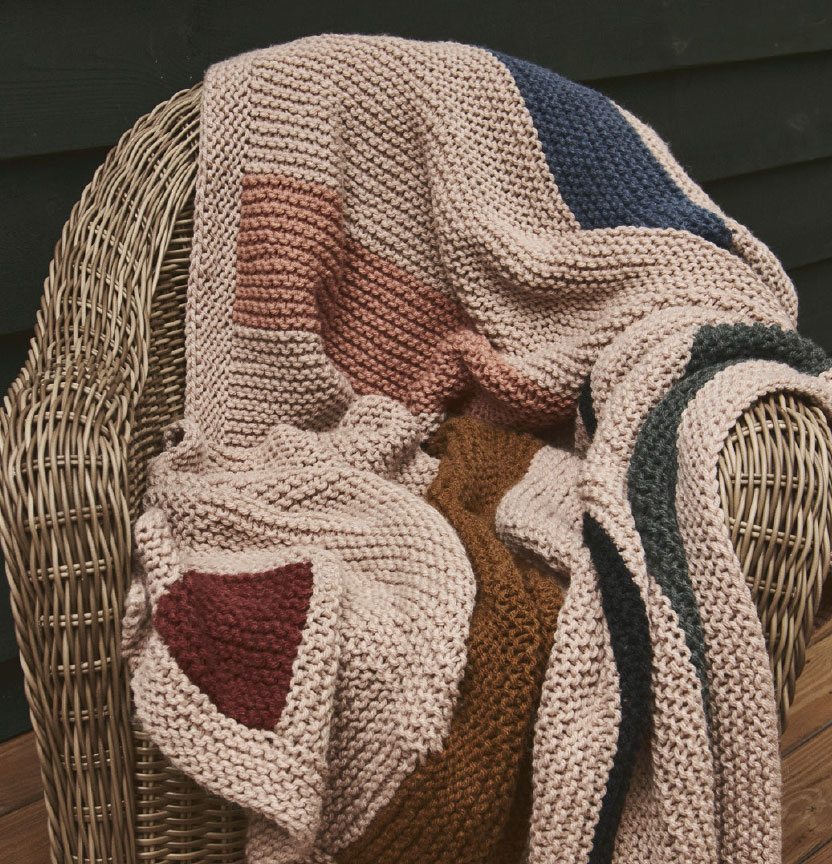
SQUISH STITCH BLANKET

Squish Stitch Blanket Project

Level: Easy

What You'll Need:

Note: In the instructions, the 'working yarn' refers to the strand of yarn that is coming from the ball of yarn.

Size

About 36 x 36 in. (91.5 x 91.5 cm)

INSTRUCTIONS

Make a chain

  1. First make a slip knot. The slip knot does not count as a chain.
  2. Insert your forefinger and thumb through the slip knot and grasp the working yarn.
  3. Draw working yarn through the slip knot - this makes the first chain.
  4. Insert your forefinger and thumb through last chain made and grasp the working yarn.
  5. Draw working yarn through to make the next chain.
  6. Repeat steps 4 and 5 until you've made 20 chains.

Create the first row

The first row is worked from right to left.

  1. Insert your forefinger and thumb from front to back through the first chain and grasp the working yarn.
  2. Draw working yarn through the chain - this makes a knit stitch.
  3. Repeat steps 1 and 2 until you have worked a knit stitch into every chain - you'll have a total of 20 knit stitches.

Begin knitting

The second row is worked from left to right.

  1. Insert your forefinger and thumb from front to back through the next stitch of the previous row and grasp the working yarn.
  2. Draw working yarn through stitch to front of work - one knit stitch made.

Repeat steps 4 and 5 until you have worked a knit stitch into every stitch of the previous row.

Continue to repeat steps 4 and 5 to make the Blanket. As you continue knitting, always begin knitting at the side where the yarn is attached.


How to join a new ball of yarn

Be sure to keep an eye on the amount of yarn remaining in the ball that you're working from! When you don't have enough yarn in the ball to knit another row, drop the yarn and trim the yarn end to about 5-6 in. (12.5- 15 cm), you'll hide the yarn ends later. Start knitting with a new ball of yarn, leaving a 5-6 in. (12.5-15 cm) yarn tail before the first stitch.

Continue knitting until you have about 3 yds. (3 m) of yarn remaining in the last ball of yarn.

Begin with the stitch of last row that is at the opposite side from where the yarn is attached.

  1. Insert your forefinger and thumb through first stitch and grasp next stitch in the same row.
  2. Draw next stitch through previous stitch - 1 stitch bound-off.
  3. Repeat steps 2 and 3 until the last stitch has been drawn through.
  4. Cut working yarn, leaving a long tail.
  5. Insert your forefinger and thumb through last stitch, grasp yarn tail and draw it all the way through, pulling firmly.

FINISHING

To hide the yarn tails, use your fingers to weave the tails in and out between the stitches.

Enjoy your cuddly new Blanket!

altText

BECOME A SPOTLIGHT VIP

Get VIP discounts, attend exclusive events and more