 | ||
| Your browser is not supported. | ||
|
Please browse our site using any of the following options:
| ||
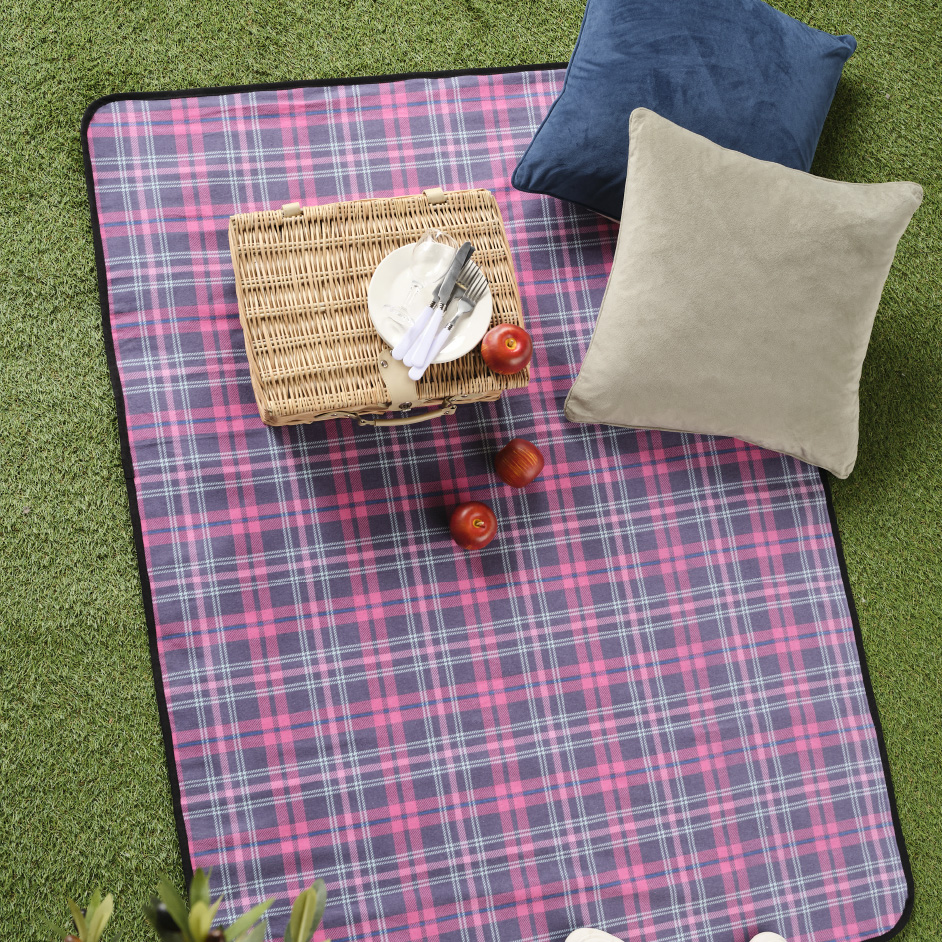
FLANNELETTE PICNIC BLANKET

Level: Beginner
What you'll need:
- 1.75 m Plaid Flannelette
- 1.5 m Vinyl
- 5.75 m Birch Polyester Webbing (Black, 30mm)
- Gutermann Polyester Thread (Colour 0 Black)
- Birch Large Red Wonder Clips
- Small plate or curved object
- Scissors
- Ruler/Tape Measure
- Marker
Instructions
- Cut a straight edge, selvage to selvage, on both the flannelette and vinyl fabrics. Measure from this straight 1.5 m for the flannelette and 1.1 m for the vinyl, cut along this line. Both pieces of fabric should now measure 1.5 x 1.1 m.
- Lay the flannelette on top of the vinyl, wrong sides together. Use Wonder Clips to clip the two pieces in place. Baste around all edges at a 1/4 in (6mm) seam allowance using a long stitch, 4-5mm.
- To create the curved corners place a small plate against both edges of the corner, and trace the curved edge with a marker. Cut along the marker curve.
- Take the webbing and place it along the edge of the rug, taking care to have an equal amount of webbing along the top and bottom of the rug. Use Wonder Clips to hold the webbing in place.
- Use a stitch length of 3mm and a seam allowance of 1/2 in (12 mm) to top stitch the webbing to the rug, taking care that the top stitching is catching both the top and bottom layer of the webbing.
- Trim your threads and enjoy your new picnic rug!
Tip - Take the curved corners slow when top stitching. With your needle down, lift your presser foot when needed, and smooth and flatten out the webbing. Remember the webbing only needs to be flat directly under the needle.


