 | ||
| Your browser is not supported. | ||
|
Please browse our site using any of the following options:
| ||


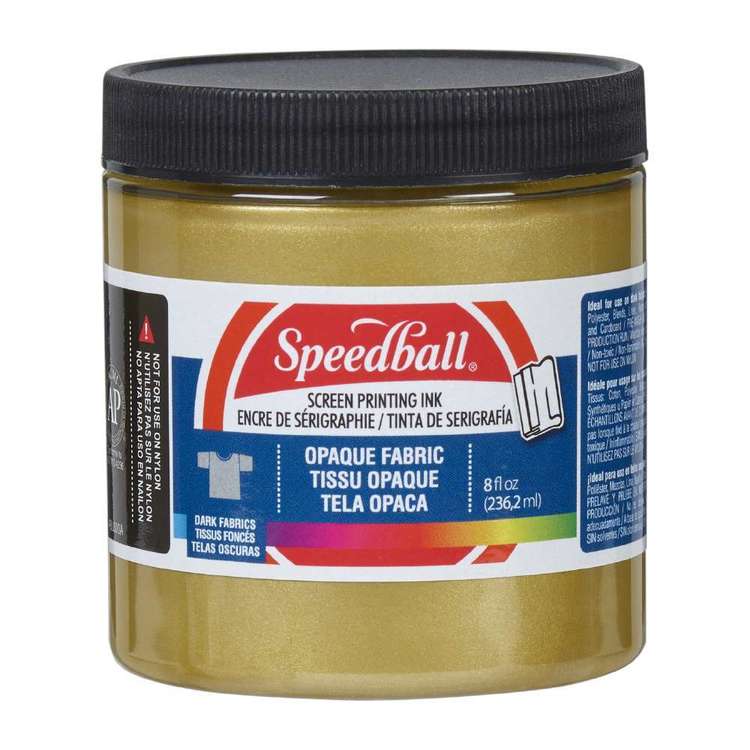
Printmaking Supplies
Shop screen printing kits, lino printing supplies, block printing tools & more at Spotlight. Find everything you need for printmaking online & in-store.
8 items found.


Create Unique Printed Artworks With Printmaking Supplies & Kits
At Spotlight, you can find all the essential supplies for creating printed artworks. Discover fabric paints and inks, screen printing materials, carving tools, carving blocks as well as handy kits to set you up on your printmaking journey. Whether you're new to the art or a practising screen printer, Spotlight's quality printmaking supplies allow you to explore this fun and versatile medium with supplies from leading brands like Speedball. With printmaking you can create unique designs that are transferred to paper or textiles, meaning you can make printed artworks to be framed as well as customised t-shirts, cushions, accessories and much more.
What Is Printmaking?
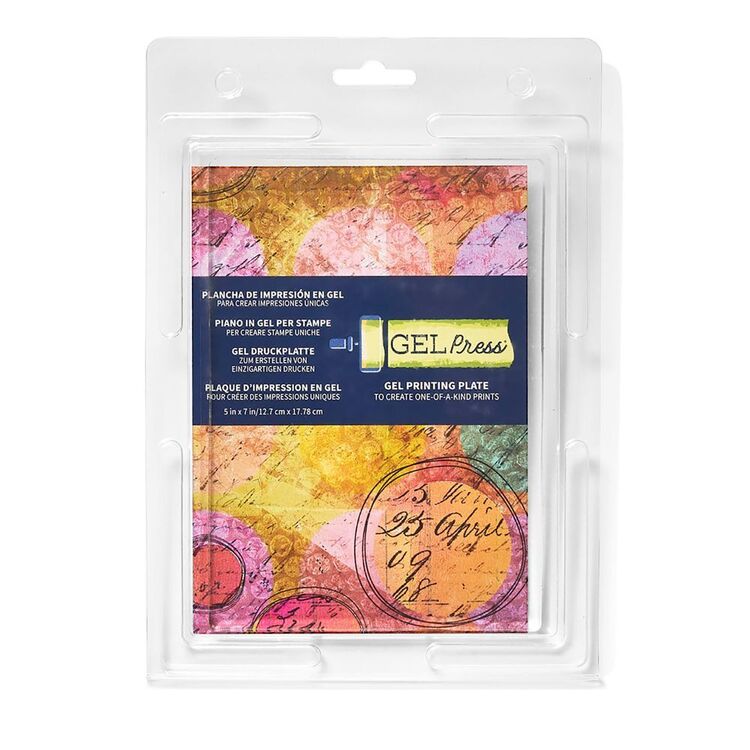
The process of printmaking can be defined as transferring images from a template onto surfaces like paper or fabric. At Spotlight, we understand that printmaking covers a broad range of artistic processes, with different types of printmaking including lino printing, block printing, screen printing and many more. Traditional printmaking techniques include carving and etching to create templates, and in Spotlight's printmaking range, you can find easy-to-use carving blocks and carving tools to create your designs. We also have a great selection of Speedball printmaking kits and fabric inks so you can explore screen printing with all the essentials immediately to hand.
Printmaking FAQs
What is photo emulsion printmaking?
Photo emulsion printmaking is a process used in screen printing techniques, and is the process of choice for printing text or images with a high level of detail. Screen printing is where a detailed template or stencil is created using fine mesh fabric stretched into a frame. Ink or paint is applied through the stencil onto paper or fabric to create your design.
In photo emulsion screen printing, a special light-sensitive medium (photo emulsion) is applied onto the mesh screen. Once the photo emulsion has dried, a black-and-white image is placed behind the screen and exposed to light. This causes the emulsion to harden and bind to the exposed areas. The remaining photo emulsion is then washed away to reveal your design, creating a stencil that can be used to make your printed designs.
What is lino printing?
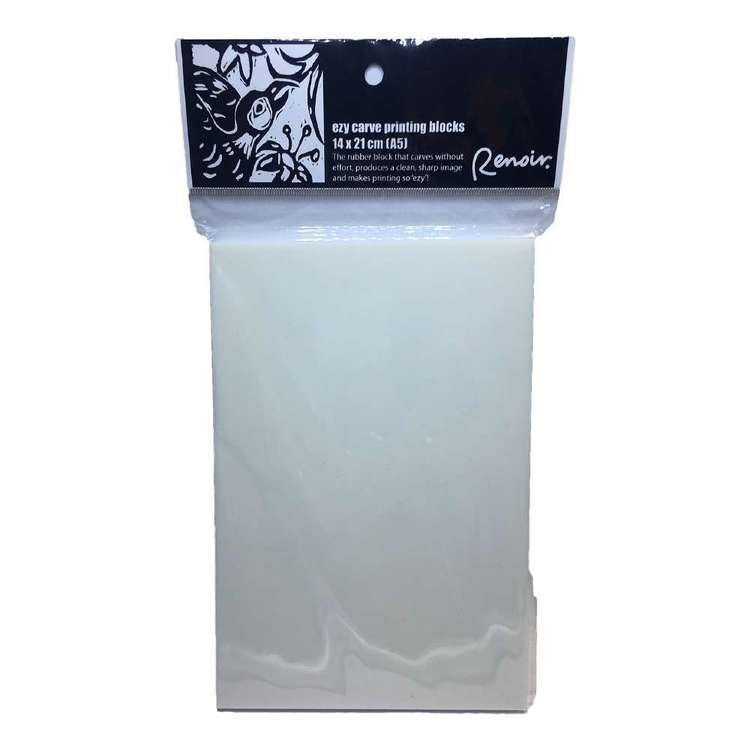
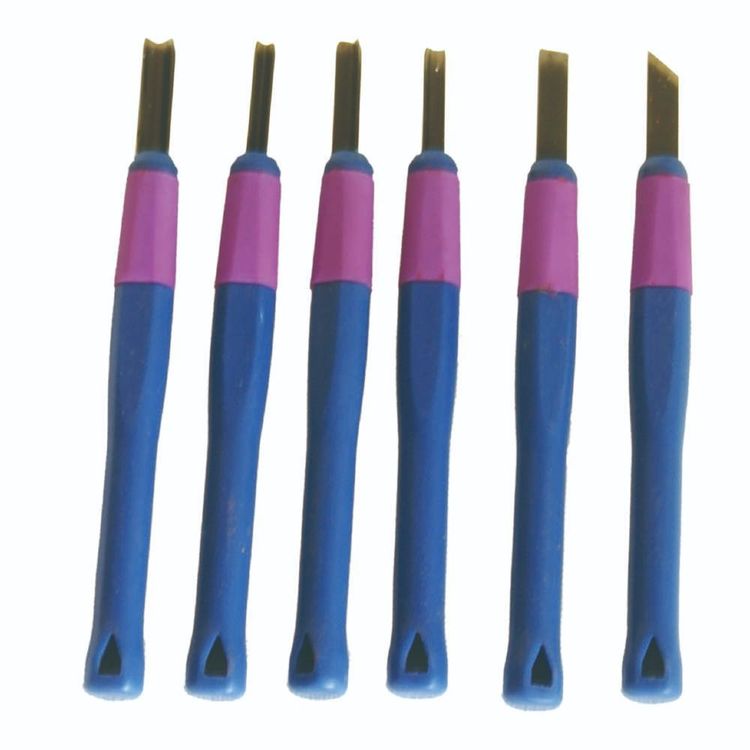
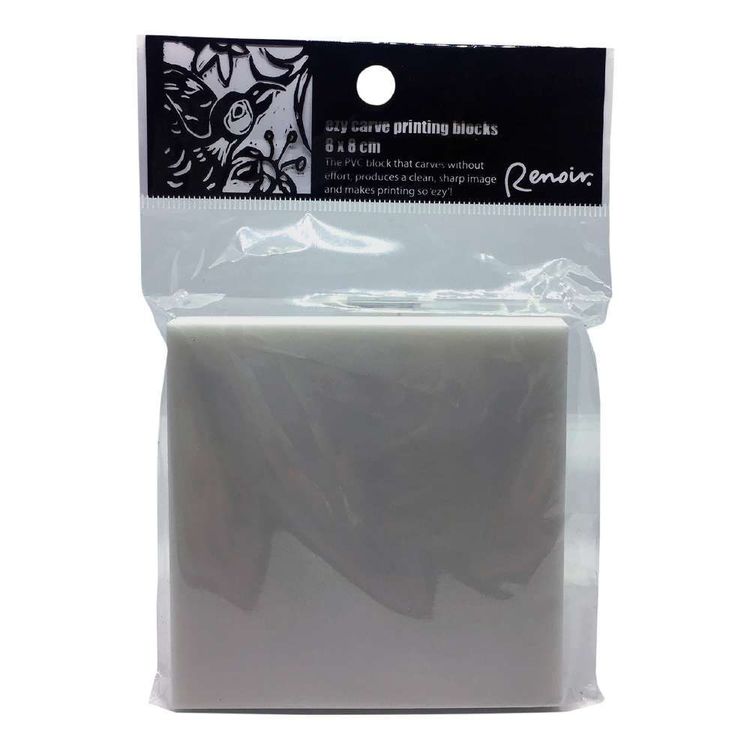
Lino printing is where you carve your designs into linoleum to create your templates. After sketching your design onto a lino block, special carving tools are used to remove sections of lino to reveal your patterns in relief. Once the template is created you'll apply paint or ink and apply the block onto paper or fabric and press to transfer your design. The same principles apply to woodblock printing, or the use of easy-carve blocks in Spotlight's printmaking supply range.
What is screen filler screen printing?
Screen filler is another method or medium used in screen printing. Screen filler is used to block out areas on your mesh screen that you do not wish to transfer. Unlike using photo emulsion, your design is created by applying drawing fluid or filler directly to your screen mesh. Screen filler can also be used to fill in unwanted spaces in your template after using the photo emulsion process.
Shop Printmaking Tools & Supplies Online At Spotlight
When it comes to your printmaking needs you can find all the essentials for creating unique artworks or accessories at Spotlight! Explore the selection of printmaking kits, tools and mediums, and complete your studio space with our huge range of art supplies Shop printmaking and screen printing materials online with Spotlight, where you can opt for home delivery or click & collect from your nearest Spotlight store. Explore our Create blogs, where you can find informative tips, tricks and inspiration for your next project. Spotlight VIPs also enjoy benefits such as early sales alerts and exclusive discounts, so if you're not already a member make sure you sign up today!
