 | ||
| Your browser is not supported. | ||
|
Please browse our site using any of the following options:
| ||
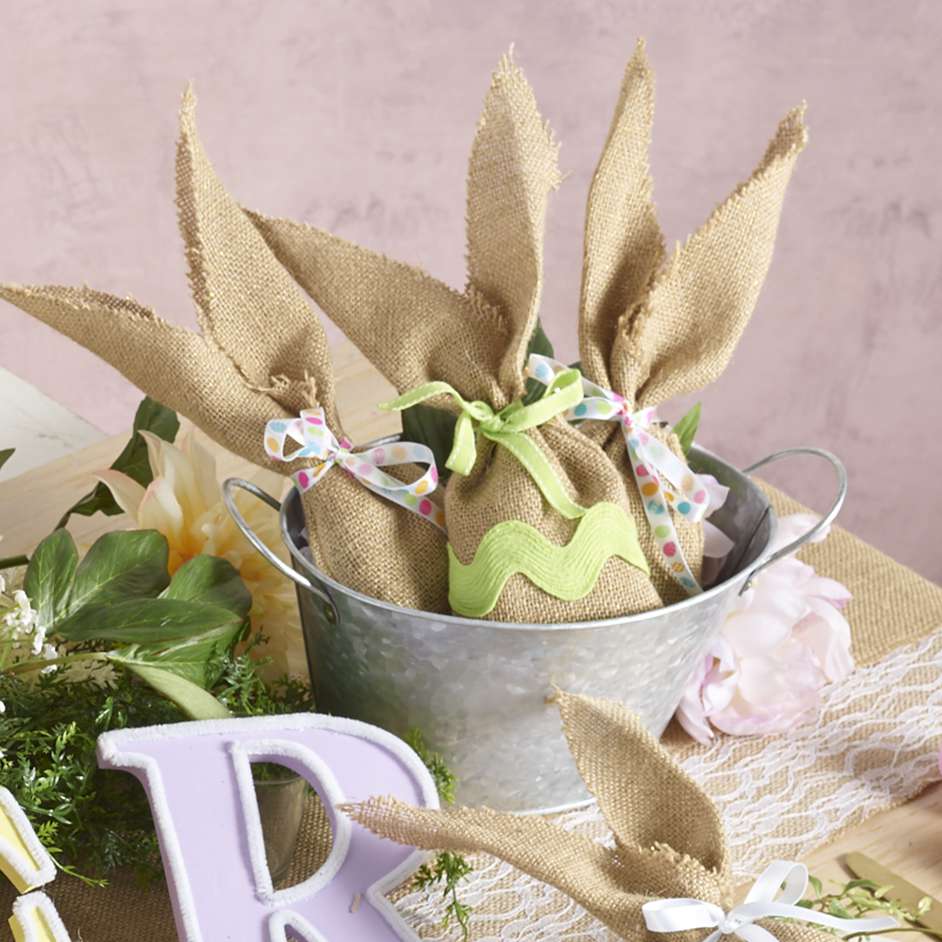
BURLAP BUNNY TREAT BAGS

LEVEL: EASY
WHAT YOU'LL NEED
- Burlap table runner
- Assorted trims: large ric rac, pom pom trim
- Pom poms
- Assorted ribbons
- Craft glue or hot glue gun
- Pins, scissors, sewing thread
- Sewing machine
INSTRUCTIONS
Step 1 - Using template provided, cut 2 pieces per bag from burlap.
Step 2 - If decorating the front of the bag with trim, cut a piece of trim to the width of one of the burlap pieces. Sew or glue trim in place on the front of the burlap piece.
Step 3 - With right sides facing to the inside, fold the left side of the burlap pieces to meet the right side, pin sides and base together aligning the straight edges. With a 1cm seam allowance, sew the side and base edges together. If desired zigzag or overlock these seams to keep neat.
Step 4 - Carefully turn the pieces right way out, pushing out the base corners. Lay the pieces flat and flatten with hand to create a flat folded edge to the outer side and to create the bunny ear shape.
Step 5 - With the flat folded edges facing to the outer (pieces will be flipped in the opposite direction), place the un-decorated piece inside the outer decorated piece, pushing the corners down into the base corners of the outer piece.
Step 6 - If undecorated, glue pom poms to outer bag in desired.
Step 7 - Fill bag and tie ribbon around the neck of bag at the base of ears.


