 | ||
| Your browser is not supported. | ||
|
Please browse our site using any of the following options:
| ||
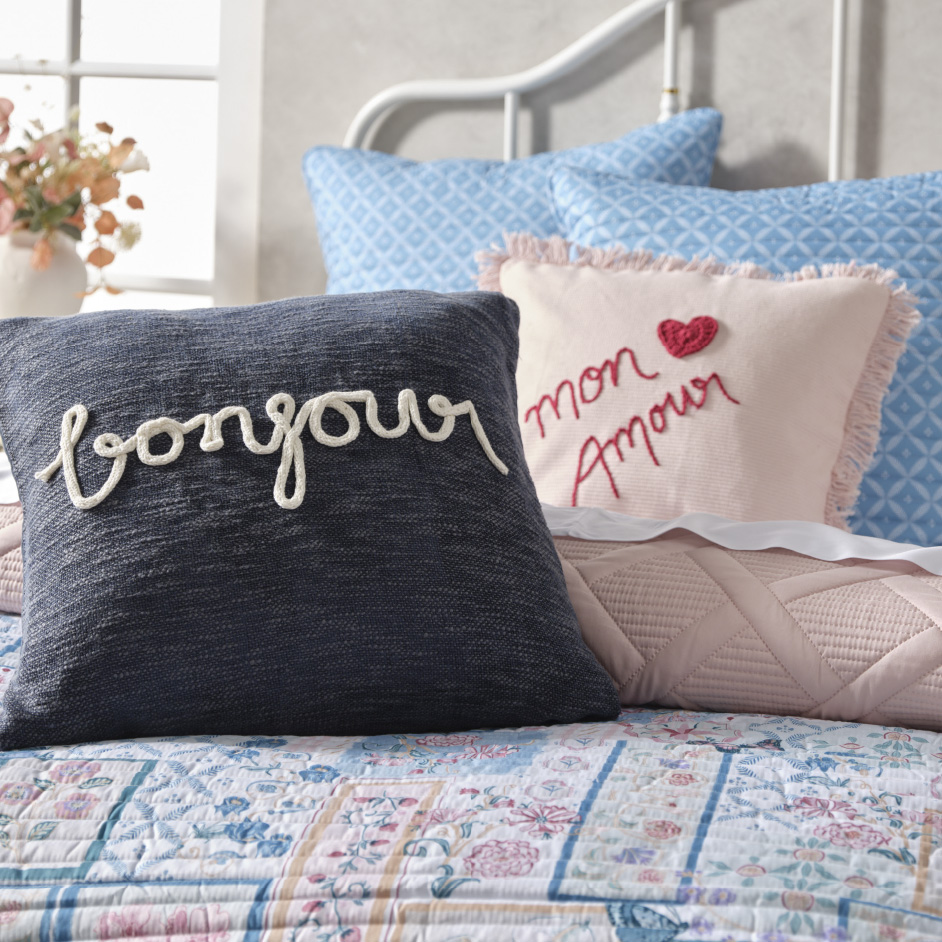
EMBROIDERED MON AMOUR CUSHION

Level: Beginner
What you'll need:
- 4 Seasons Flinders Cotton 8Ply Yarn 50 g Ruby x 1 ball
- 4mm Crochet Hook
- Embroidery hoop
- Tailors chalk
- Sewing Needle
- Yarn Needle
- Scissors, yarn needle, tape measure
- Cushion cover of your choice
Tension
21 Stitches x 29 Rows
INSTRUCTIONS
Embroidery "Chain" Stitch
Step 1 - Place the embroidery inside the cushion cover and stretch the fabric taught.
Step 2 - Using tailors chalk lightly sketch "Mon Amour" onto the front of the cushion in your desired position.
Step 3 - Taking a long length of the Flinders Cotton, thread the yarn needle and begin to "chain stitch" over the chalk line.
Crochet Heart
1st Row - Ch4, sl st in 1st Ch to form a loop (alternatively, form a magic ring). Ch4, (4dc, 2tr) in centre of loop, Ch4, sl st into loop, Ch4, (2tr, 4dc) in centre of loop, sl st in top of ch4 to join.
2nd Row - Ch4, 1dc into previous sl st, 2dc into each of the next 3sts, (1dc, 1tr in next st), 2tr in the nest st, 3tr in the next st, 1dc into the next 4chs, ch4, sl st into the centre space of the ch4 loop, 1dc in the next 4chs, 3tr in the next st, 2tr in the next st, (1tr, 1dc in next st), 2dc into each of the next 2sts (1dc, 1tr, in last st, sl st into the top of the ch4 to join.
Note - Heart is worked in two rows. First row creates the foundation for the heart shape and the second row creates the heart. The pattern repeats on each side and the heart should be symmetrical.
Finishing
Weave in all the ends. Take the needle and matching thread and sew the heart in the desired position.


