 | ||
| Your browser is not supported. | ||
|
Please browse our site using any of the following options:
| ||
How to Master Drawing With Markers - The Ultimate Guide

Learn How To Draw With Markers With Spotlight
Now that you know how to draw with markers, it's time to find your first marker set! Spotlight's online selection of drawing markers has a great variety of colours and styles, which can all be bought online and home delivered. You can also visit your nearest Spotlight store, where our friendly team will help you find the right markers for your next project.
For a little help with buying the right markers, check out this handy pencil, pen and marker buying guide! And for more amazing creative supplies, browse the art and craft hub online.

Markers are the artistic choice for many of us children, due to their bright colours and mess-free use. But no longer are markers confined to the pencil cases of school kids! Professional artists embrace drawing with markers for a number of reasons, and with the right techniques you can create extremely detailed and intricate works of art using water-based or alcohol markers.
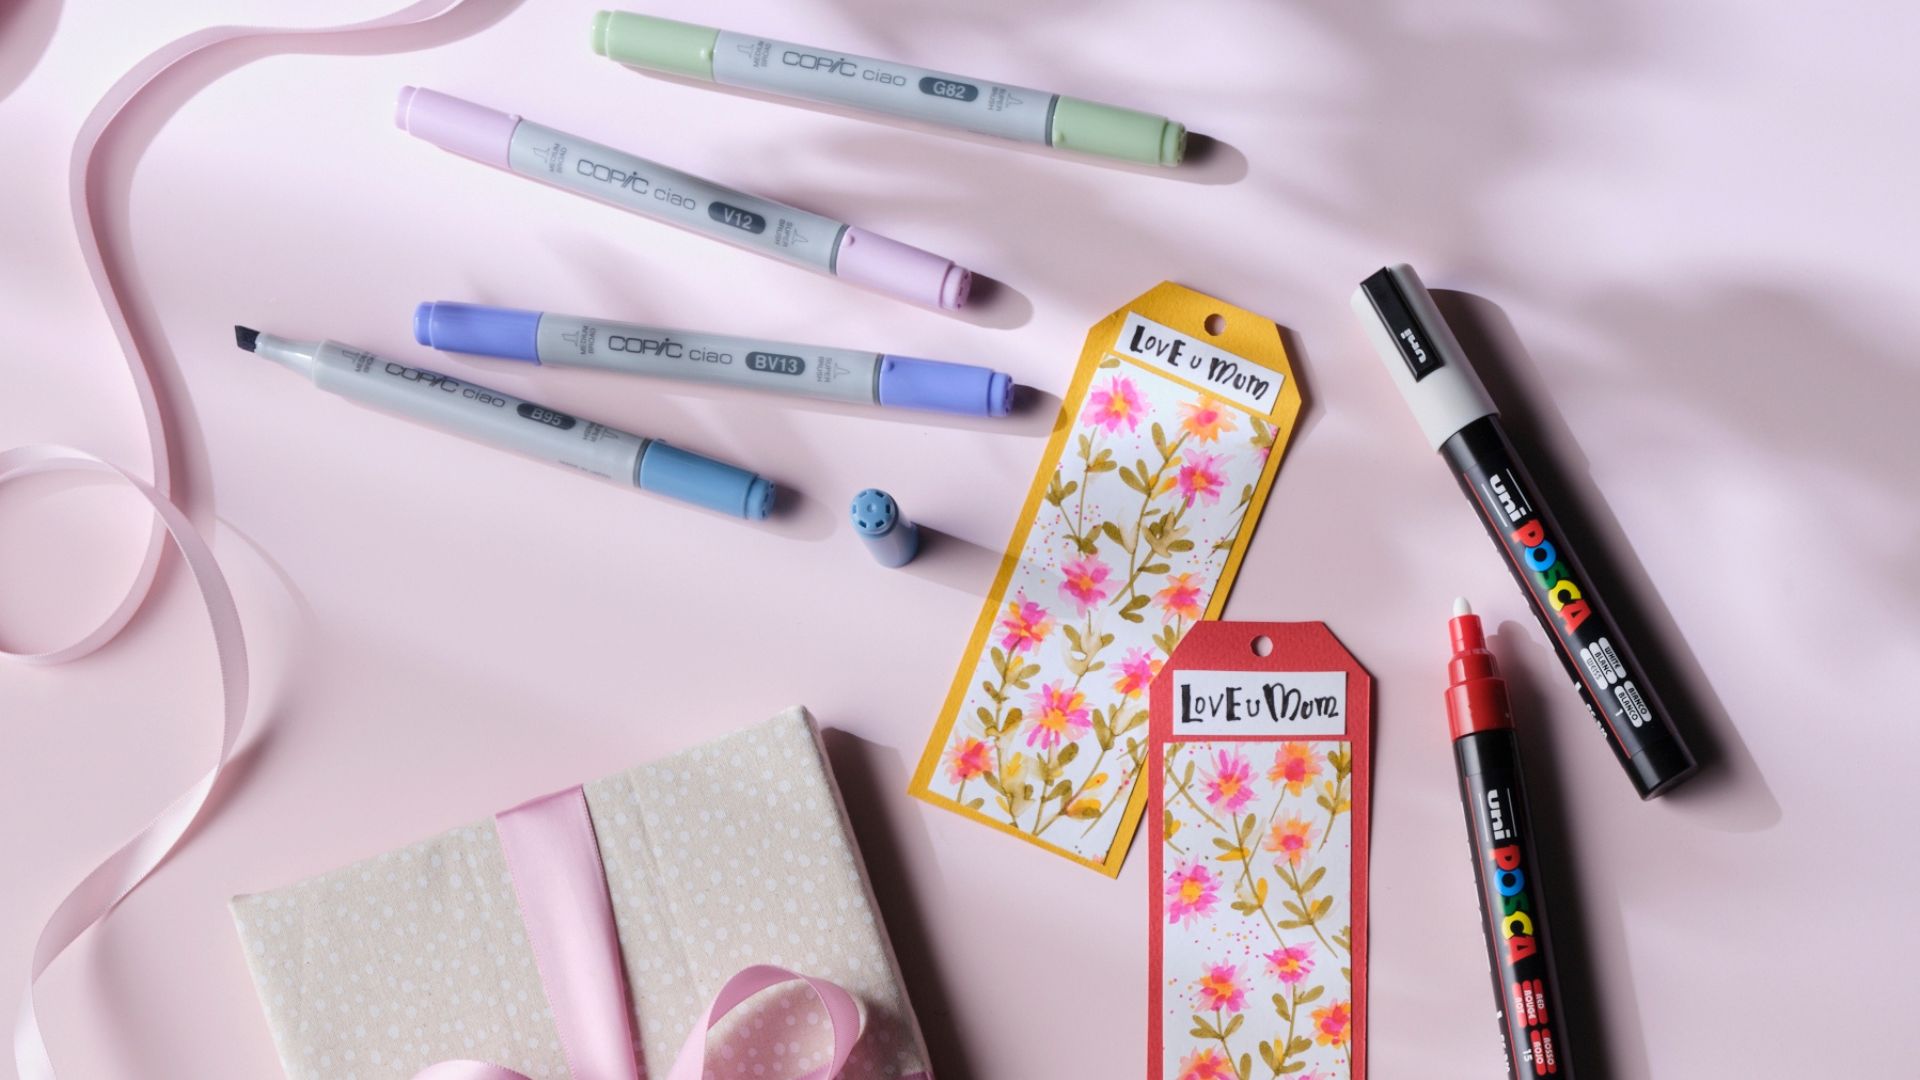
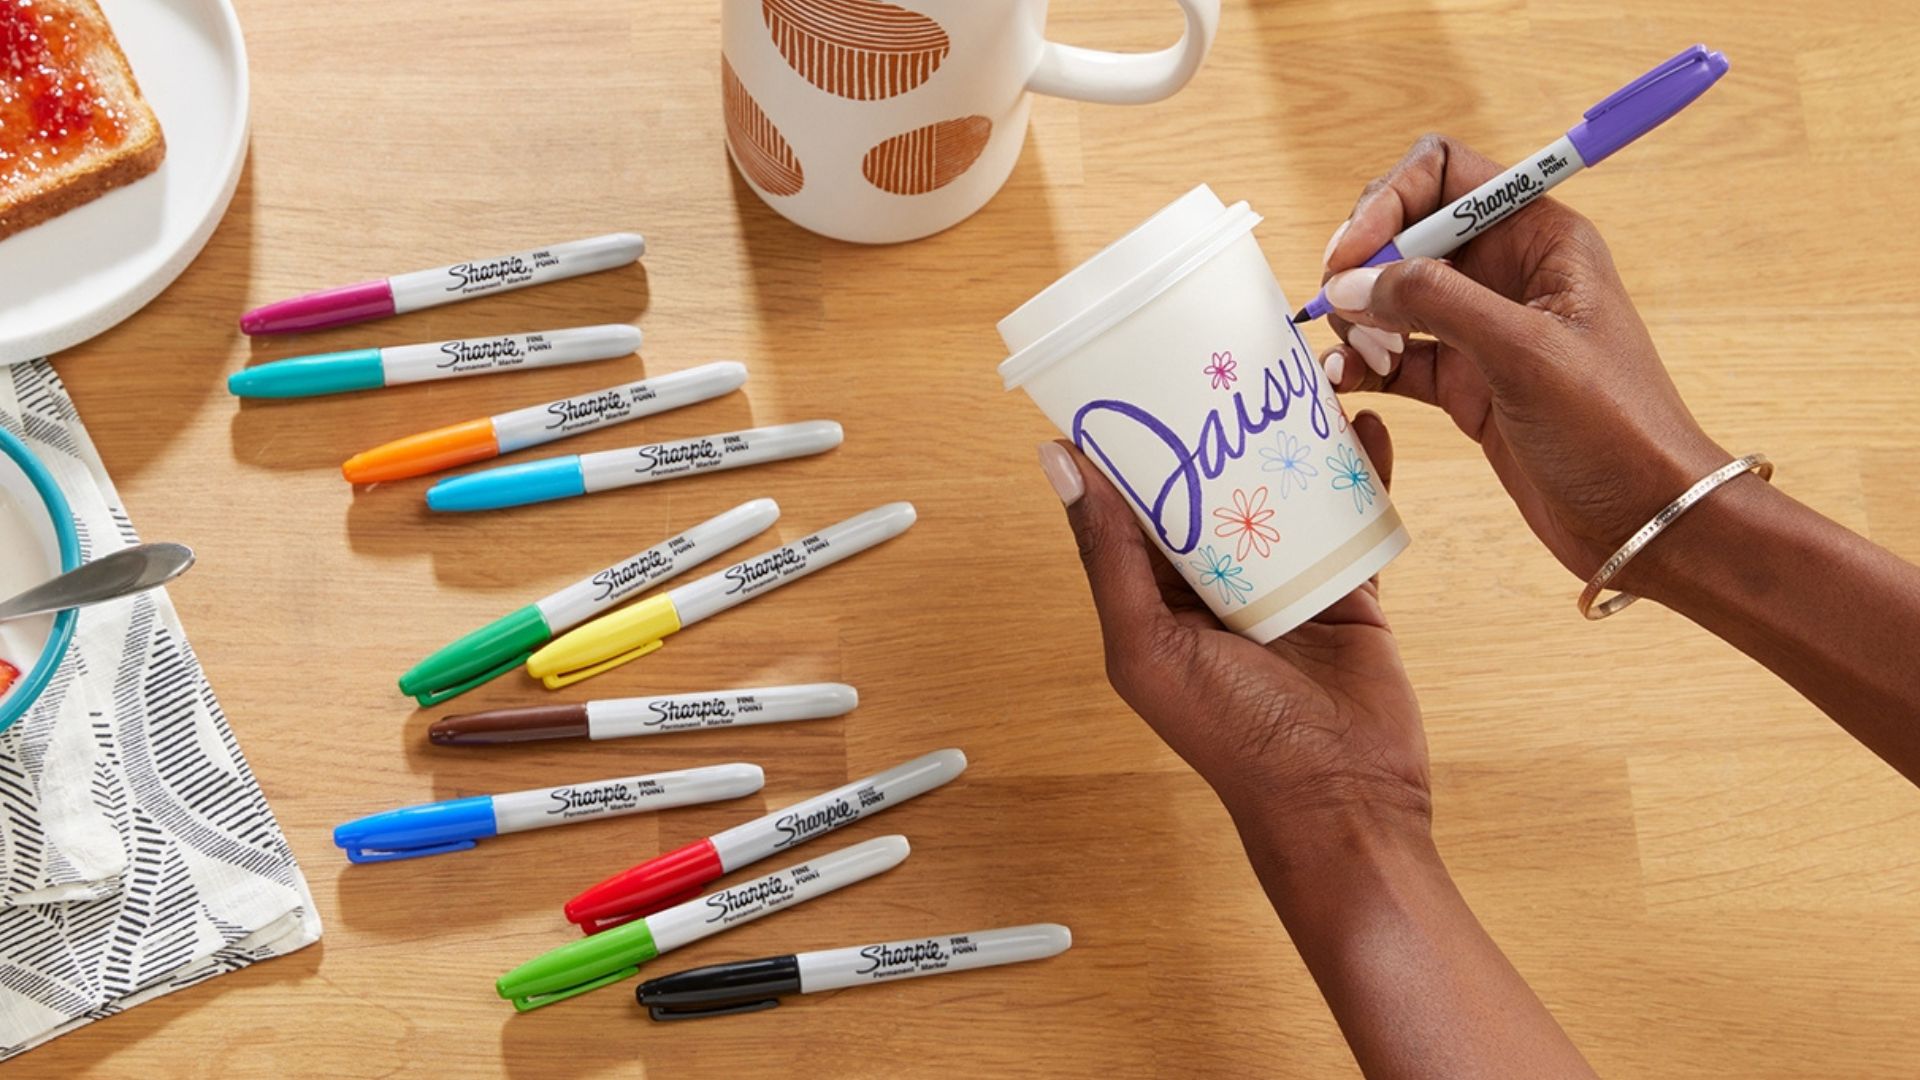
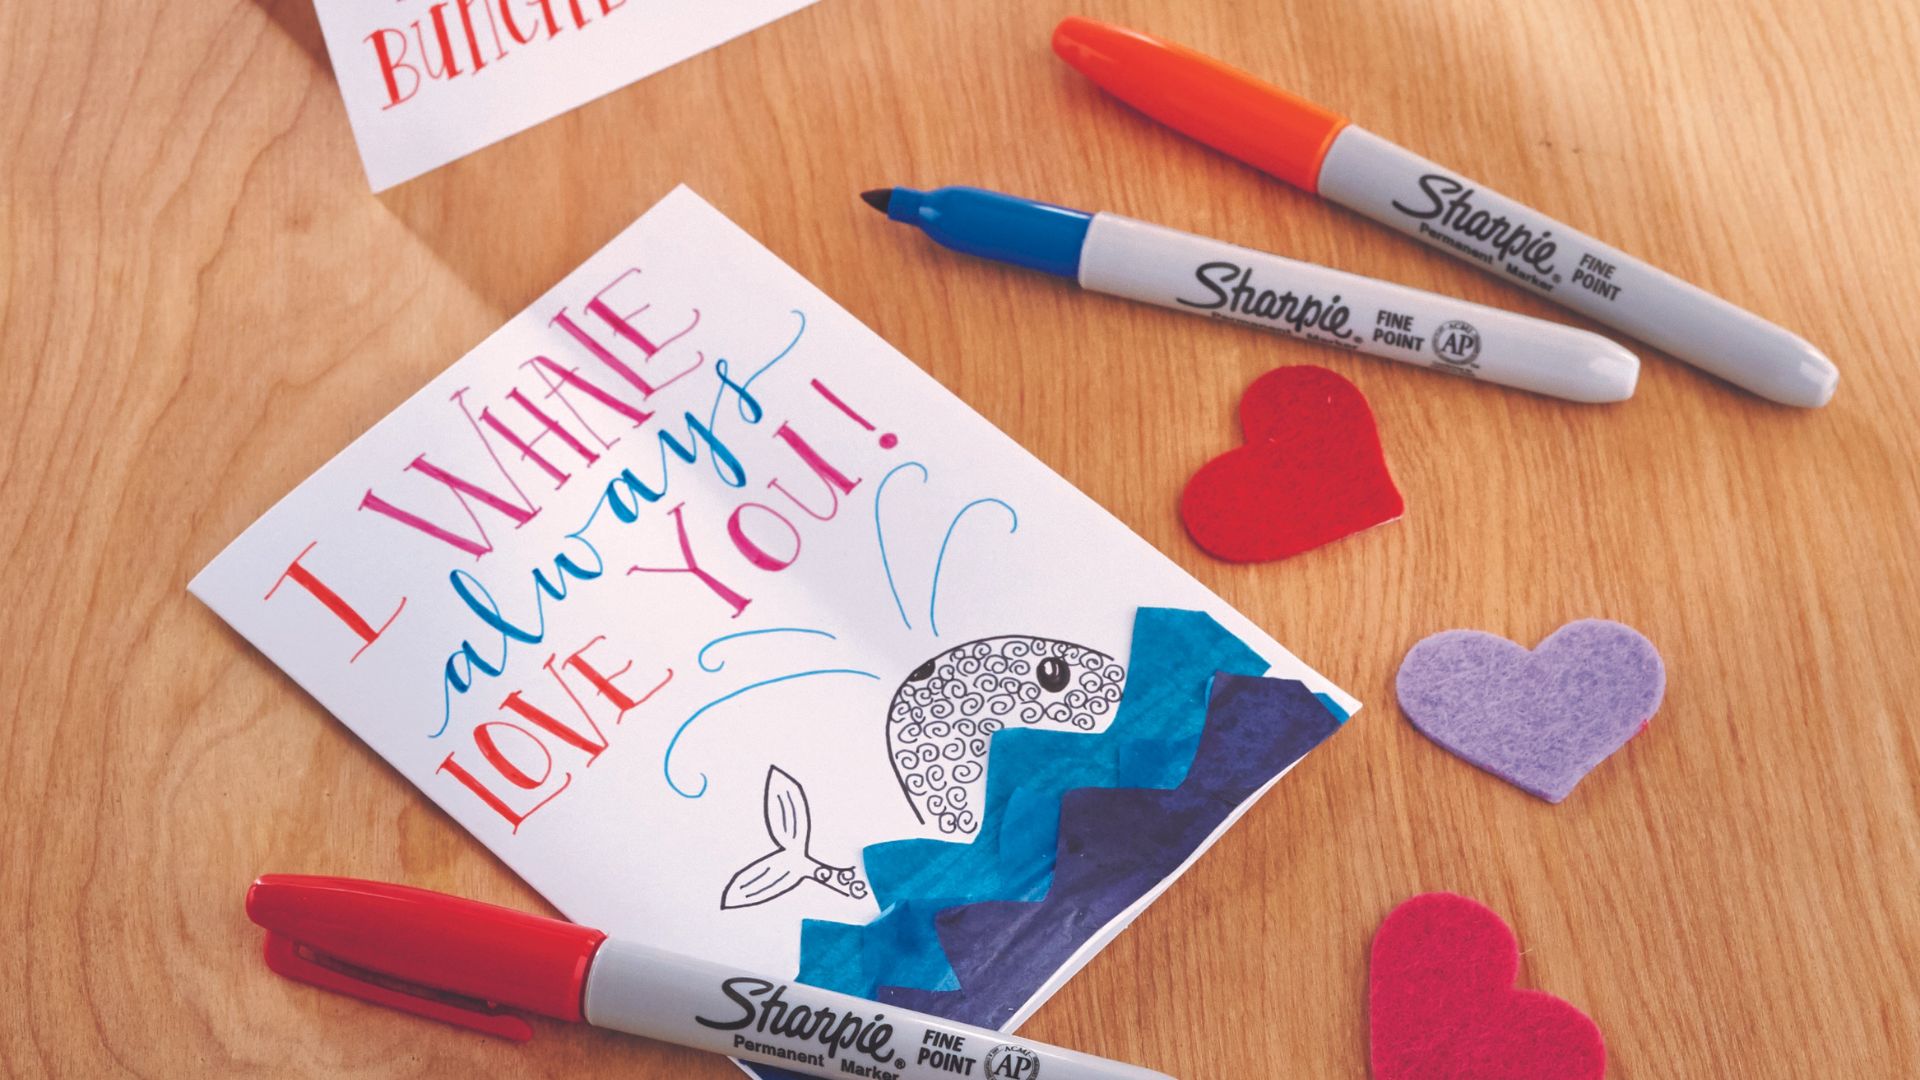
At Spotlight we have an extensive range of markers for you to choose from, no matter your skills or experience with the medium. In this guide we'll go through everything you need to know about drawing with markers, including what you'll need, surfaces they can be used on, the difference between water-based and alcohol markers and techniques you can use with them!
Quick Links
- Why Draw With Markers?
- What Surfaces Can I Draw On With Markers?
- Drawing Marker Tip Types
- What Other Accessories Do I Need For Drawing With Markers?
- What Are Alcohol Markers?
- Alcohol Markers VS Water-Based Markers - Which Is Best?
- How To Draw With Markers - Useful Techniques
Why Draw With Markers?
Markers are just one of many different mediums you can use to create art - so why choose them over other mediums like paint, ink or pencil? Here are some of our favourite things about drawing with markers:
- They have intense colours - the dyes used in quality artist's markers are incredibly vibrant, making them the favourite medium for graphic novels and comics that need to pack a punch.
- They are convenient for travel - markers are small, light and don't leak, which makes them ideal for popping in a bag and drawing on the go.
- They aren't messy - the ink from alcohol markers dries quickly, and water-based makers dry fairly fast as well. Most quality markers are leak-proof if capped correctly, plus the dye won't bleed if used on thick, quality paper.
- They dry quickly - alcohol markers dry after a few seconds on paper and can be easily layered to produce new colours, Water makers take a little longer to dry (perhaps twenty seconds), but they can also be used to create washes and watercolour-like blends.
- They are easy to use - there's a reason markers are the colouring tool of choice for kids! You don't need extravagant tools or fine-tuned techniques to use markers for drawing, making them a great medium to start with and then master it if you love it.
- They work well with other media - markers work well when used with other dry media. Pencils and markers are a particularly well-matched pair, and they can be used together to create artwork with unique textures and linework.
What Surfaces Can I Draw On With Markers?
Markers can be used on most non-porous surfaces, but are best used on special marker paper or thick watercolour paper. Both kinds of markers release pigment and either water or alcohol when used, and this can bleed when used on thin paper - so it's important to choose the right kind!
Markers can also be used on more unusual surfaces like concrete, but beware of very rough surfaces as they can wear down and damage the tip of your marker.
Drawing Marker Tip Types
Water-based and alcohol markers tend to come with one of the following tips. High-end artist's markers can sometimes be double-ended, giving you a different tip on each end of the marker!
- Chisel tip - this is the kind of tip you'll find on a highlighter. A chisel tip is an angled tip that can be manipulated to produce a thick or thin line with a straight edge.
- Brush tip - similar in style to a round paintbrush, a brush tip is a soft and flexible tip that comes to a gentle point. Create curves, swirls and both thick and thin lines with this tip, but avoid pressing too hard or you can force the tip out of shape.
- Bullet tip - this stubby, rounded tip is a good basic shape but not great for finer techniques.
- Fine tip - thin and round, a fine tip is similar to what you'll see on a fine liner pen. Perfect for any thin and precise detailing, but not suitable for filling large areas with colour.
What Other Accessories Do I Need For Drawing With Markers?
You don't need much else for drawing with markers, but there are a few useful accessories that can make using them a little easier.
- Travel case - markers are great for using on the go, but carting around a case full of loose markers can make it hard to find the colour you want at the right time. Travel cases will keep your markers neat, tidy and in order, making it easy to find the colour you need, when you need it.
- Marker stand - for drawing at home, keep your markers ordered in a handy marker stand. It allows you to see all your available colours at once while working, as well as allowing you easy access to what you need.
- Isopropyl alcohol - the addition of some isopropyl alcohol to lines made with alcohol markers can allow you to blend and lighten colours.
- Colourless blender - shaped like a marker but creating no colour, a colourless blender helps you blend colours together. Make sure to clean them after each use, as blenders can become stained from any colours left on their tips.

What Are Alcohol Markers?
A little different from your basic markers, alcohol makers have their dyes suspended in alcohol, instead of water like most other markers. They have a stronger smell than water-based markers and so can irritate your nose if you're sensitive, but they dry very quickly and are unlikely to smudge.
While they won't bleed through thin paper like a water-based marker, the intensity of the colour in alcohol markers may show through the back of your paper, so keep this in mind when working with them.
Luckily, learning how to use alcohol markers isn't too dissimilar to drawing with water-based ones - remember their quick dry time and you'll become an alcohol marker expert in no time!
Alcohol Markers VS Water-Based Markers - Which Is Best?
While both types of drawing markers can be used to create gorgeous artwork, one type is commonly regarded as the best for professional artists. Due to their brilliant colour, superior blending ability and quick dry time, alcohol markers are the preferred choice if you want to create a crisp, bright and eye-catching work of art.
You can definitely still make beautiful artwork using water-based markers, but their tendency to streak instead of blend can prevent you from making the effective colour gradients and transitions that so many incredible marker artworks feature.
How To Draw With Markers - Useful Techniques
- Blending - the most popular drawing technique with markers is blending colours together. Choose colours that are near each other on the colour wheel, otherwise your colours may muddy together. Blend colours from light to dark - the more colours you use, the smoother the blend will be. For example, blending from light yellow to red may look jarring, but blending a light yellow, a darker yellow, an orange and then a red will look much more natural.
- Stippling - rather than filling an area completely with colour, stippling allows you to use lots of small dots to create the illusion of fullness and texture. Create even-sized dots using a brush, bullet or fine-tipped marker, and remember to start with lighter dots before layering darker coloured-ones on top if you need to.
- Double lining - did you know you can use a colourless blender to create a line with two colours? Choose the two colours you want and press the tip of each against each side of the chisel tip of your blender until a good amount of the dye has transferred. Then start to draw and watch as both colours come out cleanly in your linework!


