 | ||
| Your browser is not supported. | ||
|
Please browse our site using any of the following options:
| ||
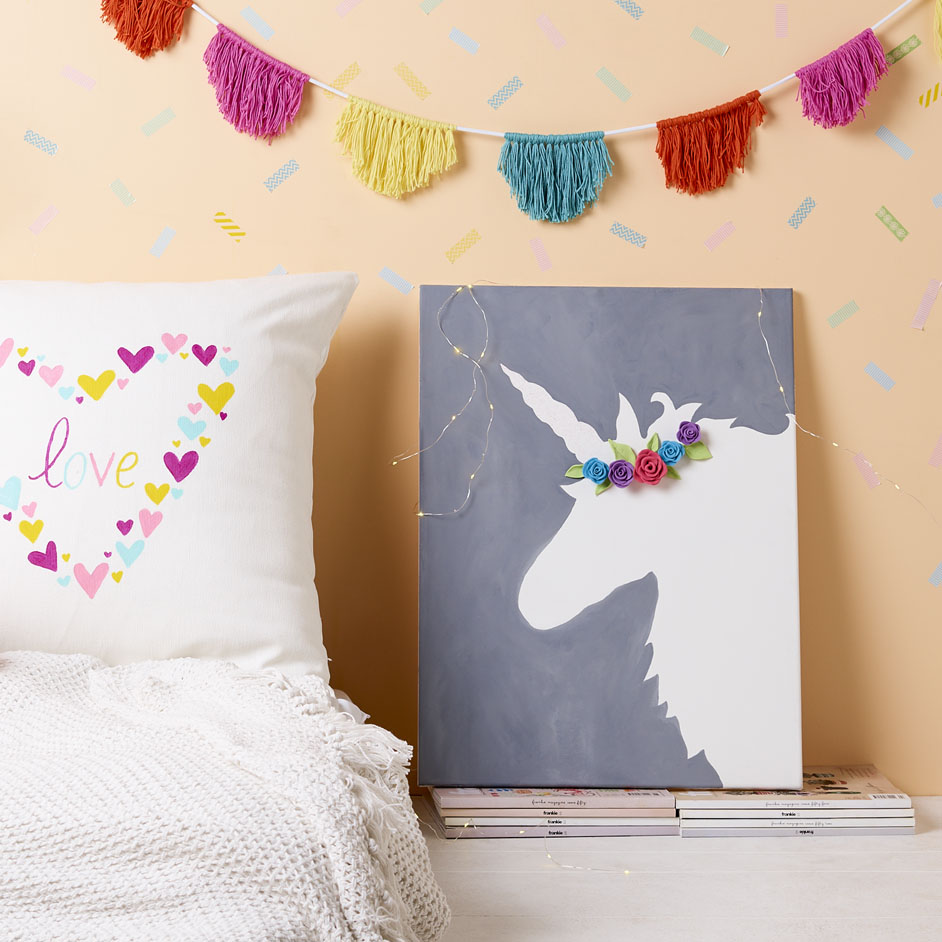
UNICORN PAINTING

LEVEL: EASY
WHAT YOU'LL NEED:
- 'Francheville' Canvas
- 'Francheville' acrylic paint
- 'Francheville' opal medium
- Grey lead pencil
- Paint brushes
- Sculpey
- Rolling pin
- Baking paper
- Small circle shape/cutter
- Oven
- Hot glue gun and glue
INSTRUCTIONS
Step 1.To make Sculpey flowers, mould Sculpey until it is soft. Place between 2 sheets of baking paper and roll out into a thin piece.
Step 2.Using a small circular shape in-print circle shapes into the Sculpey and using a scalpel cut out. Alternatively use a small cookie cutter shape. We made a few different sized circles: 2cm, 3cm and 4cm to create different sized flowers.
Step 3.Once you have a bunch of circles ready, start by curling 1 circle piece in on itself to create the centre of the flower.
Step 4.One by one add another circle onto the base and slowly build up your flower shape. To create a realistic looking rose overlap the petals and make sure the edges of each petal is a bit wavy.
Step 5.Repeat steps 1 - 4 with other colours and sizes until you have enough flowers for your unicorn's crown.
Step 6.To make the leaves, roll out a thin piece of green Sculpey and cut out leaf shapes using a scalpel. Use fingers to bend into a more realistic shape.
Step 7.Lay between 2 sheets of baking paper and bake in oven for 15mins at 130C. Allow to cool.
Steps 8.Using the grey lead pencil lightly outline your unicorn head shape. If you are not a confident illustrator you could print a template from online.
Step 9.Use grey acrylic paint to paint the background leaving the silhouette of the unicorns face white. Allow to dry before applying second coat.
Step 10.Once paint is dry and Sculpey is cool, use hot glue gun to glue flowers and leaves onto your unicorns head. To finish hang on wall!


