 | ||
| Your browser is not supported. | ||
|
Please browse our site using any of the following options:
| ||
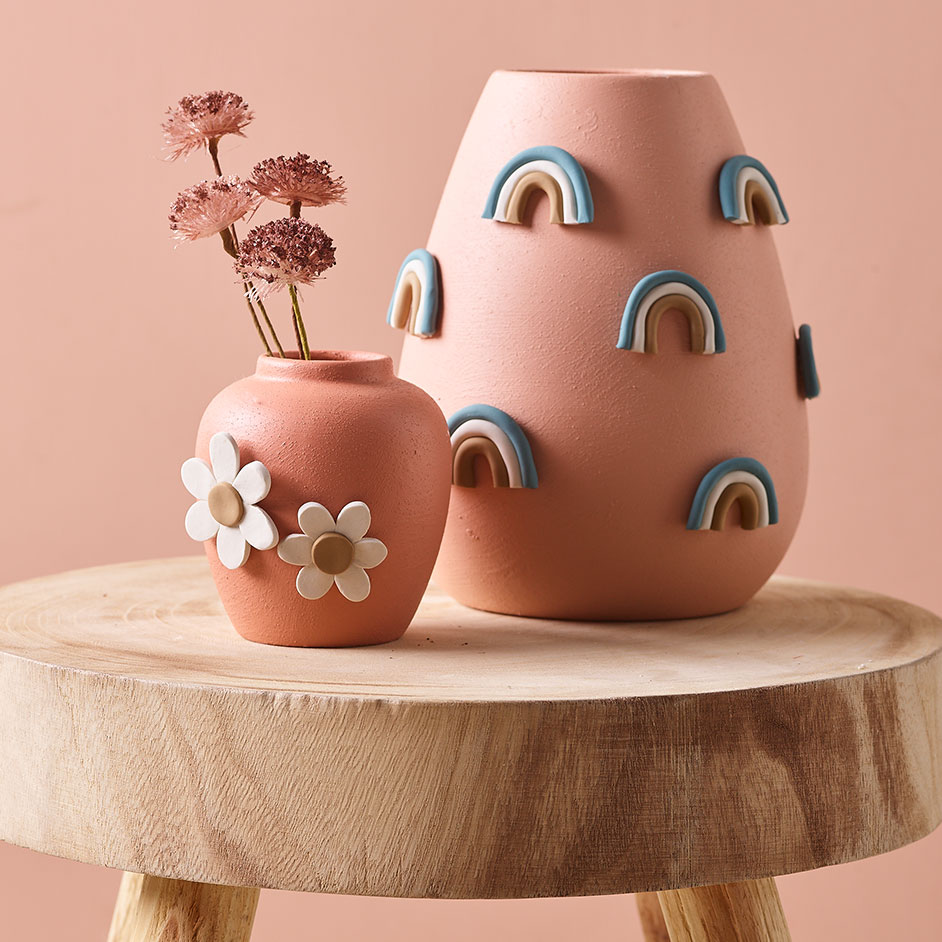
UPCYCLED SCULPEY VASE

Level: Easy
WHAT YOU'LL NEED:
- An old vase
- Water based paint
- Baking powder
- Container or jar and popsicle stick for mixing
- Paint brush
- Sculpey in desired colours
- Sculpey Premo Mini Metal Cutters
- Sculpey Modelling Tools
- Oven/Oven Tray
- Baking Paper
- E600 Glue or Super Glue
INSTRUCTIONS
Step 1 - Lay out all your materials and make sure you have a clean work space to work on.
Step 2 - To prep your vase give it a good clean and make sure it is dry. Pour roughly 1/2 a cup of paint into a container or jar. Add 1 teaspoon of Baking Powder and give it a good stir. Continue adding small amounts of baking powder until your paint is fluffy and has a mousse like texture.
Step 3 - Then use your brush to paint the entire vase. Leave to dry for an hour or so before painting a 2nd coat. Be sure to close the container of paint while you wait between coats as the paint will dry very quickly.
Step 4 - While the paint is drying you can begin working on your sculpey decorations. Roll out your sculpey colours to about 5mm thick. Use the metal cutters and tools to cut out the shapes from sculpey. To create the flowers, we cut out 6 tear drop shapes and a circle of the centre of each. And for the rainbows we rolled the sculpey into log shapes and curved them together in a row before cutting straight across the base of each side.
Step 5 - Once you have finished your sculpey shapes, lay the pieces between 2 sheets of baking paper on a baking tray and place in the oven following the sculpey packet directions.
Step 6 - Allow sculpey to cool before gluing your shapes onto the vase to finish!


