 | ||
| Your browser is not supported. | ||
|
Please browse our site using any of the following options:
| ||
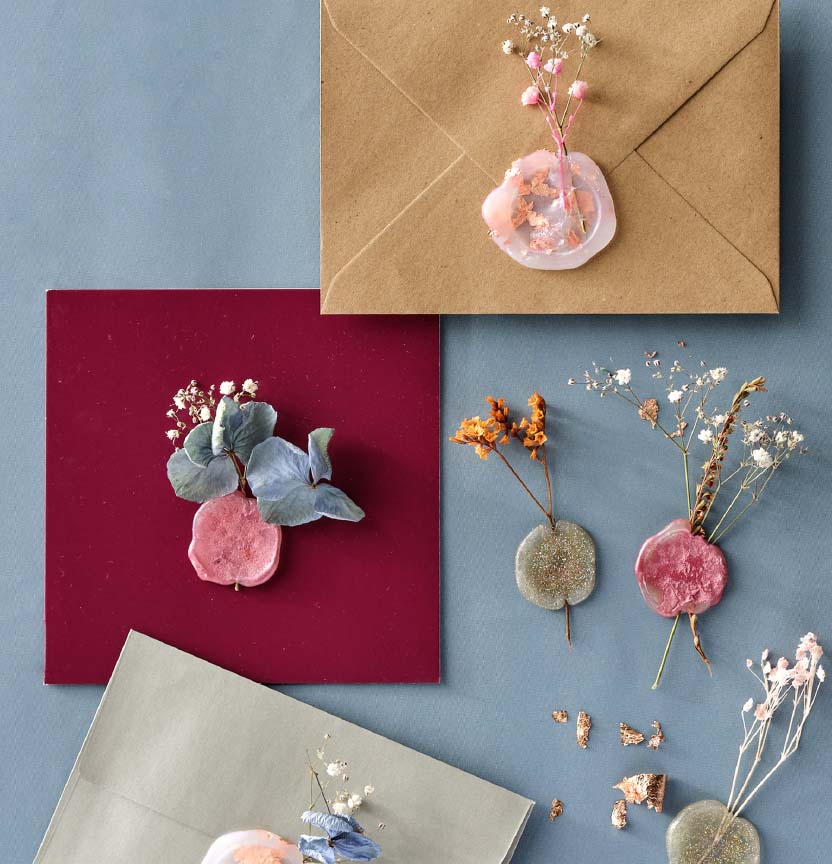
HOT GLUE WAX SEALS

Level: Intermediate
What you'll need:
- High temp hot glue gun
- High temp hot glue sticks
- X-PRESS it gold foil leaf, silver, copper & gold colours available
- Embossing powder in various colours
- Dried Flowers, such as gypsophila, hydrangea, dried foliage
- Glass bottle with metal cap
- Non-stick baking paper
Instructions
Prepare your materials
Step 1 - Cut a piece of baking paper approx. 30cm x 30cm and lay down on a flat surface. You will need the surface of the baking paper for making your wax seals. Heat your glue gun and sit upright using the built-in stand, place the glue gun onto the baking paper, to catch any drops of glue while the glue gun heats.
Step 2- To make a wax seal with gold leaf, sprinkle a small quantity of gold leaf onto the baking paper. If you would like flower stems embedded into your wax seal, then place this down in position as well.
Step 3 - Gently squeeze out the hot glue into the center of the sprinkles and moving slowly create a circle shape the approximate size of the bottle top.
Step 4 - Once you have built up the circle of hot glue, place the bottle top down into the center of your glue circle gently, making sure you don't press down fully so the wax seal is at least 3mm high.
Tip- To prevent the bottle top from sticking to the wax seal, cover it lightly with hand moisturizer.
Step 5 - Wait for the wax seal to fully try, this could take a few minutes, in the meantime, leave the bottle standing top down to make sure the seal dries to shape. Once the glue is looking dry and cool to touch, gently peel it from the bottle top, the moisturizer will help prevent it from sticking.
Glitter Variation
You can also make a variation of the glue wax seal with embossing glitters.
Instead of placing the glitters onto the baking paper, begin making your wax seal by heating the glue gun and making the glue circle, then sprinkle the glue with embossing powder. Place the bottle top down into the center of your glue circle gently, making sure you don't press down fully so the wax seal is at least 3mm high.


