 | ||
| Your browser is not supported. | ||
|
Please browse our site using any of the following options:
| ||
SCULPEY CHRISTMAS DECORATIONS

LEVEL: EASY
WHAT YOU'LL NEED
- Sculpey in various colours
- Rolling pin
- Sculpey took kit
- Oven
INSTRUCTIONS
MITTEN DECORATION
Step 1. Pre heat oven to 130C.
Step 2. Roll out red sculpey to a shape 10cm x 10cm and 1cm high.
Step 3. Make a hole in the mittens for threading ribbon through once finish.
Step 4. Using your hands make a thin long snake shape with the white &lsquoSculpey'.
Step 5. Make snowflake by overlapping white &lsquoSculpey' pieces.
Step 6. Press snowflake softly into red mitten to ensure they are attached to one another.
Step 7. Lay between 2 sheets of baking paper and bake in oven for 15mins at 130C.
Step 8. Attach ribbon through hole for hanging.
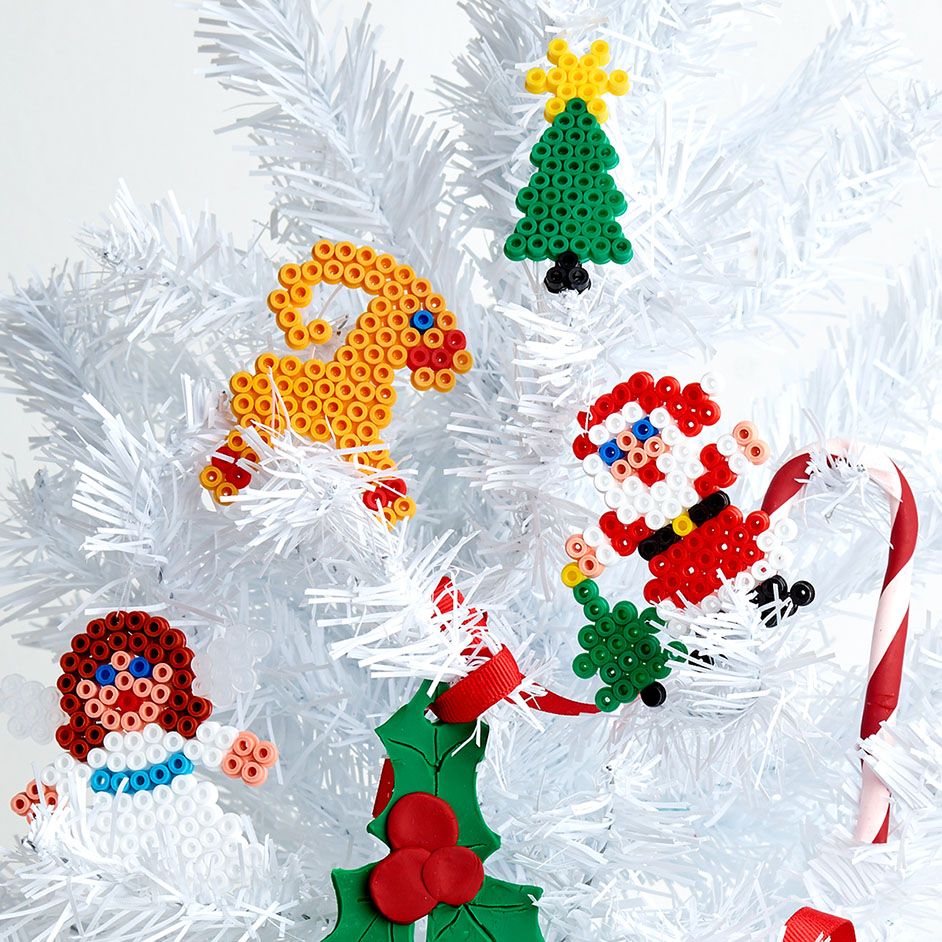
HOLLY DECORATION
Step 1. Roll out green sculpey to a shape 10cm by 10cm and 1cm high.
Step 2. Using clay knife cut out 2 holly shaped leaves.
Step 3. Join the leaves together at bas.
Step 4. Roll out red sculpey and cut out 3 circle shapes to make the berries for the holly.
Step 5. Cut out red circles using clay knife and attach to the middle of the holly leaves.
Step 6. Make a hole in decoration for threading ribbon through later.
Step 7. Lay between 2 sheets of baking paper and bake in oven for 15mins at 130C.
Step 8. Attach ribbon through hole for hanging.
CANDY CANE DECORATION
Step 1. Roll out 2 medium sized snake shapes out of red and white sculpey.
Step 2. Twist red and white snakes around each other creating a diagonal pattern.
Step 3. Roll the twisted sculpey together on a flat surface until the colours have joined together to create 1 snake.
Step 4. Cut ends with clay knife to finish the edges nicely.
Step 5. Create cane shape and lay on a baking tray between 2 sheets of baking paper and bake in oven for 15mins at 130C.


