 | ||
| Your browser is not supported. | ||
|
Please browse our site using any of the following options:
| ||
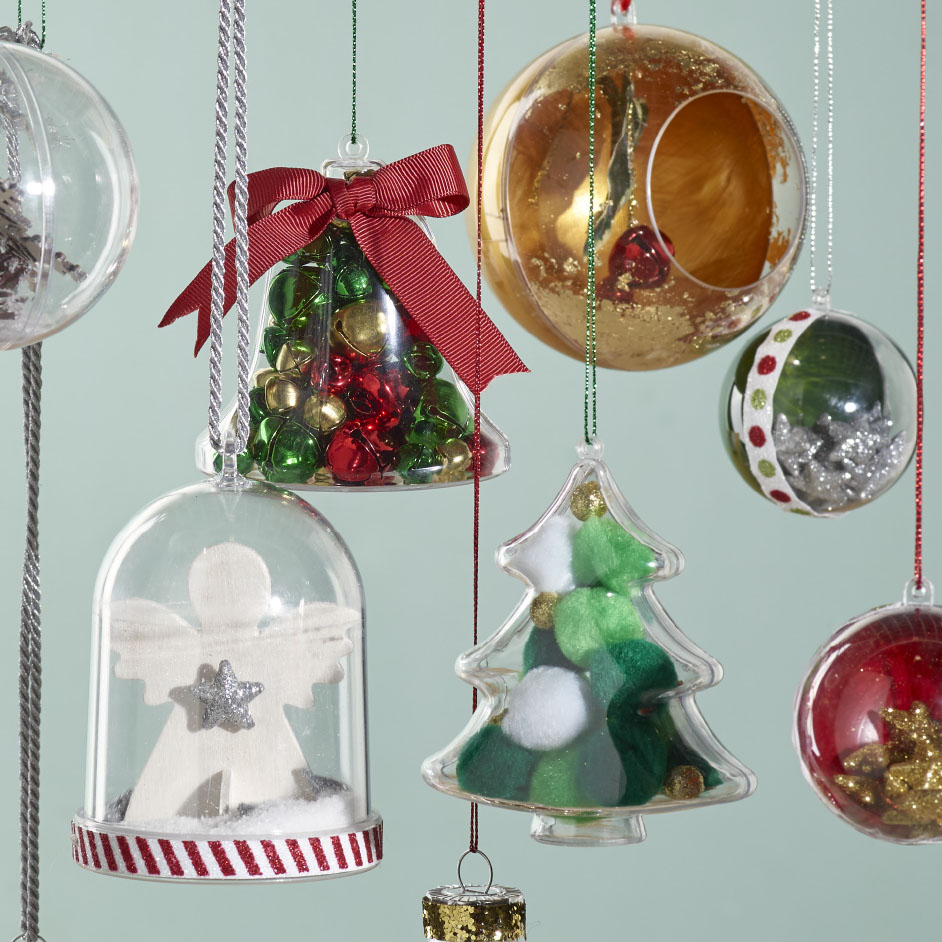
FILLABLE BAUBLES

LEVEL: EASY
WHAT YOU'LL NEED:
- Clear fillable baubles
- Spray adhesive
- Glitter
- Bauble fillers and scatters
INSTRUCTIONS
Step 1 - Set up supplies in a well-ventilated area, and on a protected surface. A recycled cardboard box makes a great working surface for this project, as it catches loose glitter and any overspray from the glue!
Step 2 - Open a clamshell bauble, and lightly spray the inside of the bauble with the spray adhesive to cover the entire inner surfaces. Do not allow lots of glue to pool on the inside.
Step 3 - Sprinkle glitter over the glued surfaces - use one colour or mix it up for a different look. Gently turn and shake the bauble halves to distribute glitter over the whole surface.
Tip - to fix any bare patches, a little extra spray of glue and a sprinkle of glitter can be applied.
Step 4 - Making sure the edges of the half baubles are free from any big clumps of glue or glitter, secure the two halves together. Ensure sure the hanging loops are aligned at the top.
Step 5 - Leave the baubles as is or use our range of different bauble fillers for different effects. Try using pinecones and fake snow for a "winter" Christmas look, or use glue to stick confetti or glitter to the inside to add a little sparkle.
Tip - try a strip of ribbon around the join and a bow at the top, or some vinyl lettering to personalise it with a name or greeting.


