 | ||
| Your browser is not supported. | ||
|
Please browse our site using any of the following options:
| ||
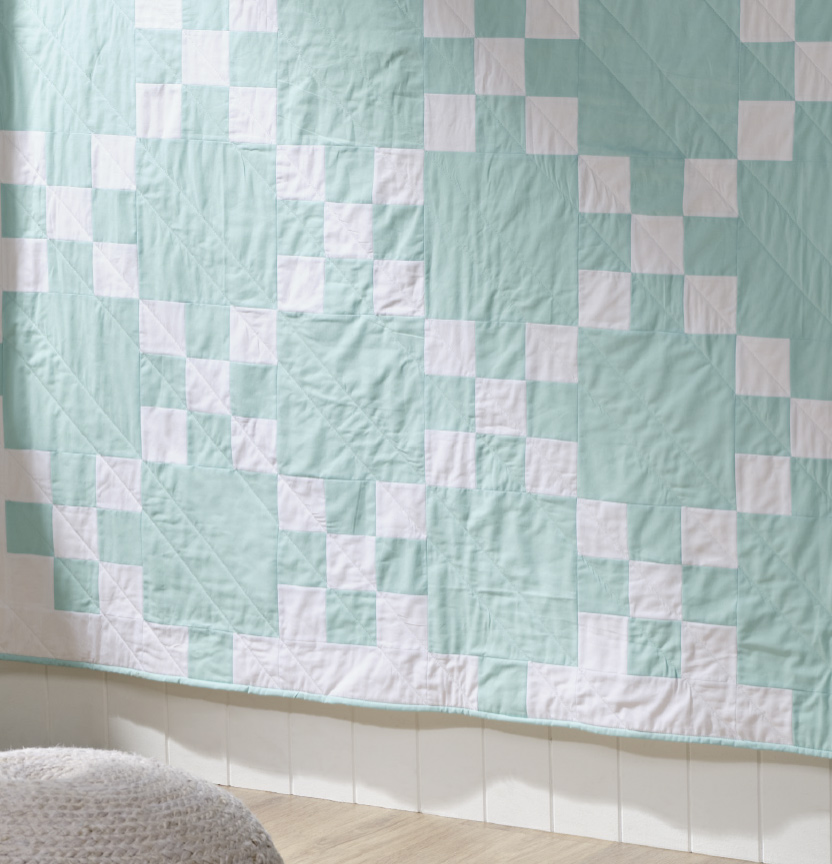
TWO TONE QUILT

Level: Intermediate
What you'll need:
- 2m Main fabric
- 2m Background fabric
- 5m Backing fabric
- 2m Cotton/polyester batting
- Matching Gutterman 100% cotton thread
- Rotary cutter mat and quilters ruler
- Quilting pins, tape measure
- Scissors, seam ripper
- Hand sewing needle
- Sewing machine foot and walking foot
- Marking pen
Finished quilt measures 59" x 59"
Finished block size is 9.5"
All fabric should be 100% cotton, washed and pressed. ¼" seam allowance used throughout unless indicated.
Please read all instructions carefully before commencing the quilt.
Instructions:
Cutting
All strips are cut across the width of fabric (WOF) unless otherwise stated.
Main fabric
Cut 5 x 9.5" wide strips and cross cut to yield 18 x 9.5" squares
Cut 8 x 3.5" wide strips and cross cut to yield 84 x 3.5" squares
Cut 6 x 2.5" wide strips. Set aside for binding.
Background fabric
Cut 10 x 3.5" wide strips and cross cut to yield 118 x 3.5" squares
Cut 3 x 3.5" wide strips. Then cut 9.5" lengths to yield 12 rectangles (for border)
The quilt is made up of two blocks. A plain square from the main fabric and a nine patch block utilising the main and background fabric.
You will require a total of 18 of each block, a total of 36 blocks.
Making the nine patch block
Instructions:
Step 1 - Using 5 background fabric squares and 4 main fabric squares, sew your squares in 3 rows as follows -
Row 1 - background, main, background
Row 2 - main, background, main
Row 3 - background, main, background
Press seams.
Step 2 - Keeping the rows in order (and referring to the Nine Patch Block Layout), join together to create the nine patch block. Press seams.
Step 3 - Repeat step 1 and 2 to make a total of 18 blocks. Press all seams.
Step 4 - Each row of the quilt is made up of 3 main fabric blocks and 3 nine patch blocks. Following the Layout Diagram, sew 6 blocks together to create a row - ie main, nine patch, main, nine patch, main, nine patches. Press seams.
Step 5 - Repeat step 4 to create the remaining 5 rows. Press seams.
Step 6- Following the Layout Diagram, join each row together ensuring that the opposite blocks are next to each other. Press all seams.
Row 1 - main, nine patch, main, nine patch, main, nine patch
Row 2 - nine patch, main, nine patch, main, nine patch, main
Row 3 - main, nine patch, main, nine patch, main, nine patch
Row 4 - nine patch, main, nine patch, main, nine patch, main
Row 5 - main, nine patch, main, nine patch, main, nine patch
Row 6 - nine patch, main, nine patch, main, nine patch, main
Step 7 - Using 24 of the 3.5" background and the 12 main fabric squares, as per Step 1, Row 1, sew 12 sets of this row. These will be used for the outside border of the quilt.
Step 8- Referring to top and bottom border diagram, sew the 9.5" x 3.5" background fabric rectangles to each of the small row sets created in Step 7. Press seams.
Step 9 -Sew the border top and bottom rows to the quilt ensuring they match the block they are attached to (refer to quilt layout diagram).
Step 10 - Repeat step 8 to create the side rows.
Step 11 - Add one background 3.5" square to each end of the two border rows. Press seams.
Step 12 - Sew side borders on to the quilt, again referring to the layout diagram and ensuring that the rows match the block they are joining on to. Press seams.
The quilt top is now completed.
Step 13 - Cut backing fabric in half so that you have 2 x 1.7 metre lengths and join together to create one large backing piece.
Step 14 - Lay the backing, batting and quilt top and baste together. Quilt as desired.
Step 15 - Join binding strips, fold in half and iron.


