 | ||
| Your browser is not supported. | ||
|
Please browse our site using any of the following options:
| ||
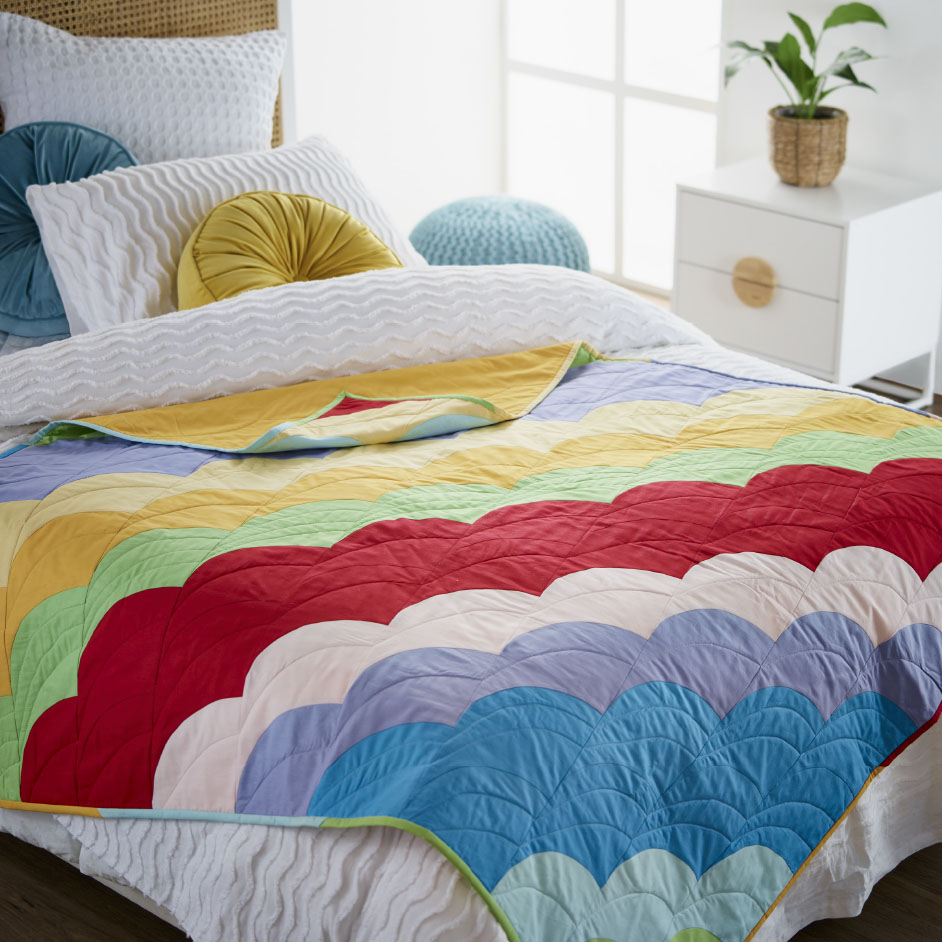
PRIMA HOMESPUN QUILT 2

WHAT YOU'LL NEED:
- 5m x 8 different coloured fabrics (includes enough fabric to complete a rainbow binding)
- 5 metres backing fabric
- 2 metres cotton/polyester batting
- Matching Gutterman 100% cotton thread
- Rotary cutter
- Mat
- Quilters ruler
- Quilting pins
- Tape measure
- Scissors
- Seam ripper
- Hand sewing needle
- Sewing machine foot and walking foot
- Marking pen
- Templastic or thick card to cut Rainbow Shape for use as template.
- Coloured pencils
Finished Size - 59" x 59" (150cm x 150cm)
Quilt is made up of 10 rows wide by 11 blocks high.
Each Rainbow Shape represents one block. Quilt top is sewn together in rows.
Each row is a finished 6" wide and each block is a finished 11" long. The quilt can easily be enlarged or reduced in size by adding additional rows and/or extending existing rows.
Terminology
Rainbow Shape - Template/Block
Arc - Top of the Rainbow Shape/Block
Curve - Lower part of the Rainbow Shape/Block
Template Preparation
Prior to commencing, print out the Rainbow Shape pattern page. Check the 1" square against your ruler to ensure template has printed at correct size. Cut Rainbow Shape on the inside of the line then place on to your templastic or cardboard and trace around. Cut. This template will be used to cut all blocks.
Colour Layout
You are best to decide on your fabric layout prior to cutting. Print the Grid page of the pattern and use your coloured pencils to determine the fabric layout. A thicker rainbow colour is created by having two Rainbow Shape rows of the same fabric sewn next to each other. As the rainbow is diagonally across the quilt, the Grid page will assist you with the placement of the blocks within the rows.
INSTRUCTIONS
Cutting
All strips are cut across the width of fabric unless otherwise stated.
Cut 5 strips 6.5" wide from each of your 8 fabrics. Each strip will yield 4 blocks.
Place template on fabric ensuring that straight edges of each side of the template match the 6.5" width stripe (Diagram 1). Depending on your skill level either trace around the template using a marker and then cut with scissors OR use your rotary cutter.
Tip - If you are a confident sewer, you can fold your 6.5" strip in half long ways and cut two blocks at a time with your rotary cutter.
Step 1 - Mark the Joining Point on each block where indicated on the arc of the template. This is the placement line used when the blocks are joined to each other.
Step 2 - Lay your blocks out in their individual colours. Referring to your coloured Grid page, separate 11 blocks into 10 groups. Each group represents a row.
Step 3 - Referring to your Grid page, place the 11 blocks of your first row in the order that they should be in.
Step 4 - Pin the 'curve' of the block 2 to the 'arc' of block 1 (Diagram 2) ensuring that you start at the Pinning Point. Pin the other end of the curve to the arc at the Joining Point and gently ease the fabric around placing pins at multiple spacings. The more you pin, the easier it will be to create a nice seam as you sew (Diagram 3).
Step 5 - Repeat Step 4 for all blocks in the row. Then repeat for other rows. Press all seams towards one side. Lay your rows out in the order that they will be sewn together.
Step 6 - Select your first two rows and lay them on top of each other with right sides facing.
Step 7 - Match the Placement Line for Sewing Rows of the end block of Row 2 with the Placement Point for Sewing Rows of the end block of Row 1 and pin to hold. Gently pin the rest of the two rows together, working upwards. Each two rows will meet at the same point as you are pinning. When you reach the top end blocks, stop pinning when the shapes no longer meet in a straight row. Sew your row. Repeat this step for all remaining rows. Press all seams to one side.
Step 8 - Cut backing fabric in half so that you have 2 x 1.7 metre lengths and join together to create one large backing piece.
Step 9 - Lay the backing, batting and quilt top and baste together. Quilt as desired.
Step 10 - You will need to trim the top and bottom of the quilt. Lay you quilt out flat. Place your ruler across the bottom row of blocks (curves) using the Placement Point for Sewing Rows as the end point across the bottom of the quilt and cut (Diagram 4).
Step 11 - For the top of the quilt (arcs), place your ruler .5" above the Placement Point for Sewing Rows ensuring before you cut, that you are cutting in a straight line across the end of the quilt (Diagram 5).
Step 12 - For a rainbow effect, cut 16 x 2.5" wide binding strips - 2 strips from each of your 8 fabrics. Cut these in half and join on the bias to make one long strip, mixing the different fabrics. Press in half lengthwise and sew around the quilt, mitring the corners as you sew. Fold back and hand sew to the back of the quilt. Attach a label or sign and date your quilt. Stand back and admire your rainbow.


