 | ||
| Your browser is not supported. | ||
|
Please browse our site using any of the following options:
| ||
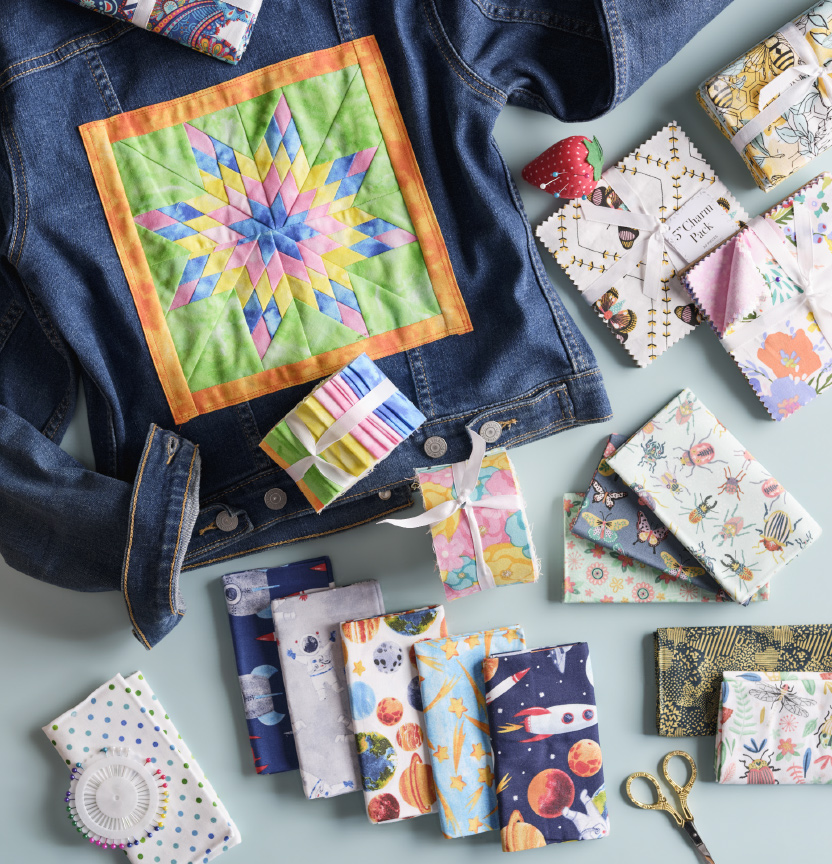
LONE STAR QUILT BLOCK

Level: Advanced
What you'll need:
- Fat Quarter Bundle, Watercolour Texture
- Matching Gutermann 100% cotton thread
- Rotary cutter, mat & quilters rulers
- Quilting pins, tape measure
- Scissors, seam ripper
- Hand needle
- Sewing machine with ¼" foot & walking foot
All fabrics should be 100% cotton, washed & pressed.
¼" seam allowance used throughout unless otherwise indicated.
Read all instructions carefully before commencing the project.
Instructions
Cutting
Note - Cut strips are cut across the width of fabric from the selvedge.
- Select 3 Fabrics from the bundle to be A (pink), B (blue) & C (yellow). Cut 3 x 1" strips from each of the 3 colours - 3 x A, 3 x B, 3 x C.
- Select another Fabric D (green) for the corner triangles. Cut 2 x 4" strips, crosscut into 8 x 4" squares then cut each square once on the diagonal to make 16 half-square triangles.
- For the border select another Fabric E (orange). Cut 4 x 1½" strips.
Step 1 - Arrange Fabrics A, B and C into 3 strip sets. Set 1: A-B-C; Set 2: B-C-A; Set 3: C-A-B.
Step 2 - Sew together the strips in each set. Press all seams in each set downwards.
Step 3 - Starting with Set 1 place your ruler across the strip set with the 45˚ line along one seam. Cut across the strip set at a 45˚ angle. Align your ruler along the cut edge and cut a 1" strip. Repeat to cut a total of 8 strips from Set 1. Discard the short end. Keep the cut strips in this set together.
Step 4 - Repeat Step 3 with Sets 2 and 3.
Step 5 - Take one strip from Set 1, one from Set 2 and one from Set 3 and arrange side by side in order. Sew together to create a diamond shape. Repeat to make a total of 8 diamonds.
Step 6 - Take a Fabric D triangle and sew one short edge to one side of a diamond. Press seam towards triangle. Take a second Fabric D triangle and sew one short edge to the other side of the diamond, pressing seam towards the triangle. Repeat for all 8 diamonds.
Step 7 - Pin and sew together the 8 diamonds in pairs.
Then sew pairs together then the two sets of 4.
Step 8 - To trim block into a square trim off excess triangle fabric ¼" from the points of the star.
Step 9 - Sew one Fabric E border strip to each side of the star block, press seam towards border and trim off excess. Sew the other 2 strips to remaining opposite sides, press seam towards border and trim off excess.
Step 10 - To attach to back of jacket, press edges of block under ¼" and sew. Centre block on back of jacket and pin in place. Sew to jacket along edge of block.


