 | ||
| Your browser is not supported. | ||
|
Please browse our site using any of the following options:
| ||
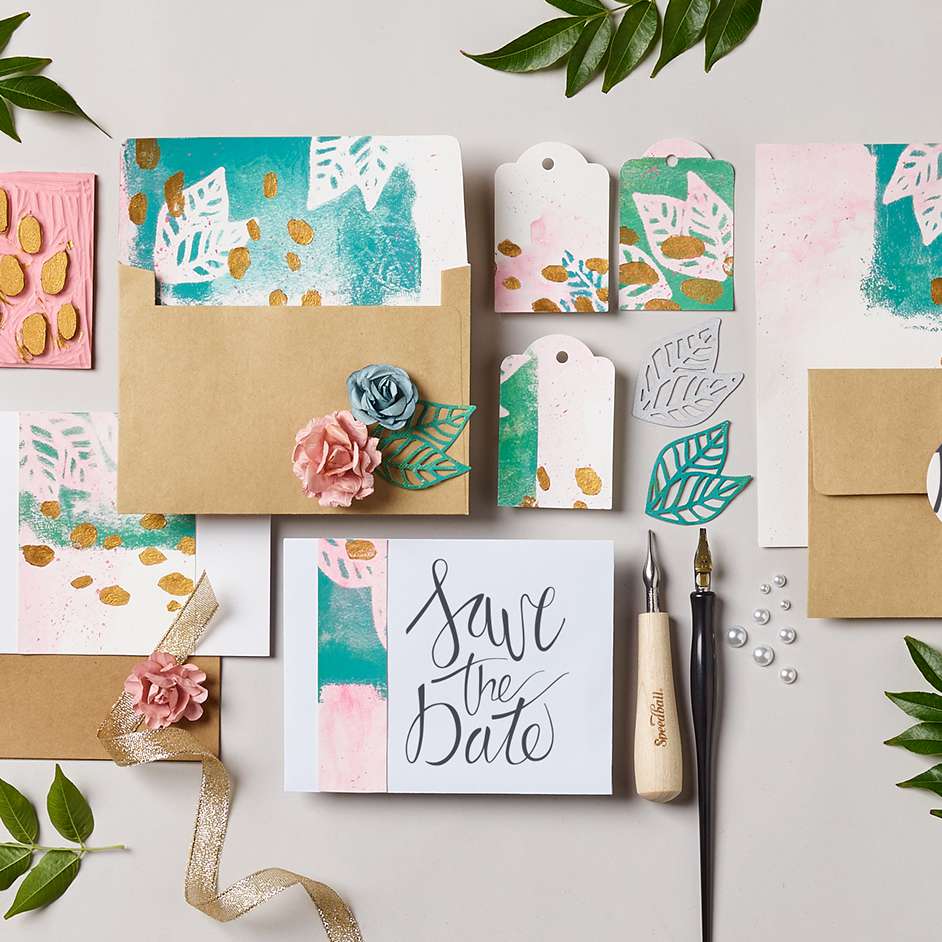
SPEEDBALL STATIONERY

Level: Easy
WHAT YOU'LL NEED
- 'Speedball' Gel Kit
- 'Speedball' lino printing kit
- Artist pad
- Watercolour paints and brushes
- Envelope and card pack
- Scissors, double sided tape
- 'Cricut' or 'Sizzix' machine to cut out templates ( or scissors)
INSTRUCTIONS
Step 1 - Decide on the designs and colours for your stationery set.
Step 2 - Cut out a leaf template using a die cut or cricut machine and set aside. You can cut out your own templates using scissors if you don't have a cricut or sissix machine. Set aside.
Step 3 - Take a few pieces of paper from the artist pad and paint sections of watercolour paint onto it. This will help create a layered effect on your stationery. Even use the paint brush to flick paint onto the paper and create a faint splattered paint effect.
Step 4 - Apply 1/2" of Speedball Water Based ink or 1/4 tsp. of Akua Intaglio Inkdirectly to the Speedball Gel Plate.
Step 5 - Using the Speedball soft brayer, roll and lift the brayer over the ink until ink is evenly distributed on the plate. (Avoid too much ink. If necessary, remove excess ink using the brayer and discharge the ink on newsprint).
Step 6 - Arrange leaf on the plate placing vein-side-down directly on the plate.
Step 7 - Place printing paper on plate over ink and leaf.
Step 8 - Using a bar, rub the entire surface of the paper. Be sure to include all four corners and the center area of the plate.
Step 9 - Lift the paper from the plate. You will have a negative/positive print of the leaf.
Step 10 - Cut your design out of the speedball carve kit using the lino cutters. Once you are ready apply the ink to your block ready to print. Print your block onto the artist paper layering your designs with the leave and watercolour elements.
Step 11 - Ensure you clean all the block and gel printing tools following the instructions on the pack.
Step 12 - Once the paint/ink is dry, cut your artist paper into smaller sections to decorate your cards and envelopes. Use double sided tape to stick the art paper onto the stationery to create a truly unique card set.


