 | ||
| Your browser is not supported. | ||
|
Please browse our site using any of the following options:
| ||
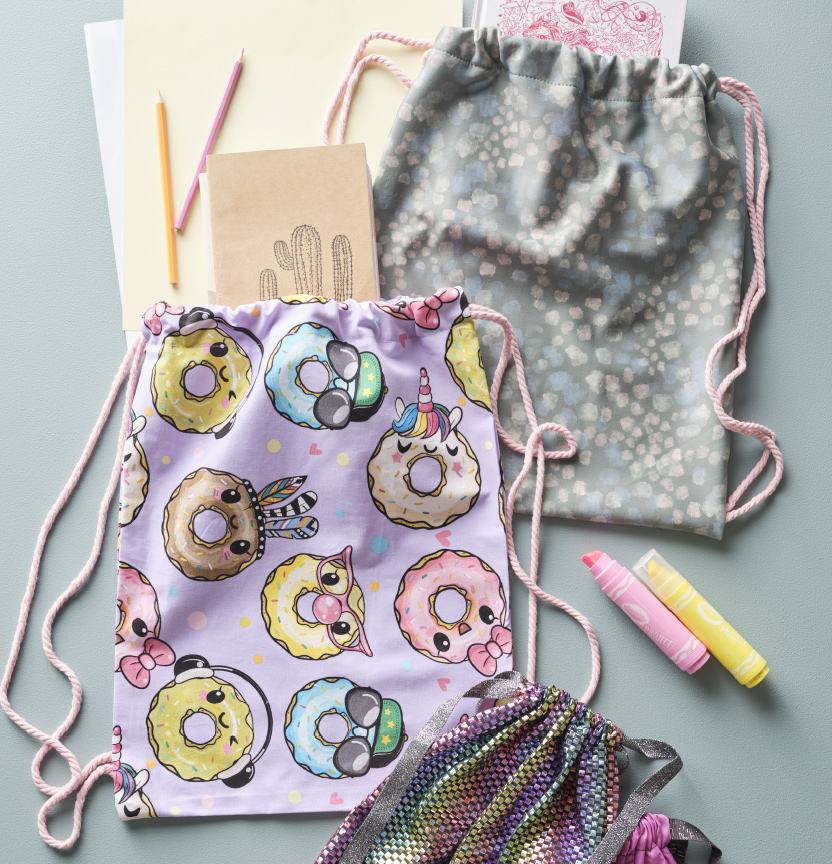
SCHOOL UTILITY BAG

Level: Easy
What you'll need:
- .50cm of Ripstop Nylon (OR considering use cotton or drill for a soft library bag or carry
- bag)
- 40 cm cord (or ribbon) for straps
- Matching Gutermann polyester thread
- Tailors chalk
- Pins
- Tape measure
- Scissors
- Sewing machine
Read all instructions carefully before commencing the project
Instructions:
Note: 1.5cm seam allowance used throughout unless otherwise indicated.
Step 1- Cut two rectangles of your chosen fabric to measure 40cm x 50cm
Note - If using a patterned fabric, keep in mind the direct of the design on the fabric.
Step 2- Lay both pieces of fabric on top of each other with right sides facing. Using a ruler and tailors chalk youwill begin to mark out the measurements for your rope casing. Starting at the top of your fabric measure down 6cm and create a mark with your tailors' chalk. Using that first mark, measure down a further 4cm. This will become the casing for your straps.
Step 3- Using your sewing machine, straight stich down one side of your bag. Begin at the top, reverse stitch and continue down to your first mark. Reverse stitch and lift your needle. Leave your 5cm gap, place your needle in the fabric at your second marker and then continue down the side seam till you have approximately 15cm left. This is the bottom of the bag and you will sew this closed when attaching the straps.
Step 4 - Repeat step 3 on the other side of the bag.
Step 5 -Trim threads and press side seams open. There will be two 5cm openings on each side seam. These are for your bag straps.
Step 6 -Fold down 1cm hem allowance from the top of the bag. Fold down the remaining 5cm casing at the top of the bag and pin.
Step 7 -Sew along the open edge of the casing to close the casing shut on both sides of the bag.
Step 8 -Feed one strap through each side of the bag casing. The strap should go through both sides of the casing and down the length of the bag. Repeat this with your other strap in the opposite direction. The straps should cross over each other in the casing and create straps for each side of the bag.
Tip - At this step you can pin the straps, turn the bag right face and check the length of your straps. You may want them the full length, or you may want to shorten then. Note that if you shorten the straps the bag will not lay completely flat when opened.
Step 9 -Wrong side out, lay the bag flat with right sides facing with the straps inside the bag. Pull through 3cm of strap through the bottom corner opening. Pin the strap ends on an angle in the corners of the bag leaving 5cm from the bottom for turning.
Note - Make sure the straps are not crossed over inside the bag and that the straps are being attached to the correct side seam.
Step 10 - Sew around the remaining openings of the bag. Trim threads and turn out.


