 | ||
| Your browser is not supported. | ||
|
Please browse our site using any of the following options:
| ||
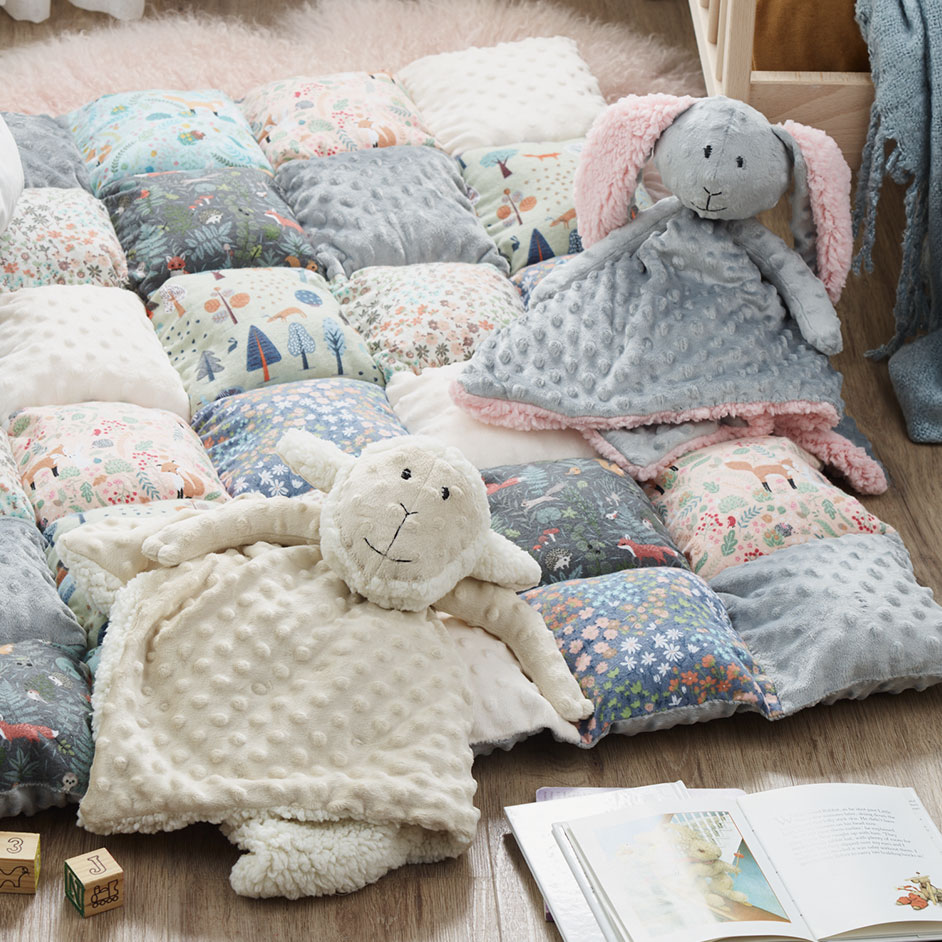
MINKY FLANNEL BLANKET

Level: Easy
WHAT YOU'LL NEED
- 25cm Woodsfolk Blue Flannelette
- 25cm Milly Pastel Flannelette
- 25cm Milly Denim Flannelette
- 25cm Forest Friends Aqua Flannelette
- 25cm Forest Friends Pink Flannelette
- 25cm Arbour Green Flannelette
- 25cm Cream Minky Dot Fleece
- 25cm Grey Minky Dot Fleece + 100cm x 115cm Grey Minky Dot Fleece for backing
- 500gm Hobbyfill
INSTRUCTIONS
Step 1 - Cut 4 x 20.5cm (8 inch) squares out of the flannelette and the minky dot fabrics. You should end up with 32 squares. Arrange the squares in a 5 x 6 pattern (5 columns, 6 rows) on a large flat surface. You will have 2 leftover squares that you do not need.
Step 2 - Make 5 panels by sewing the 6 squares in each column together from top to bottom. Press all seams open when you finish each panel.
Step 3 - Join the 5 panels together to make 1 large rectangle, making sure ALL seams meet when they cross. NB: take care as the minky dot squares are very stretchy. Press seams open.
Step 4 - Cut a piece of grey minky dot fabric the same size as the patchwork rectangle. With right sides together, pin and sew (starting and finishing 1cm from the bottom edge) around 3 edges, leaving the bottom edge open for turning and stuffing.
Step 5 - Clip the 2 top corners, turn right side out and press. Press bottom edge to make a 1cm hem and place a pin at each join along the hem.
Step 6 - Ditch stitch down each panel, sewing from top edge to bottom edge. Stitch right to the bottom to secure the turned-up hem.
Step 7 - Lightly stuff each column. Hand stitch bottom edge closed.
Step 8 - Ditch stitch across all panels following the seams in each row. This is a bit of a wrestle given the bulk of the blanket but not difficult.


