 | ||
| Your browser is not supported. | ||
|
Please browse our site using any of the following options:
| ||
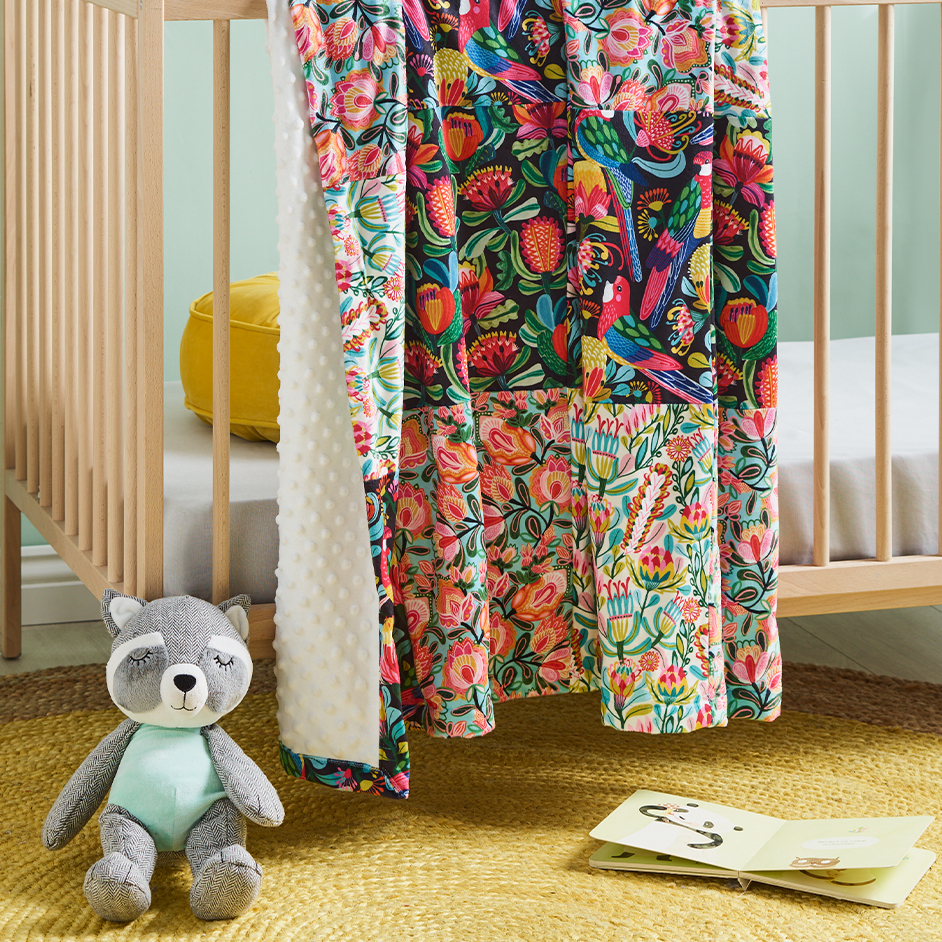
MINKY FLEECE COT BLANKET

Level: Easy
What you'll need:
- 120cm square minky dot fabric x 2m
- Fabric A - Minky fleece rosella paradise x 1m
- Fabric B - Minky fleece tropical Persia x 1m
- Fabric C - Minky fleece botanica x 1m
- Fabric D - Minky fleece bush bonanza x 1m
- Quilting square ruler
- Mat
- Cutter
Instructions
Step 1 - Start by preparing your materials. Cut out all printed minky fleece squares and rectangles as required below.
- Minky fleece fabric A - 2 x 37cm squares, 2 x 30cm squares
- Minky fleece fabric B - 1 x 37cm square, 1 x 30cm square, 2 x 37cmx30cm
- Minky fleece fabric C - 4 x 37cm x 30cm
- Minky fleece fabric D - 1 x 37cm square, 1 x 30cm square, 2 x 37cmx30cm
Step 2 - Arrange the pieces in a 4 x 4 grid (4 columns, 4 rows) on a large flat surface. Use the four smaller squares in the centre and the four large squares in the outer corners. The rectangular pieces will fill in the sides.
Step 3 - Make four panels by sewing the four squares in each column together from top to bottom. Press all seams open.
Step 4 - Sew the panels together to make one large patchwork square. Press seams open.
Step 5 - Lay the patchwork wrong side up on a large surface.
Step 6 - Using the Quilting Square ruler, place the 45-degree line 3 1/4 inches along the side of the fabric from a corner. Cut triangle off. Repeat for each corner.
Step 7 - Press 2cm (1/2 inch) fabric over on each of the four long sides.
Step 7 - To mitre each corner, fold the corner in half (right sides together) along the short diagonal edge, pin and sew a short seam, sewing over the folded edges. Press mitred seam open.
Step 8 - Turn right side out and press corners. Place right side down on a large surface.
Step 9 - Place minky dot fabric right side up on top of the printed minky fleece patchwork, tucking the edges under the patchwork 'pocket' edge. Smooth into place and pin around folded edge of flannel.
Step 10 - Top stitch through all layers.


