 | ||
| Your browser is not supported. | ||
|
Please browse our site using any of the following options:
| ||
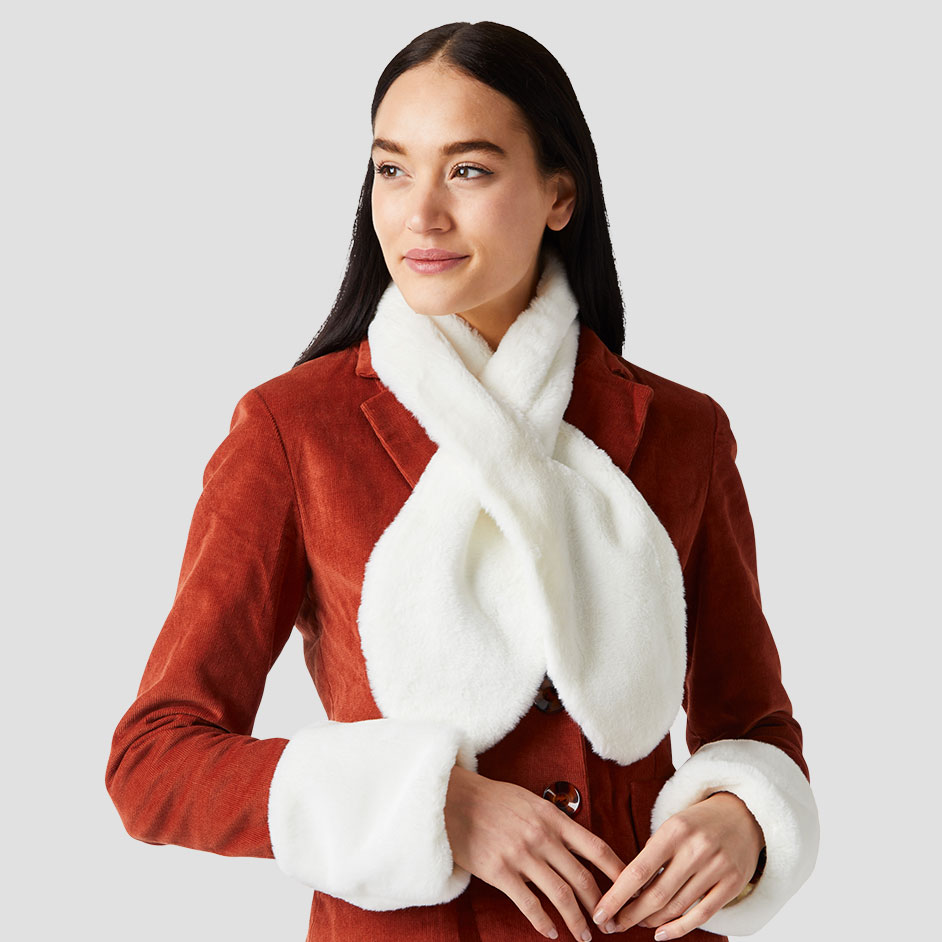
KEYHOLE SCARF & CUFF

INSTRUCTIONS
SCARF
Step 1 - Draft a pattern with paper using the below measurements
Faux fur - 17.5cm x 110cm (rectangle)
Lining - same as faux fur
Curve ends of fur and lining with a free hand curve or French curve.
Keyhole facing: 4.5cm x 12.5cm
Step 2 - Cut out your materials. For the faux fur, draw the pattern you drafted on the back, paying attention to which way the nap of the fur lays.
Tip: use a craft knife to cut faux fur.
Step 3 - With right sides facing, pin the faux fur and the satin liner together and sew leaving a 7.5cm gap at the bottom centre (the lining will try to move as you sew. Compensate as you go). Flip right side out and slip stitch opening with a needle and thread.
Step 4 - Place facing on left side 19cm up and centred. Baste stitch if necessary, around the slit line just 1/4" away so it doesn't move and pin well.
Step 5 - Stitch along the slit line curving around the sides. Remove baste stitch.
Step 6 - Cut the slit open at the very ends. Flip facing through, press and pin.
Step 7 - Fold under the slip stitch around the edges with a needle and thread. Press lightly to set stitches.
CUFFS
Step 1 - Cut a strip of faux fur so the nap is running from the long side. Measure 16.5cm x 35.5cm
Step 2 - Cut 2 strips of elastic to equal your wrist measurements (add an inch or so if you want it looser)
Step 3 - Sew the elastic with a triple zig zag stitch on the right side of the fabric (fur side) just along the raw edge. Repeat for the bottom.
Step 4 - Fold so the right sides are facing, pin and stitch along the seam (1.5cm seam allowance should do).
Turn out right side and curl top and bottom edge in to neaten.


