 | ||
| Your browser is not supported. | ||
|
Please browse our site using any of the following options:
| ||
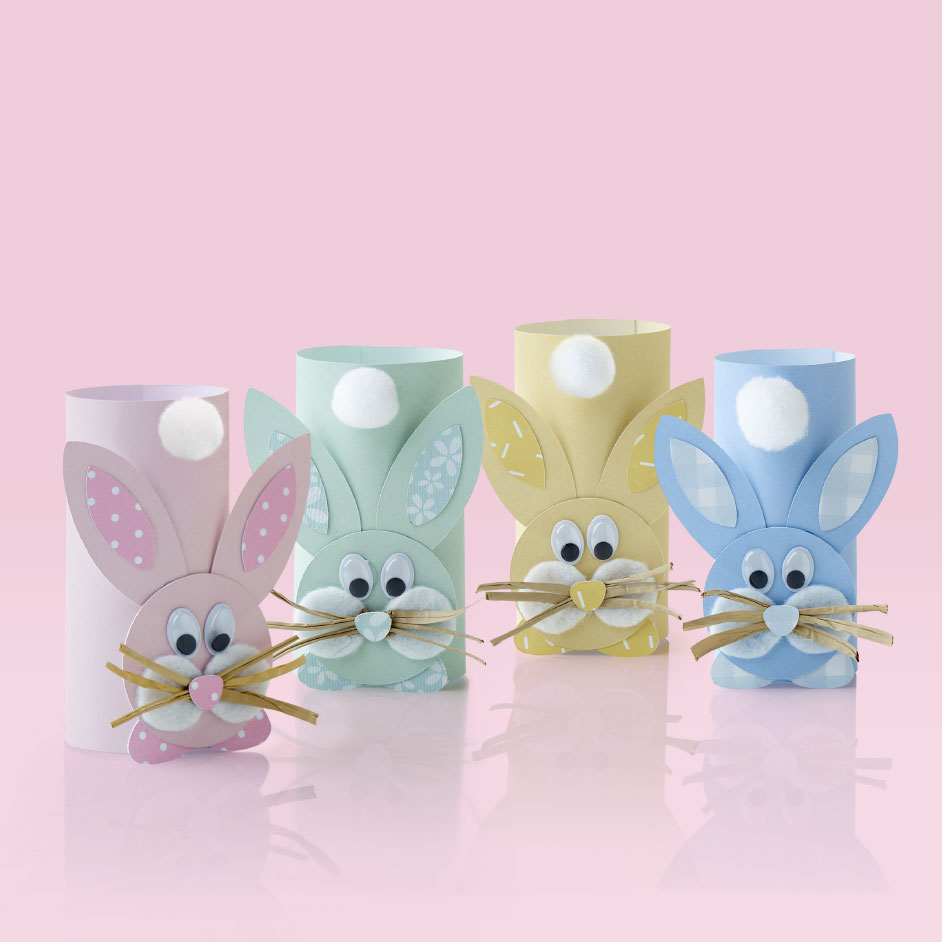
EASTER BUNNIES

LEVEL: EASY
What you'll need:
- 12" x 12" Plain cardstock
- 12"12" Patterned cardstock
- White felt
- Pompoms
- Chenille
- Adhesive eyes
- Scissors
- Hot glue gun
- Glue stick
INSTRUCTIONS
Step 1 -Using the template provided, trace and draw on your chosen cardstock. For this project, we used plain and patterned cardstock to create the bunny and felt for the checks to add some dimension.
Step 2 - Starting with the rectangle piece, apply glue to one end of the cardstock. Roll and stick to the other end to create a cylinder shape. For now, put this aside.
Step 3 - Next, glue the inner earpieces to the large earpieces. Take the cut-out circle piece which will be used to create the face and place the piece coloured side down. Glue the ears, feet and face-up right.
Step 4 - Take the two adhesive eyes and stick them on to the face of the bunny. Using a hot glue gun and glue sticks, apply hot glue to the felt and place in between the adhesive eyes and feet.
Step 5 - For the whiskers, cut out 6 pieces of chenille. Apply hot glue and stick the whiskers in the middle of the checks where you will soon place the nose. Once the glue has dried, glue the nose.
Tip - cut them a little longer, you can always trim the whiskers short if you’d like.
Step 6 - Glue the bunny to the cylinder piece created earlier. To complete your Easter bunny, apply glue and stick a pom pom in the top centre.


