 | ||
| Your browser is not supported. | ||
|
Please browse our site using any of the following options:
| ||
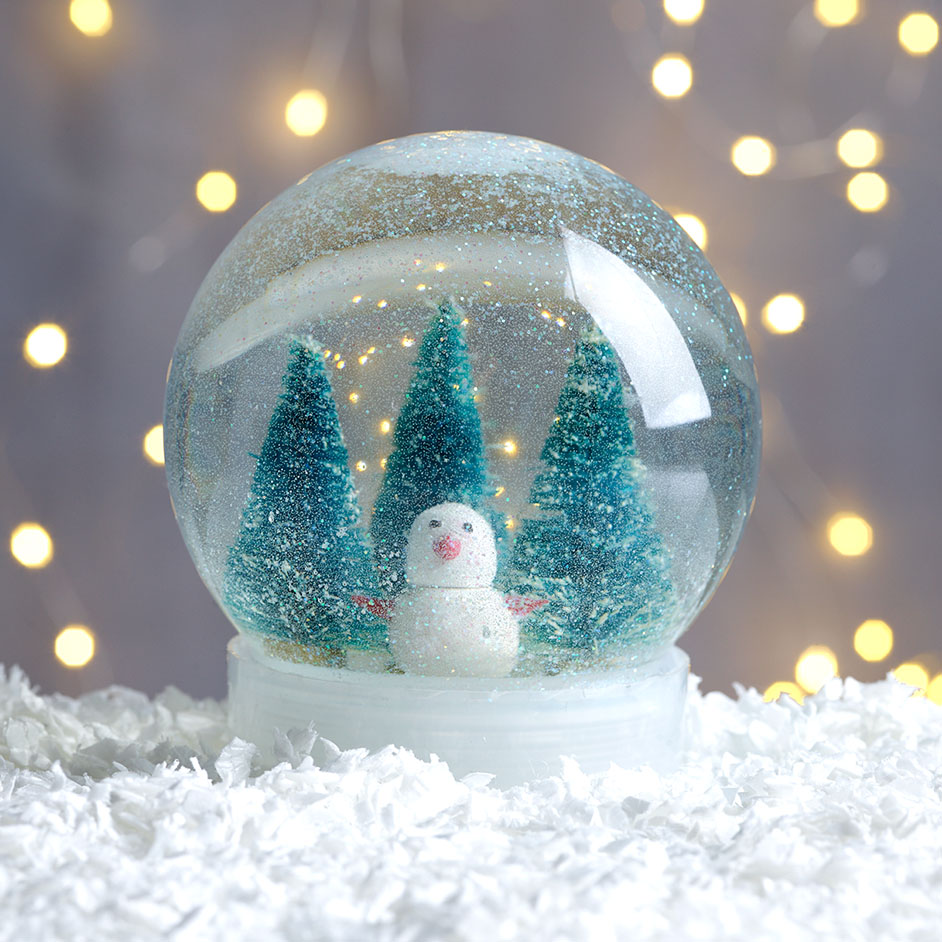
DIY SNOW GLOBE

LEVEL: EASY
WHAT YOU'LL NEED
- Plastic snowglobe
- Ornaments or decorations
- Sculpey
- E-6000 Craft Adhesive
- EnviroTex Lite
- Glitter
- Water
- Paintbrush
- Paper Towels
- Paper plate
INSTRUCTIONS
Step 1. Make ornaments out of sculpey. We made a snow man using 2 balls of white sculpey and a small piece of orange for his carrot nose.
Step 2. Bake sculpey in oven for 15mins at 130c.
Step 3. Follow the instructions on the E-6000 package and glue your ornaments to the inside of the snow globe lid. Let dry for 24 hours.
Step 4. Follow the directions on the EnviroTex Lite packaging and using a paint brush, paint your ornaments and interior seal making sure you it completely sealed. Set aside and let dry completely.
Step 5. Fill the globe container with water and add 1/2 a teaspoon of glitter.
Step 6. Coat the exterior sides ofo the interior seal of the snow globe with E-6000 and push into globe.
Step 7. Turn globe container upside down with the exterior base now on the counter to stabilize - this will keep the glue from dripping. Set aside and let dry thoughly.
Step 8. Screw on exterior base, shake and enjoy!


