 | ||
| Your browser is not supported. | ||
|
Please browse our site using any of the following options:
| ||
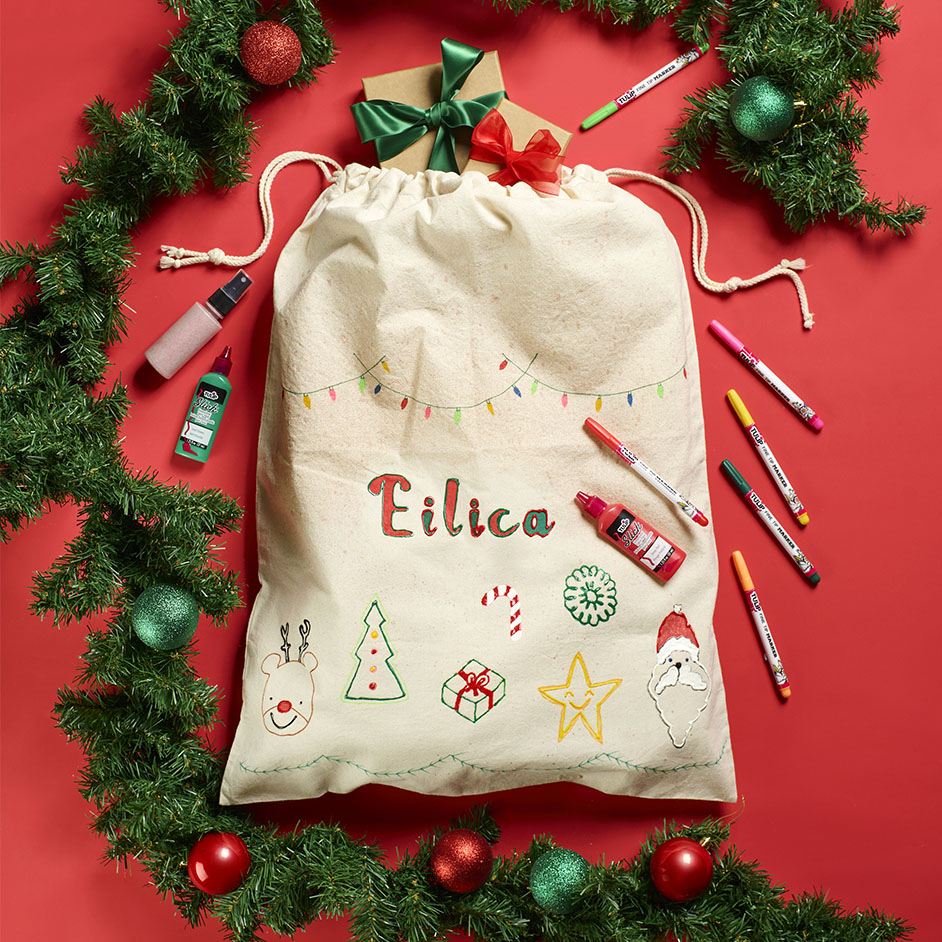
TULIP PAINTED SANTA SACKS

LEVEL: EASY
WHAT YOU'LL NEED:
- 50x72cm Crafter's Choice Plain Cotton Santa Sack
- Tulip Fabric Markers
- Tulip Dimensional Fabric Paint
- Tulip Glitter Fabric Spray Paint
- Pencil
- A piece of cardboard to fit snuggly inside the sack
INSTRUCTIONS
Step 1 - Pre-wash (do not use fabric softener), dry and iron the sack.
Step 2 - Protect your work surface.
Step 3 - Plan design for the sack. The design will look best if it is contained within the bottom 2/3 of the bag.
Step 4 - Using a pencil draw the design on the bag. Start with the name, ensuring it is centred and add more designs of your choice.
Step 5 - Insert the piece of cardboard into the sack. This will prevent the paint and markers bleeding through to the other side of the sack.
Step 6 - Colour and fill the name and designs using the fabric markers. Allow 24 hours to dry.
Step 7 - Using the fabric paint outline the name and embellish the other designs as desired.
Note: it is best to work left-to-right, if right-handed, or right-to-left, if left-handed to help avoid smudging the wet paint. Allow 24 hours to dry.
Step 8 - Use the fabric glitter spray paint to create highlights as desired. Mask any areas and your work surface where you do not want glitter. Allow 24 hours to dry. Reapply glitter spray if required and allow to dry before applying any additional coats.


