 | ||
| Your browser is not supported. | ||
|
Please browse our site using any of the following options:
| ||
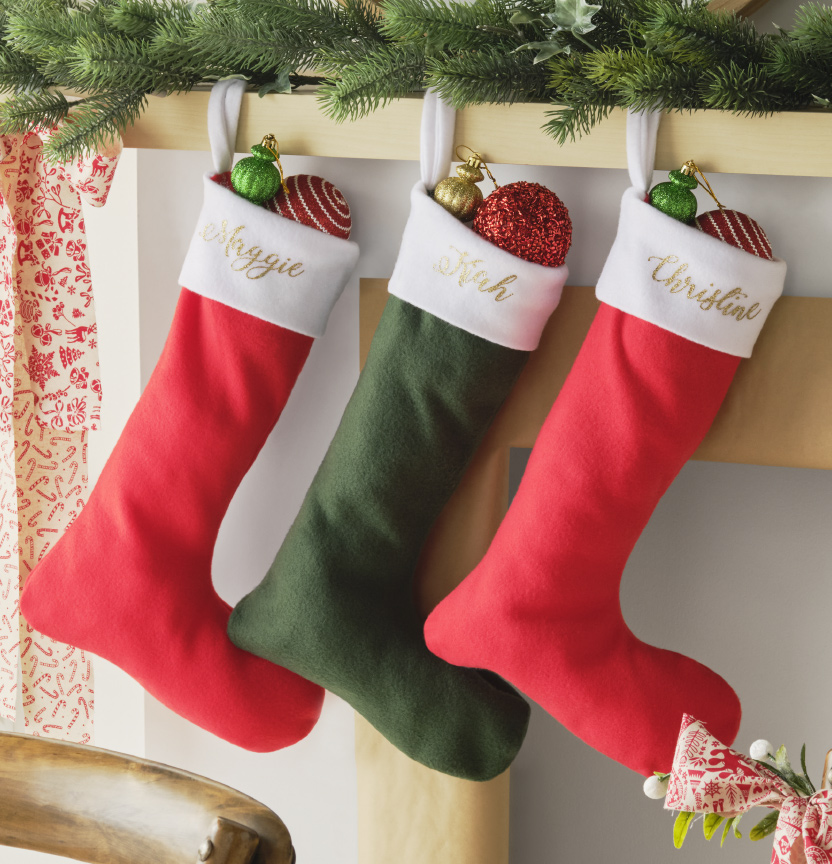
FLEECE CHRISTMAS STOCKING

Level: Easy
WHAT YOU'LL NEED:
- 1/2m 80336443 PEAK P/FLEECE, WHT, 148CM (FABRIC A)
- 1/2m 80336444 PEAK P/FLEECE, RED, 148CM (FABRIC B)
- 1/2m 80336445 PEAK P/FLEECE, EMD, 148CM (FABRIC B)
- Taylors Chalk (for tracing pattern to fabric)
- Scissors (for cutting for fabric)
- Snips (for trimming threads)
- Knitting needle or similar sized stick (to turn piece 1 inside out)
- White Thread (4x if using overlocker)
Optional:
- Vinyl cutting machine and tools
- Iron-on glitter vinyl - 80587734 (30cm wide, length as per the requirement)
- Easy press or Iron
INSTRUCTIONS
Step 1 - Trace & cut pattern pieces as per instructions on pattern pieces.
For 1 stocking you will have:
- x2 Piece 1 (Cord) - using Fabric A)
- x1 Piece 2 (Cuff - using Fabric A)
- x2 Piece 3 (Stocking - using Fabrics B)
Step 2 - (Preparing Piece 1) Overlock both Piece 1's right sides together - to create a tube.
Step 3 - (Preparing Piece 1) Using the knitting needle or similar, invert the tube by pushing 1 end into the center and though the other side so the seams are on the inside. Fold the tube in half so the un-sewn edges are at the top, the fold is on the bottom.
Step 4 - (Preparing Piece 2) Fold piece 2 in half along the grainline, right sides together. Overlock the side-seam. Turn overlocked piece in half, so the un-sewn edges meet, the un-sewn edges are at the top, the fold is on the bottom, and the seam is on the inside.
Step 5 - (Preparing Piece 3) Overlock both Piece 3's together to create the stocking shape, right sides together (leaving the top un-sewn, ready to attach piece 1 & 2).
Step 6 - (Preparing to attach P1 & P2 to P3) Line the un-sewn edges of P2 & P3 up, making sure P2 (right side) is on the outside
of P3 (wrong side) & matching P2 seam to the back seam of P3. Sandwich the folded P1 in between P2 & P3, matching all 3 up at the back seam, and pin in place.
Step 7 - (Attaching P1 & P2 to P3) Overlock the lined up un-sewn edges together.
Step 8 - Invert piece 3 to create the stocking bag and fold piece 2 in place finishing the cuff. Congratulations! You have finished the stocking!
Optional personalization:
Step 1 - Using the Cricut app, choose your font and write your names. Making sure to measure the space on your stocking and
sizing of your name to that measurement. We used 'Winter Calligraphy Regular'. Refer to sizing in project sheet.
Step 2 - Once you are happy with your design, click "Make it" and then select the mat you have. Once on the mat screen make sure to 'Mirror' your design.
Step 3 - On the next screen, select your material and blade pressure and 'go'.
Step 4 - Once cutting is complete, weed the excess to reveal your design.
Step 5 - Position the design where you want it on the stock and using an easy press or an Iron, iron your design down. Usually you need to hold the heat for around 30 seconds. Peel the backing off slowly and if the design starts to lift, reapply heat until it stays.


