 | ||
| Your browser is not supported. | ||
|
Please browse our site using any of the following options:
| ||
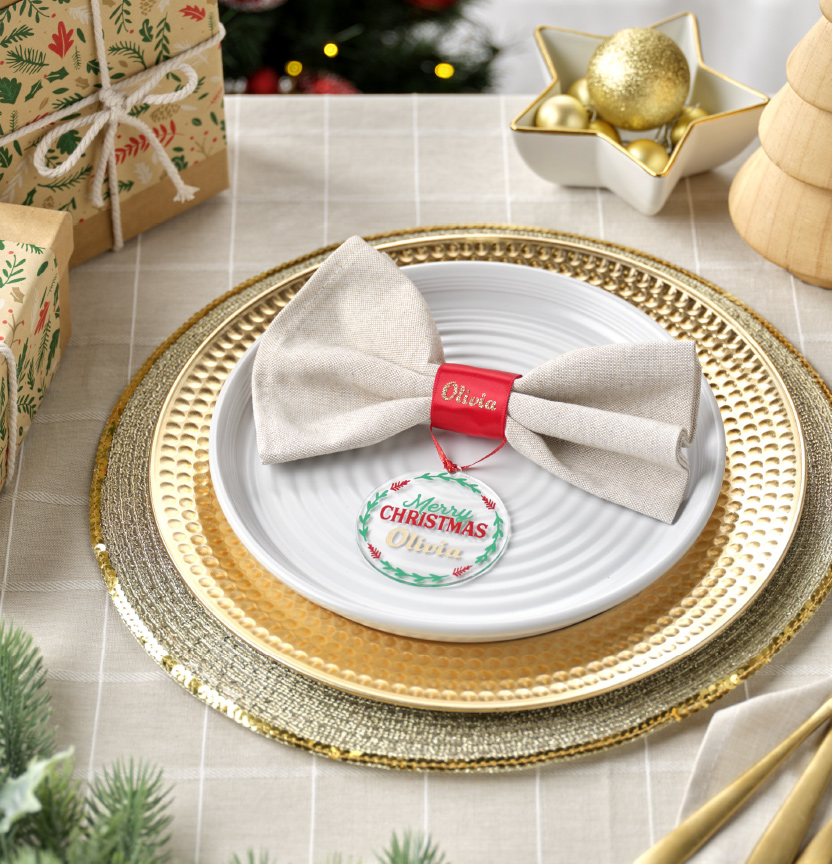
CREATE A CHRISTMAS ORNAMENT PLACE SETTING WITH CRICUT

Level: Easy
WHAT YOU'LL NEED:
- Cricut Explore 3 or Maker 3
- Cricut EasyPress Mini
- Design Space Account
- Standard Grip Machine Mat 12"x12"
- Fine-Point Blade and Housing
- Weeder Tool
- Cricut Smart Vinyl Permanent, Grass
- Cricut Premium Permanent, Shimmer Vinyl, Red
- Cricut Smart Vinyl Permanent, Shimmer Vinyl, Gold
- Cricut Transfer Tape
- Cricut Strong Grip Transfer Tape (included with Cricut Premium Permanent Shimmer Vinyl)
- Cricut Smart Iron-On, Gold
- 45cm x 45cm Napkin
- 7.5cm x 2mm Acrylic Bauble
- 3.8cm x 50cm length of Red Satin Ribbon
- Short dress pi
INSTRUCTIONS
Preparation:
Step 1 - Open the Christmas Ornament Place Setting project in Cricut Design Space® by clicking on this link. Fees may apply.
Step 2 - To change the size of the project to match your ornament or ribbon, select the ornament images or iron-on name and then type in the appropriate size into the size text boxes in the Edit Tool Bar.
Step 3 - To create multiple copies of the design click on the Select All tool from the Edit Tool Bar and then click Duplicate in the Layers Panel.
Step 4 - To change the name, select the text box and double click it, then type in the name.
Cut:
When you're ready, select Make It. Then follow Design Space® prompts to cut the vinyl and iron-on. When cutting the iron-on name make sure to mirror your design.
Assemble:
Step 1 - Remove the excess vinyl and iron-on from the cut pieces using the weeding tool.
Step 2 - Remove the protective film from the front and back of the acrylic ornament.
Step 3 - Using the Transfer Tape, apply the green vinyl to the ornament. Then using the Strong Grip Transfer Tape, apply the red shimmer vinyl and then the gold shimmer vinyl to the ornament.
Step 4 - Open the Cricut EasyPress heat guide at Cricut.com/heatguide and follow the instructions.
Step 5 - Turn on the EasyPress Mini and set the temperature to medium.
Step 6 - Fold the napkin in half three times to create a rectangle, then pinch the middle to create a bow. Wrap the ribbon around the centre of the bow and secure the end on the back of the napkin with a short pin.
Step 7 - Using the EasyPress Mini, press the iron on name onto the ribbon on the front of the bow.
Step 8 - Arrange the place settings and enjoy


