 | ||
| Your browser is not supported. | ||
|
Please browse our site using any of the following options:
| ||
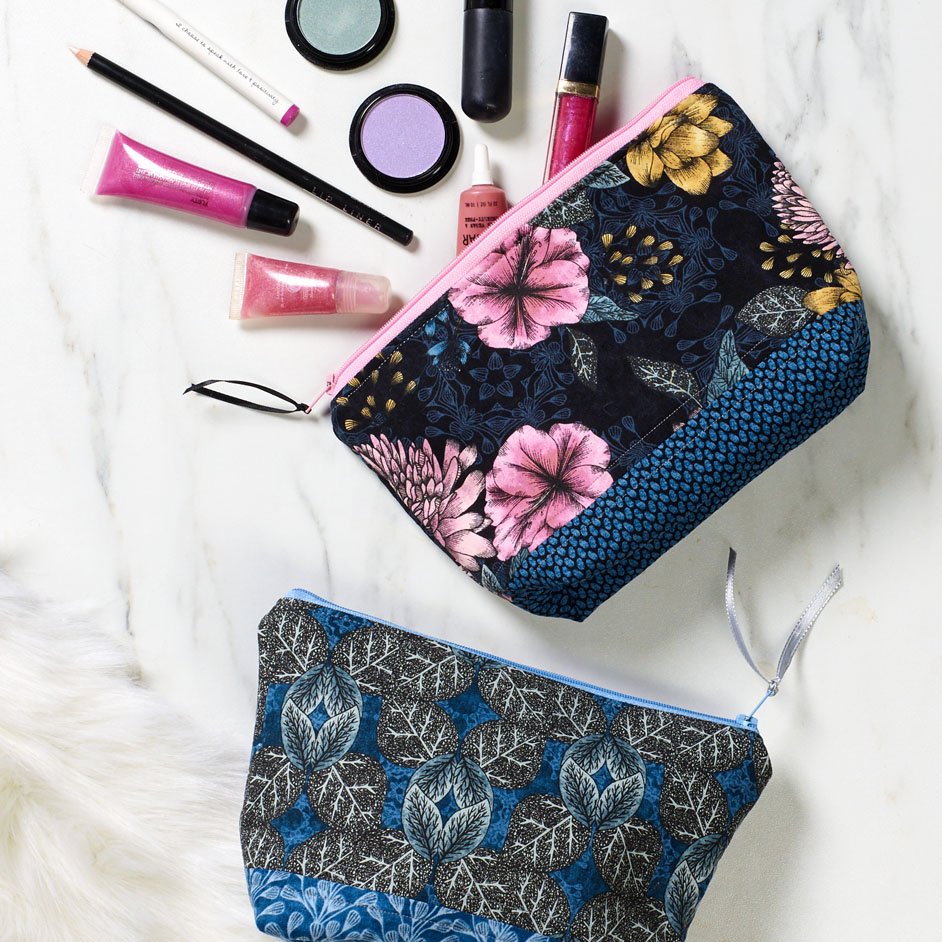
TWILIGHT BLOOMS POUCH

LEVEL: INTERMEDIATE
WHAT YOU'LL NEED:
- Fabric :
(A) AWZ-73139-69 Midnight 1/4 yard
(B) AWZ-73141-69 Midnight 1/8 yards
(C) AWZ-73138-96 Blush 1/4 yard
(D) AWZ-73136-69 Midnight 1/4 yard
(E) AWZ-73137-76 Regatta 1/8 yards
(F) AWZ-73140-133 Gold 1/4 yard
- Two 7-1/2" x 9-1/2" pieces of lightweight fusible interfacing per bag
- One 11" Zipper per bag
Note: Please read through all of the instructions before beginning. All of the seam allowances are 1/4" unless
otherwise noted. Width of fabric (WOF) is equal to at least 42" wide. Press all seam allowances open
after each seam is sewn, unless otherwise noted.
Remember to measure twice and cut once! The termRST meansRight Sides Together. Interfacing is a personal
preference. Heavier interfacing will make for a stiffer bag while a lighter interfacing will make a softer bag.
INSTRUCTIONS
CUTTING
Fabrics A & D
- Cut two pieces 5" x 9-1/2" - for the outside feature print
Fabrics B & E - Cut two pieces 3" x 9-1/2" - for the accent
Fabrics C & F - Cut two pieces 7-1/2" x 9-1/2" - for the lining
ASSEMBLY
Step 1. Sew a 5" x 9-1/2" Fabric A strip to a 3" x 9-1/2" Fabric B strip Press seam open. Repeat to make a second identical piece.
Step 2. Fuse a 7-1/2" x 9-1/2" piece of lightweight interfacing to the wrong side of each piece from Step 1. Top stitch 1/4" away from either side of the seam from Step 1.
Step 3. Mark and cut out a 1-1/2" square the bottom corners of each outside piece. Repeat with Fabric C lining pieces.
Step 4. Center and place the Zipper face down RST along the top (long) edge of a Fabric A, alinging raw edges with the edge of the zipper. Sew the zipper in place with a basting stitch an 1/8" away from the edge.
Step 5. Place a Fabric C piece on top RST. Sew along the top of the unit. Position the fabrics wrong sides together and press the seams away from the zipper. Topstitch along the fabric near the zipper.
Step 6. Repeat Steps 3-4 with remaining exterior and lining piece on the other side of the zipper.
Step 7. Place linings RST and exteriors RST and pin (linings on one side of the zipper, exteriors on the other). Sew along all four edges leaving a 3" gap in the bottom center of the lining, and leaving all the corners unsewn.
Step 8. Pinch the corners of the pouch together and line the seams up forming a boxed corner, squaring the bottom of the pouch. Sew a 1 seam 1/4" away from the edge. Repeat for all four corners (two lining and two exterior).
Step 9. Trim zipper even with sides. Turn the pouch right sie out, pulling the project through the opening in the lining push the corners out and tuck the seam allowance in at the opening in the lining. Edge stitch the opening close.
Repeat steps 1-8 with Fabrics D-F to make another


