 | ||
| Your browser is not supported. | ||
|
Please browse our site using any of the following options:
| ||
Everything You Need To Know To Make A Half Square Triangle Quilt

When you learn to quilt, you can piece together a variety of patterns and designs that once sewn together, create a much bigger picture. With so many patterns out there, how do you know what's best for your project?
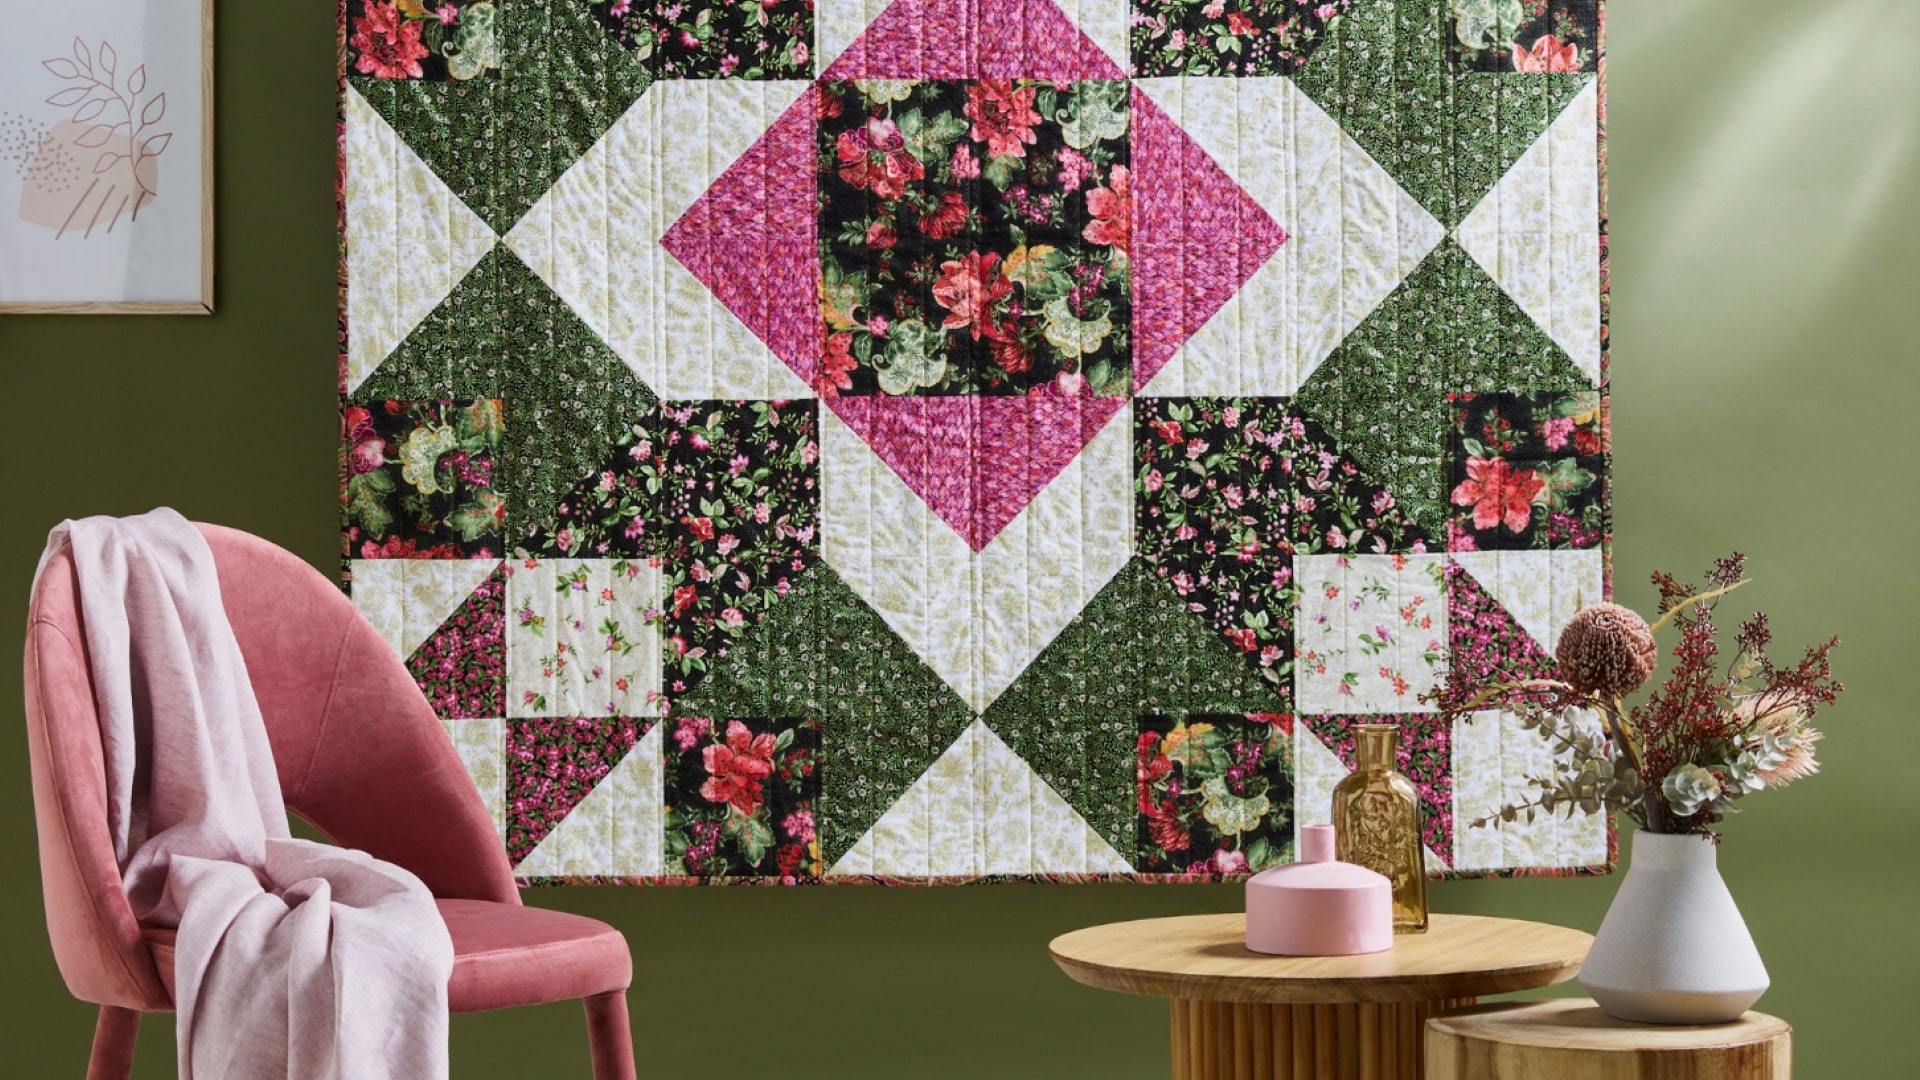
Half square triangles (HST) are a favourite building block of many quilters and are essential in creating beautiful, intricate designs on quilts. Although they can be a bit of a hassle to create in large numbers, if you can put in the work to make them, half square triangle quilts are often a quilting masterpiece! If you've ever wondered how to make a quilt using HSTs, read on to find out how to make yourself a gorgeous patchwork quilt!
Quick Links
- Square Sizes to Start With For Your Desired Finished Half Square Triangle Size
- Using A 1/4 Inch Ruler To Make A Half Square Triangle Block
- Joining Your Blocks Together
- How To Sandwich And Create A Backing For Half Square Triangle Quilts
- Adding The Final Touch: Binding Your Half Square Triangle Quilt
Square Sizes to Start With For Your Desired Finished Half Square Triangle Size
Rather than thinking about what size piece of quilting fabric you need to start off with, decide what size it needs to be when finished and work backwards from there. You can add between ⅞ of an inch or a whole inch to that size to give yourself some excess. Using this method will create 2 HSTs every time.
Traditional HST's Method
Finished HST Size | Beginning Square Size |
1" | 1 ⅞" |
1.5" | 2 ⅜" |
2" | 2 ⅞" |
2.5" | 3 ⅜" |
3" | 3 ⅞" |
3.5" | 4 ⅜" |
4" | 4 ⅞" |
4.5" | 5 ⅜" |
5" | 5 ⅞" |
5.5" | 6 ⅜" |
x " | y"= x + 7/8 |
Using A 1/4 Inch Ruler To Make A Half Square Triangle Quilt Block
An HST ruler is essential for creating triangles in the correct size, so make sure you have one on hand before starting. The ruler is only 1/2 inch in width, as the centre mark will help show 1/4 on each side. The lines ruled by the ruler will be the sewing lines, so it helps take the guesswork out of where you need to sew.
- Place your 2 squares of quilting fabric together, right sides down and touching each other. Make sure the centre line of the ruler meets both corners, then draw a line down both sides of the ruler. Sew down each line and backstitch at the ends so they are secure.
- Cut along the central line between your stitches with a rotary cutter or scissors and you will have 2 half square triangle blocks! Press the seams open of each one. Use dry, hot steam and try not to move the iron too much, as this can stretch the fabric.
- Open each new block and inspect its measurements and use your cutting tools to trim down any excess.
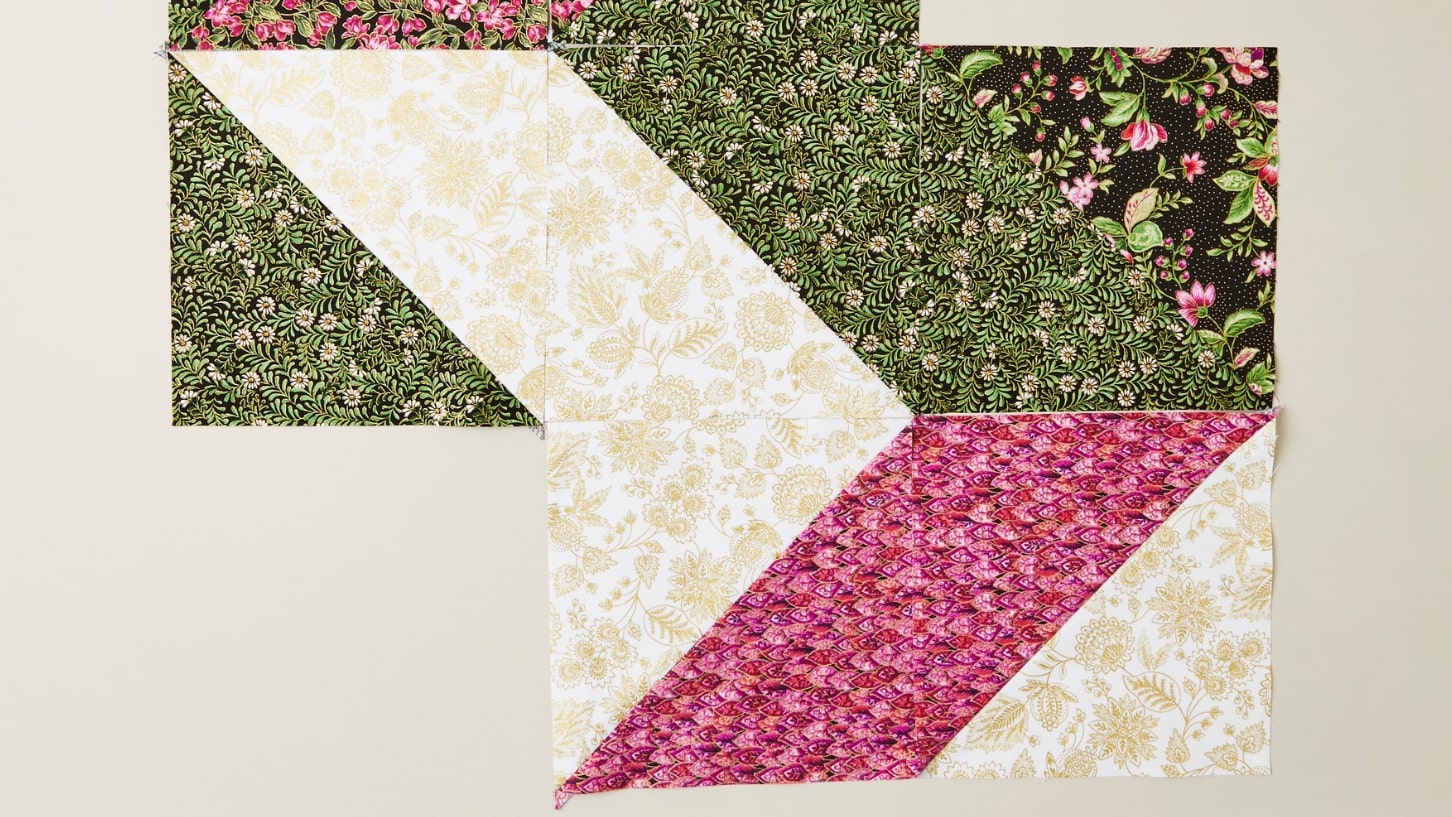
Place 2 of your HST blocks right sides together and line up the edges as best you can. Focusing on the edge that you are going to sew, fold back the corner of the top block a 1/4 inch to where the seam will be. This will allow you to see if the diagonal lines of both HST blocks are nicely lined up. Either pin the blocks in position or carefully place them under the machine and sew them together.

Once sewn, open up and double check the points of both HST blocks meet perfectly in the seam line. You can use this same concept as you continue to add more blocks to your quilt, folding back the top fabric to see and align the points of your blocks.

How To Sandwich And Create A Backing For Half Square Triangle Quilts
To finalise your half square triangle quilt you'll need to add your wadding and backing.
- Create and iron your quilt backing. Ensure the backing is three to four inches larger than the top part of the quilt on each side, and more if you plan on making detailed quilting stitches. This is because as the backing draws inward, more quilting stitches will need to be added.
- Lay the backing fabric nice and flat, right side down on the surface you are working on.
- Fasten the backing fabric to your work surface at even intervals. You can use pins to adhere the backing onto a carpeted surface or use wide painter's tape to stick it to a smooth surface. The backing should be flat and taut, with no wrinkles.
- Center a piece of your batting on top of the backing material - the batting should be around the same size as the backing. Smooth the surface of the batting with your hands to remove any bumps.
- Check the reverse side of the quilt top and remove any loose threads. Trim any stray long threads at the ends of your seams.
- Carefully centre the marked quilt top right side up on top of your batting. Once more, carefully smooth the top to flatten any wrinkles.
In a perfect world, your wadding and backing needs to be 4 inches larger on all sides compared to your top quilt (In total, 8 inches wider and longer).
Adding The Final Touch: Binding Your Half Square Triangle Quilt
Binding is the final step in finishing a quilt. It is the fabric that is used to cover and keep intact the outer edges of a quilt. It is usually made from fabric that is cut on the bias and can be used to add another element to the quilt's design. To add binding to a quilt you will need some binding, pins, a sewing machine, your sandwiched quilt, a rotary cutter and a cutting mat.
Lay your quilt onto the cutting mat and with a rotary cutter and ruler, trim your backing and wadding to meet the raw edge of your quilt top.
What You'll Need
Attaching Binding To The Front Of The Quilt
Lay the binding along the edge of your quilt, leaving about a 10 or 12-inch tail in the binding. The longer the tail, the easier it will be to join the ends of your binding together. Make sure to line up the raw edges of your quilt and the raw edge of the binding and pin in place.
Place the quilt under your presser foot and sew 1/4 inch in from the edge with a straight stitch.
You can use a standard presser foot, a walking foot or a 1/4 inch foot, there's no real right or wrong. Just use what you have and what you feel comfortable with. Start sewing, backstitch once, then continue sewing for 8-10 inches. Stop and check that everything is correct.
How To Mitre A Corner
Continue sewing until you reach 1/4 inch from the edge of the first corner. Measure and mark it if you want, sew to this point and then backstitch once. Cut your threads and remove the quilt from the machine.
Fold the binding up and over so there is a fold going diagonally through the middle and the edges line up along both corners. Then start sewing again from the end with a 1/4-inch seam allowance. Back stitch and continue sewing. Repeat this process on all 4 corners of the quilt.
Joining the Binding Ends
Lay the ends of your binding so they overlap on the edge of the quilt. You want them to overlap by 2.5 inches, so rule and mark this spot. Cut with scissors, then overlap the ends of your binding with the right sides facing in. Get your ruler and rule diagonally across the binding, then pin on either side of the line and sew. Cut threads and remove your quilt from the machine.
Before you do anything, lay the quilt nice and flat and fold the binding back to check it lines up perfectly with the edge of your quilt. If you are happy, then cut the excess seam allowance back to 1/4 inch and finger press the seam open. Then finish sewing the binding down, backstitching at both ends.
Attaching The Binding To The Back Of The Quilt
This step is optional but can be helpful. Lay your quilt flat with the right side up and iron the binding flat. This will help with pulling it to the back side of the quilt. Pull the binding over to the back side of the quilt and pin it in place around the entire edge.
You can either sew the binding down by hand or use a sewing machine. Or if you are looking for a super quick and easy option you can also use a small amount of fabric glue. Use a pin or awl to help fold the corner before sewing down. You may need to trim some of the seam allowance of the quilt if the binding isn't sitting right.
Continue sewing until the binding is sewn all the way around and your quilt is complete!
Test Out Your Quilting Skills
Now that you know how to quilt using half square triangles, why not have a go at some of our free quilting projects! All of our projects feature a downloadable guide that will help you create a gorgeous patchwork quilt every time.
Shop our huge range of quilting fabrics and tools online or in your nearest Spotlight store and prepare for whatever half triangle quilt pattern project comes your way!


