 | ||
| Your browser is not supported. | ||
|
Please browse our site using any of the following options:
| ||
How to decorate a Christmas tree like a professional in 6 simple steps
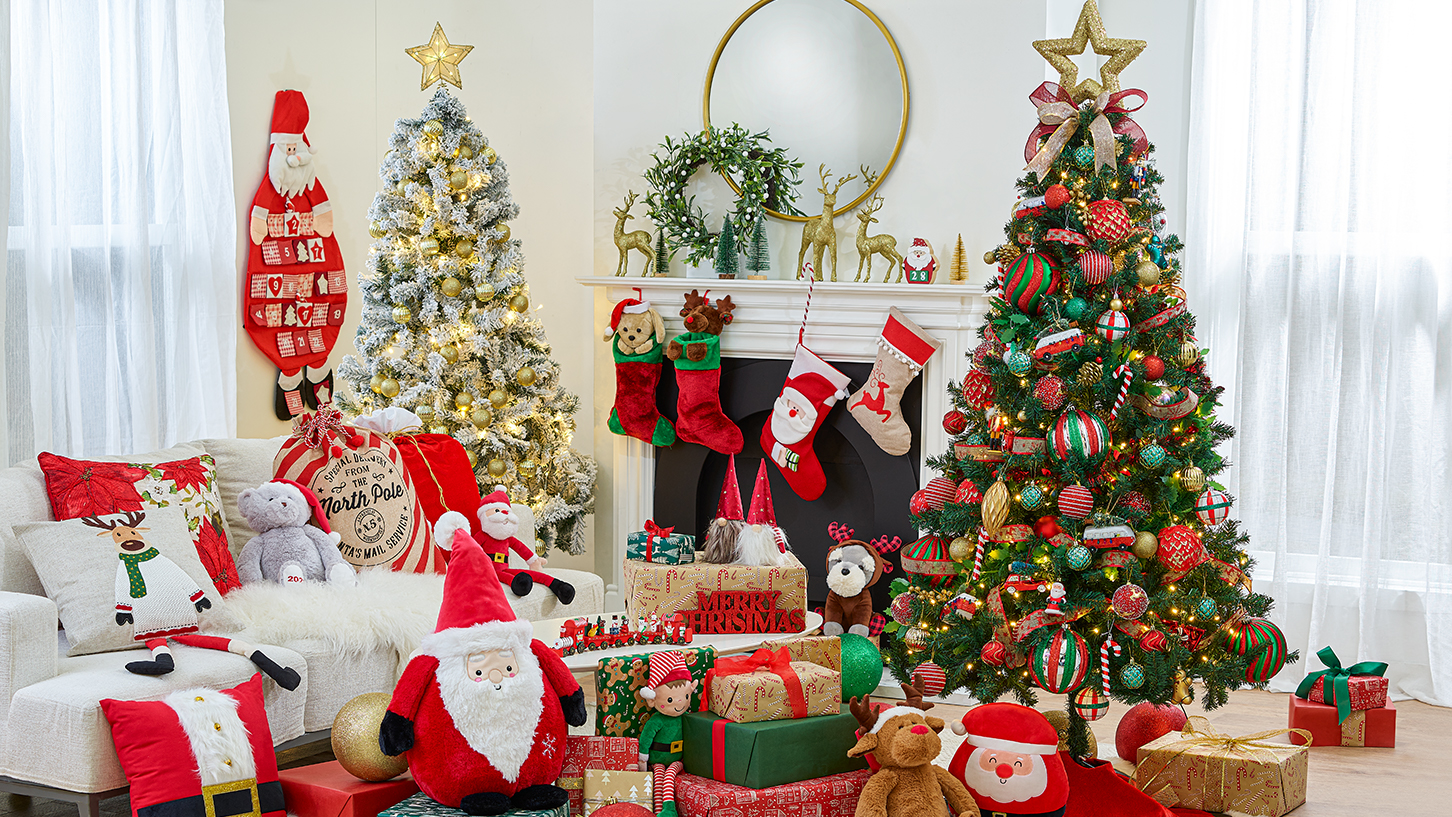
There are so many different looks for styling Christmas trees these days - ones that go beyond the familiar fir or pine tree with red, green and gold decorations. But, there's nothing quite like having a traditional tree in the living room to really get into the Christmas spirit.
Even if you decide to go traditional, this doesn't mean your tree cannot have its own distinct personality. No matter your colour theme or home decor aesthetic, decorating your Christmas tree is easy. So, here's how to decorate a Christmas tree like a professional while also adding the unique little details that are precious to you and your family.
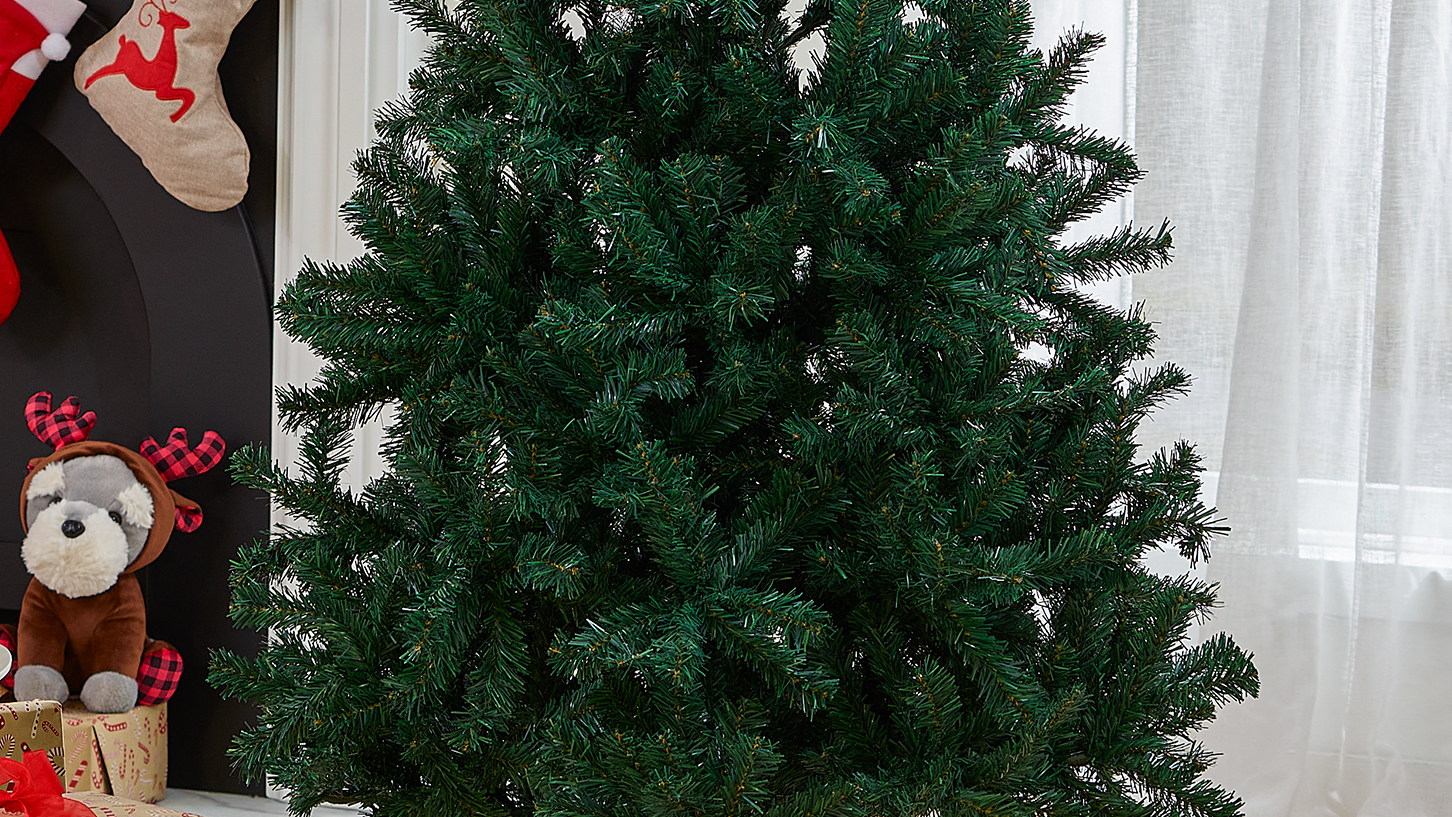
Step 1: Assemble Your Christmas Tree
Assembling the tree properly is an art in itself because you need to get the structure right so the Christmas tree decorations sit correctly.
If you have a faux Christmas tree, follow the instructions on the package to ensure each section of the tree is connected securely, including solid stability in its base. You might also like to use a Christmas tree skirt to cover the base, which will make it look more complete. Next, spend some time spreading the branches symmetrically to fill any gaps and to make sure the tree is full, realistic and typically conical in shape. Don't skimp on this first step - otherwise you'll struggle to get your tree looking good!
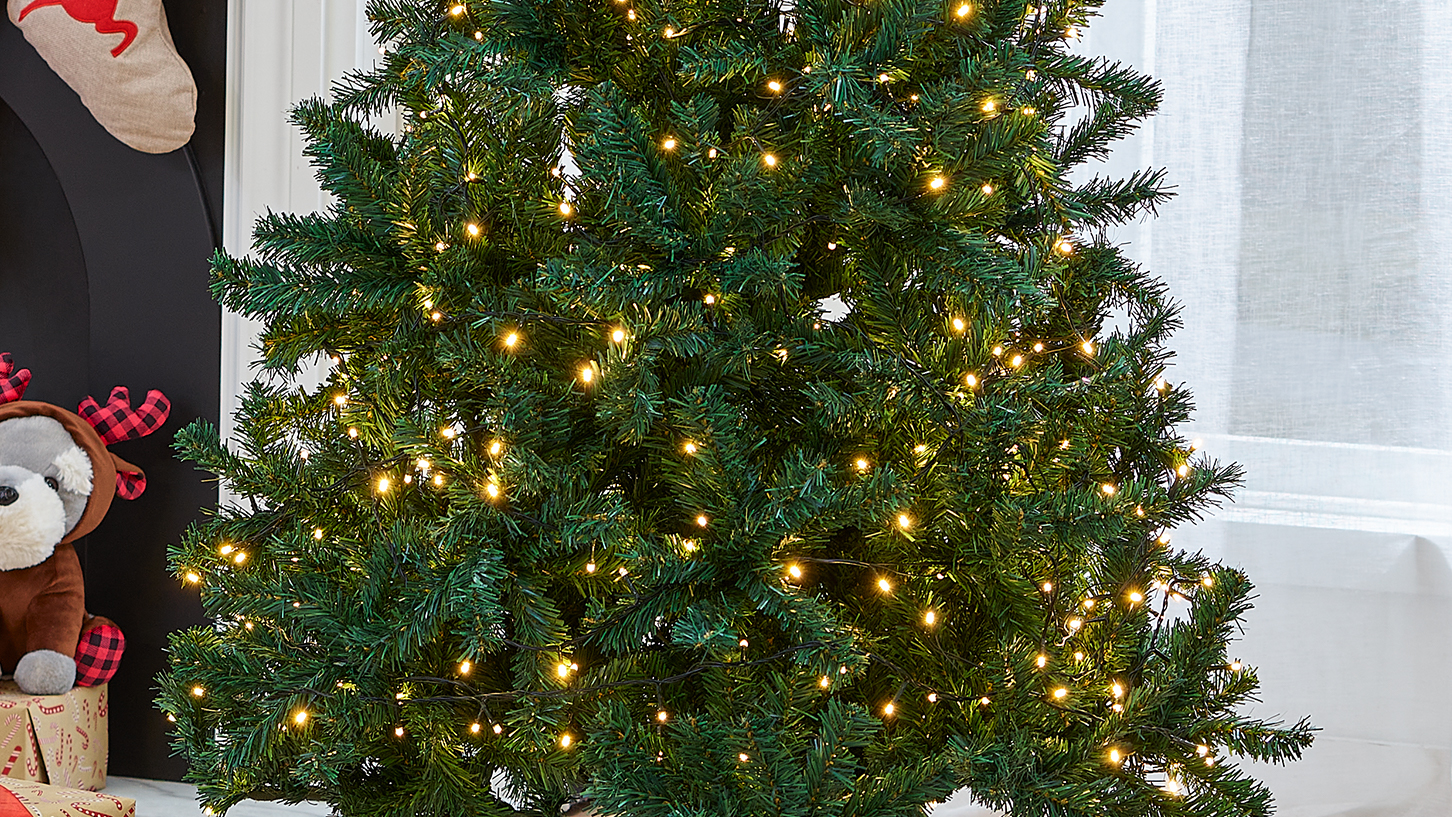
Step 2: Add Lights To Your Christmas Tree
Not all Christmas trees have lights, but take it from us, adding lights to the tree will give it that wow factor at night, whether the lights are multi-coloured, flashing or simply plain white. Also, today's Christmas lights are mainly low-voltage LED lights, which means they won't significantly affect your power bill or create a fire risk. Some Christmas trees come with built-in lights, in that case you are one step ahead! Simply plug in your lights safely.
The secret to adding lights to your tree is to start from the base and then wrap the lights up through the middle of the tree. This means the lights will shine beautifully through the foliage, adding a warm glow to the rest of your Christmas ornaments. Once you reach the top, you can then start wrapping around the outside of the tree branches back down to the bottom of the tree to create an inside-out effect. Just remember to wrap symmetrically so the lights are not clustered in the one spot.
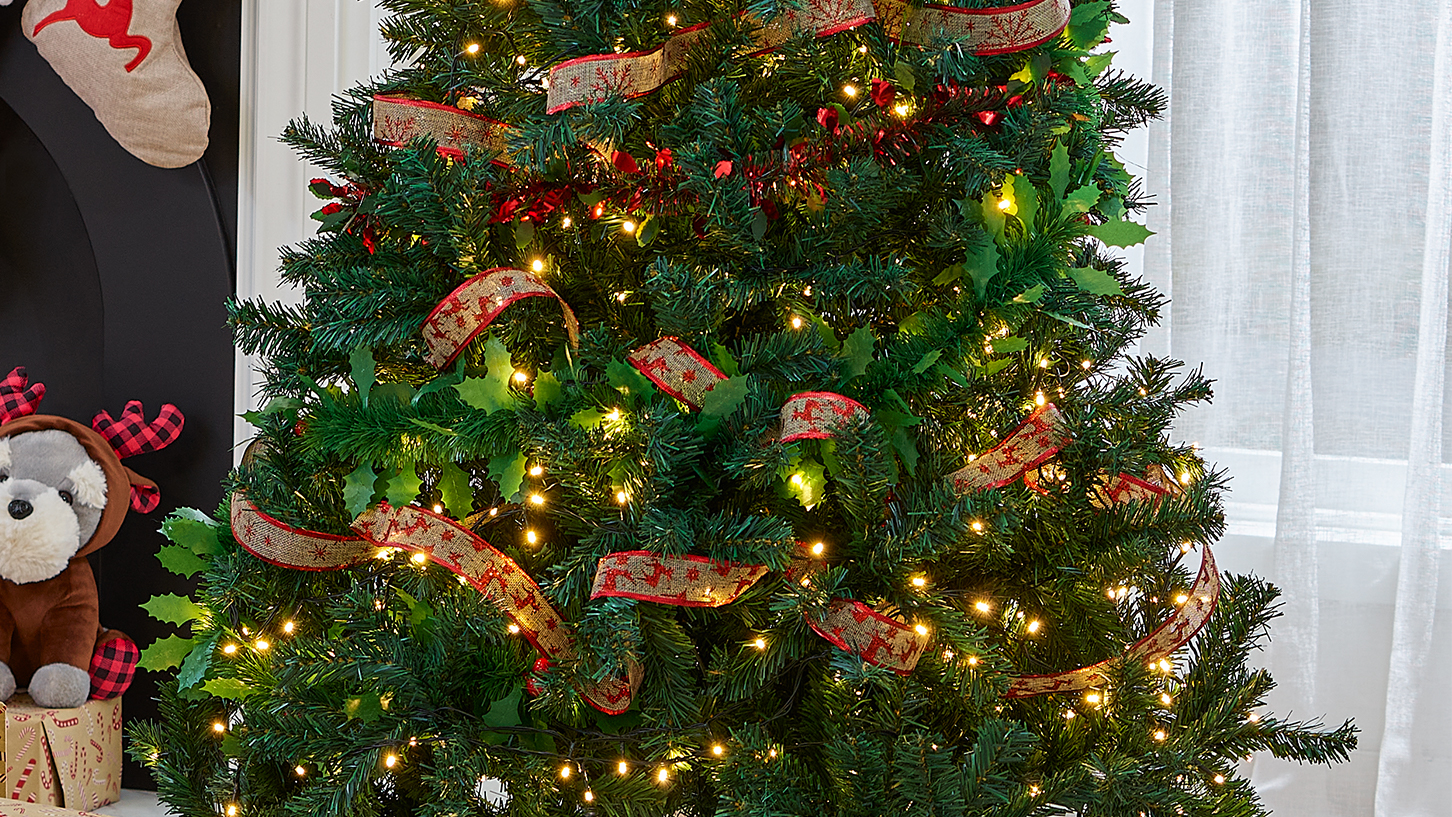
Step 3: Add Sparkling Tinsel and Ribbon to Your Christmas Tree
It's up to you whether you wish to add Christmas tinsel and Christmas ribbon, but if you like a heavily stacked Christmas tree, these additions can look wonderful when added properly. You may like to use one ribbon or layer different textures and widths of ribbon. However, unlike the lights, you should now start at the top of your tree and then slowly make your way down, weaving the ribbon in and out of the branches. Once again, pay attention to the symmetry of your Christmas tree decorations.

Step 4: Add Flair with Christmas Tree Baubles and Hanging Decorations
Now it's time to start adding the Christmas baubles, which is when you'll really notice your Christmas tree coming into its finished state. To get the most from your baubles, hang the larger ones towards the centre of the tree (i.e. near its trunk) and the smaller ones on the outer ends of the branches. This helps create an optical effect of the tree being fuller with greater depth of decoration. Depending on whether your tree is against a wall or a window, you'll want to make sure the Christmas tree decorations are evenly distributed across all viewable angles. If your baubles are different colours, they should also be carefully placed so not all the colours are grouped in the one section of the tree.
Stand back and look at your tree from all directions to ensure it's pleasing to the eye and make sure there are no visible gaps.
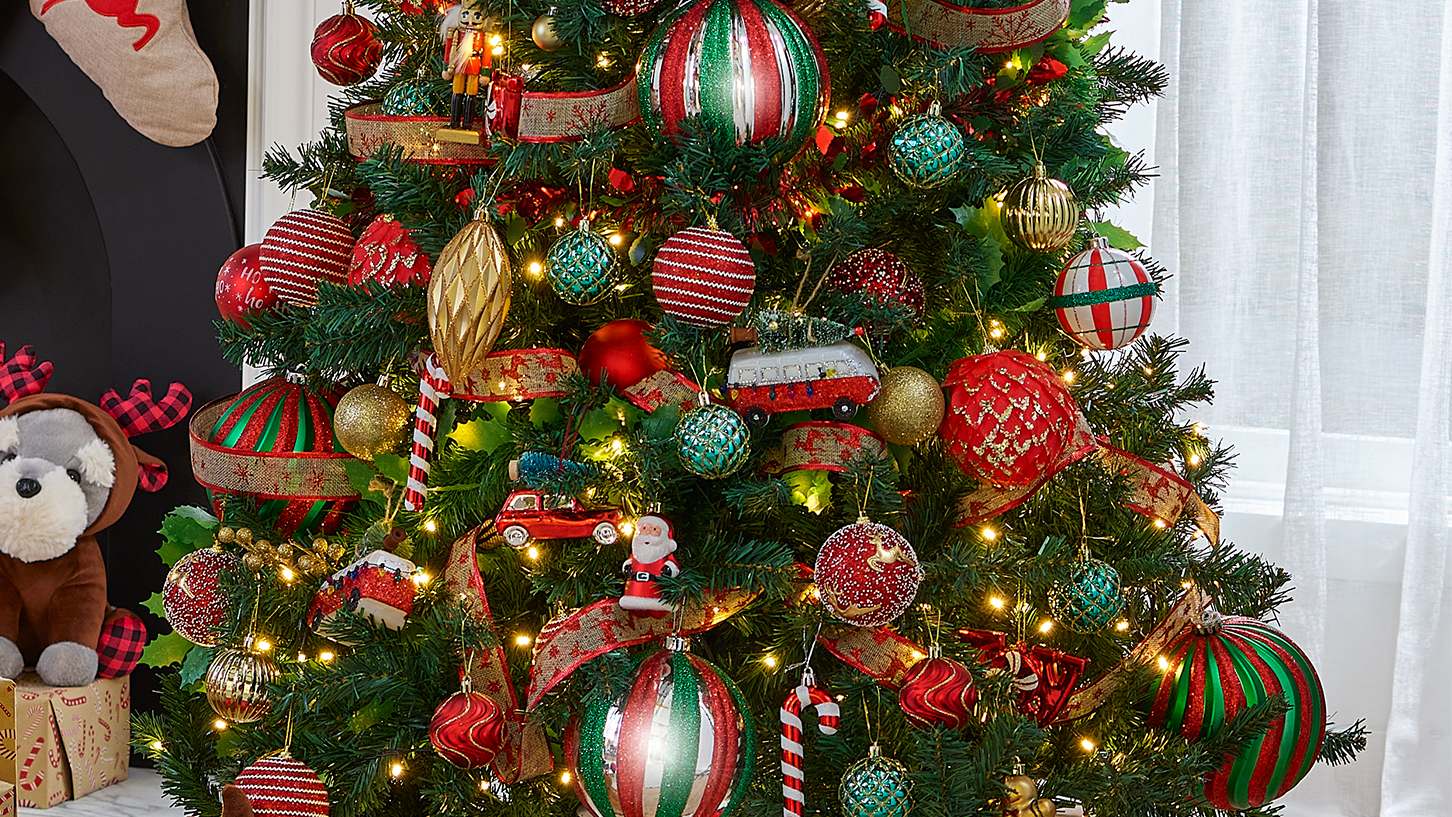
Step 5: The Special Details
Any special decorations, such as personalised Christmas baubles, handmade ornaments or ones handed down through the generations, should be given pride of place on the outer edges of the branches so they can be easily admired. However, consider placing them higher on the tree so they won't be knocked or accidentally broken. Get kids involved with making one of a kind hand made decorations, fillable baubles or personalised hanging decorations to be cherished. Our Christmas project sheets and blog articles have some great ideas on making personalised ornaments such as:
- How to make personalised fillable Christmas baubles
- Felt animal Christmas ornaments
- Quilted Christmas baubles
- Glittery personalised tree decorations
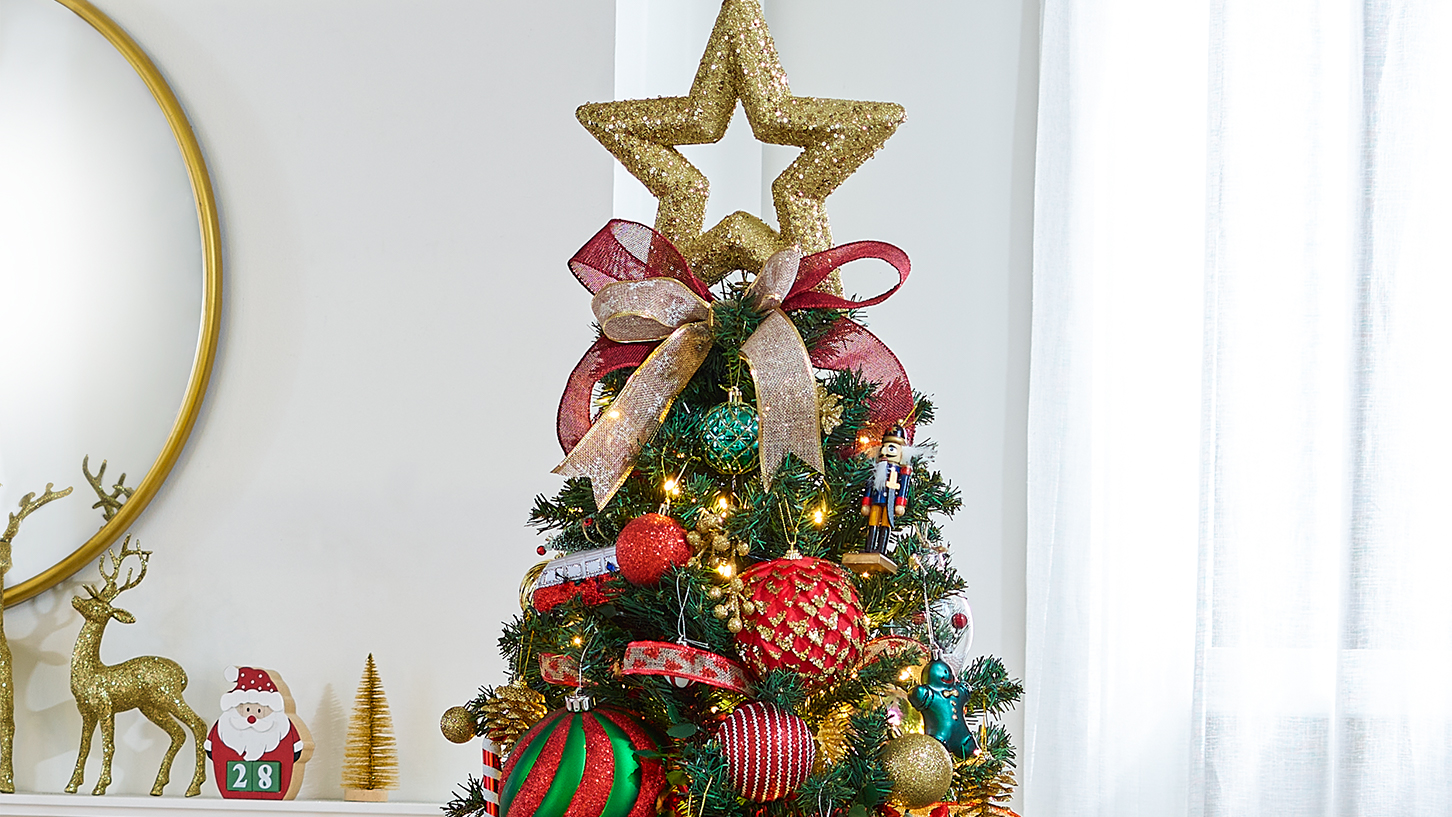
Step 6: Choosing a Christmas Tree Topper
The finishing touch to any Christmas tree is a magnificent Christmas tree topper. When choosing the tree topper for you, make sure it suits the overall look & feel of the tree and, most importantly, that it isn't out of proportion, e.g. it's likely to look a bit strange if you have a large tree with a tiny angel propped up on top. Popular Christmas tree topper ideas include:
- Star
- Angel
- Snowflake
- Finial
- Bow
- Reindeer
- Crown
Whatever you choose, your topper should be something special to you or an eye-catcher that shows off your tree. Something like a rotating snowflake image projector tree topper is a great way to take your Christmas tree to the next level!

Enjoy Your Mystical Christmas Tree and Find Everything You Need For the Festive Season at Spotlight
Decorating your Christmas tree should be a special annual ritual that brings the whole family together. If you don't quite get the decorations right, that's okay - it's more important to feel the collective Christmas spirit around a tree that you love. We'll help you Create, Decorate and Celebrate this festive season with amazing products for less. The festive spirit doesn't end with your Christmas tree, don't forget to add festive flair to the rest of your home with modern Christmas home decor, Christmas decorations and Christmas kitchen and dining ware. Find out about the convenient delivery options and range of payment options available! Or shop at your local Spotlight store and experience the entire Christmas range for yourself.


